Table of Contents
Advertisement
Quick Links
OPERATION INSTRUCTIONS
OPERATION INSTRUCTIONS
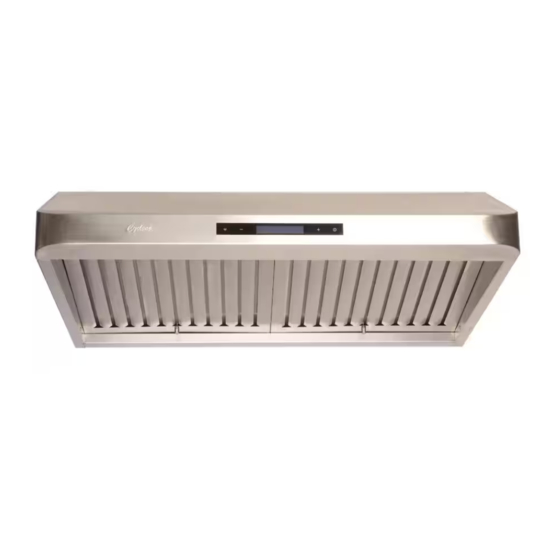
Fan Operation
Fan Speeds: There are six speed settings. The screen will light up once the touch sensitive
control power button has been pressed. The first button beside the screen to the left is the
LOW speed setting and on the opposite side is the HIGH speed setting button.
Lights: The first button on the left is the light control.
Clock: To set the clock on the machine, start by turning the machine on. With the power on,
press down the power bottom until the screen begins to flash. Once it begins to flash, set clock
by using the HIGH and LOW speed buttons. The LOW speed of the screen controls the hours
and the HIGH speed controls the minutes.
Timer: The timer on the machine can be set while the machine is running at the desired speed level. Press down the power button until the
screen begins to flash and then use the HIGH/LOW buttons to set your desired timer up to 99 minutes.
Grease Disposal
WARNING!
Ensure that all power leading to your range hood has been disconnected
before disassembling any parts.
Remove both baffle filters from the unit to display the grease collector at the back of the machine.
Remove the grease collector from the bottom lip of the machine and soak it to clean the grease.
Tip: Soak all parts in soapy water if there is heavy grease.
Changing Light bulbs
WARNING!
Make sure all electrical power leading to the range hood has been disconnected prior
to changing the light bulb.
To change the light bulb, remove light case from the light socket. The light case can be accessed from
the inside of the body of the machine.
1.
Disconnect the connecting wires of the light socket from the motherboard wires.
2.
Remove grease filters and push light case outward away from the machine
3.
Once the light case has been detached from the range hood, replace with a new case.
Baffle Filters
Removal: In order to remove the baffle filters pull the baffle filter forwards toward the front
of the hood using the handle while pushing the back side upwards inside the hood. With
the filter tilted upwards, push the filter backward and then pull down the front to remove the
baffle filter.
Disassembly: To disassemble the baffle filter, unscrew the top knob with pliers. Your filter
will disassemble into two halves of the filter, the knob, and a nut. The two filter pieces can be
cleaned in the bottom rack of the dishwasher.
Reassembly: To reassemble the pieces of the baffle filter, first place the two pieces of the
filter against eachother. When placing the filter together, ensure that all tabs fit into the slots
to keep both pieces of the filter attached. Place the knob and the nut together, then screw
the knob into the nut.
USE AND CARE GUIDE
MODELS
NA830R
Light
LOW
Speed
1. Forward
3. Upwards
4. Downwards
Power
HIGH
Speed
2. Upwards
Advertisement
Table of Contents

Related Manuals for CyClone NA830R


Summary of Contents for CyClone NA830R
- Page 1 MODELS USE AND CARE GUIDE NA830R OPERATION INSTRUCTIONS OPERATION INSTRUCTIONS Fan Operation Fan Speeds: There are six speed settings. The screen will light up once the touch sensitive control power button has been pressed. The first button beside the screen to the left is the...
- Page 2 Our circular vents are 6 inches in diameter, and our rectangular vents reflect the frequency and intensity of cooking. are 3 × 10 inches in size. In order to install a Cyclone Range Hood with a different shaped vent, an adapter can be installed to adjust the ducting to the correct shape.
Need help?
Do you have a question about the NA830R and is the answer not in the manual?
Questions and answers