
Related Manuals for Security Tronix ST-D600IRVP2812


Summary of Contents for Security Tronix ST-D600IRVP2812
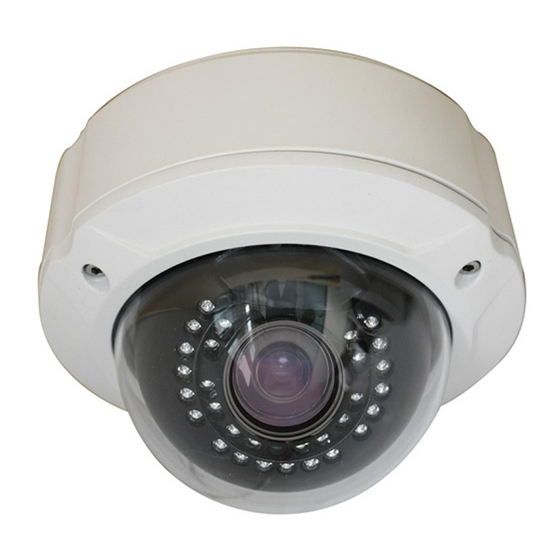
- Page 1 INSTALLATION MANUAL ST-D600IRVP2812 Super WDR, 3D DNR True Day & Night Infrared Vandal Proof Dome Camera 1.0 1/10/11...
- Page 2 The camera uses a 1/3” SONY Color Vertical Double Density CCD, provides 600TV lines of resolution in color and 700TV lines in B&W. The ST-D600IRVP2812 has a 2.8mm – 12mm lens for wide or narrow viewing. The 3 axis mount, built-in RS485 connection and on-screen display make this camera very easy to set up.
- Page 3 INSTALLATION AND OPERATION This symbol is intended to alert the user to the presence of important operating and maintenance (servicing) instructions. This symbol is intended to alert the user to the presence of uninsulated “dangerous voltage” within the product’s enclosure that may be of sufficient magnitude to constitute a risk of electrical shock.
- Page 4 4. WIRING CONNECTIONS a. Connect the power supply’s DC plug to the camera’s power outlet. b. Connect the camera to the monitor with a 75Ω coaxial video cable. c. Connect power supply’s AC plug to a suitable AC power outlet. d.
- Page 5 5. OSD SETTINGS Accessing and setting the camera functions are done through the camera’s On Screen Display (OSD) via the mini-joystick on the unit’s circuit board. A menu item may be selected my moving the joystick UP, DOWN, LEFT or RIGHT. The selected item may be entered by taping the joystick. LEFT RIGHT DOWN...
- Page 6 6. WIDE DYNAMIC RANGE Wide Dynamic Range (WDR) allows the capturing of images at all light levels. The camera offers 10 WDR levels selectable through the settings menu. WDR Low Level (0 – 3): WDR mode for general or low light conditions. WDR Middle Level (4 –...
- Page 7 7. TROUBLESHOOTING a. No picture after applying power – (i) check all plugs and cables are securely connected to the proper connectors; (ii) ensure your power supply is providing the correct voltage and current. b. The picture has ripples – (i) check to see if the power supply is experiencing AC ripple, if so a filter may be required;...
Need help?
Do you have a question about the ST-D600IRVP2812 and is the answer not in the manual?
Questions and answers