Advertisement
Quick Links
Advertisement

Subscribe to Our Youtube Channel
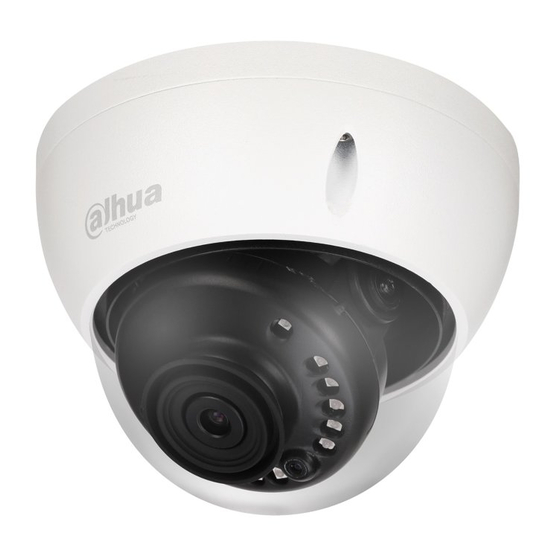
Summary of Contents for Dahua HDBW1400EP
- Page 1 HDCVI Camera User’s Manual Version 1.0.1...
-
Page 2: Table Of Contents
Table of Contents General Introduction ........................1 Overview ..........................1 Features..........................1 Device Framework .......................... 2 Installation ......................错误!未定义书签。 Menu ..............................6 HCVR Settings ........................6 Menu Operation ........................ 6... - Page 3 Welcome Thank you for purchasing our HDCVI camera! This user’s manual is designed to be a reference tool for your system. Please read the following safeguard and warnings carefully before you use this series product! Please keep this user’s manual well for future reference! Important Safeguards and Warnings 1.Electrical safety All installation and operation here should conform to your local electrical safety codes.
- Page 4 Please do not dismantle the device; there is no component which can be fixed by users themselves in the machine. It may cause water leakage or bad image for the device due to unprofessional dismantling. It is recommended to use the device with thunder proof device in order to improve thunder proof effect. The grounding holes of the product are recommended to be grounded to further enhance the reliability of the camera.
-
Page 5: General Introduction
1 General Introduction 1.1 Overview This series HDCVI camera conforms to the HDCVI standard. It supports video signal high- speed long distance transmission without any delay. It can be controlled by the DVR conforming to the HDCVI. 1.2 Features High-performance CMOS image sensor, megapixel definition. -
Page 6: Device Framework
2 Device Framework See Figure 2-1 for the dimension of model A. Figure 2-1 See Figure 2-2 for the dimension of model B. Figure 2-2 The device ports include one DC12V power input port and one BNC video output port. Please refer to Figure 2-3 for DC12V power input port. - Page 7 Note Video output port outputs HDCVI HD video by default. HD/SD output can be switched via PFM820 (UTC Controller) or OSD menu →Advanced →Video Output.
-
Page 8: Installation
3 Installation Important Before the installation, please make sure the installation surface can sustain at least 3X weight of the bracket and the camera. Figure 3-1 Step 1 Use wrench to loosen three fixing screws on the enclosure and remove the dome cover. Step 2 Confirm the installation location and dig holes on the installation surface. - Page 9 Step 5 Connect the video output port of the device cable to the back-end encoding device, and make the power port connect to power. Step 6 Adjust lens angle to a proper monitoring location after displaying image on the back-end encoding device.
-
Page 10: Menu
4 Menu 4.1 HCVR Settings This HDCVI camera series can adjust OSD menu via coaxial control. After connected the camera to the HDCVI series HCVR, from Main Menu->Setting->System->PTZ, you need to select the channel number for access and set control mode as HDCVI and the protocol as HD- CVI. - Page 11 Figure 4-3 See Sheet 4-1 for the details of button functions. Button Function Open menu 、 Select menu item Select menu value 、 Sheet 4-1 If there is “ ”, click the “Confirm” button in “Menu Operation” interface to go to the 2nd menu. Click “Return”...


Need help?
Do you have a question about the HDBW1400EP and is the answer not in the manual?
Questions and answers