
Related Manuals for iHome iBT22A


Summary of Contents for iHome iBT22A
- Page 1 Model: iBT22A IB (English) Size: 153mm x 120mm Printing color: Black Date : July 8, 2013 iBT22A Bluetooth Wireless Dual Alarm Clock instruction manual...
-
Page 4: Information Fcc
FCC ID: EMOIBT22A Cet équipement est conforme aux limites FCC relatives à l'exposition à la radiation par radiofréquences IC: 986B-IBT22A établies pour les environnements non contrôlés. Cet émetteur ne doit pas être colocalisé ou utilisé en conjonction avec tout autre émetteur ou antenne. -
Page 6: Installing The Backrest
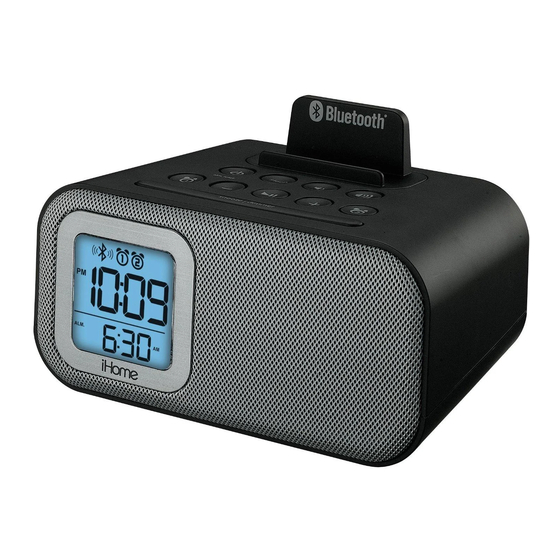
Included Installing the Backrest • iBT22A Alarm Clock 1) Insert the front tabs of the included backrest at • 100V-240V universal AC adaptor a slight angle into the slots on top of the unit (behind • Backrest the buttons). - Page 7 Meet Your iBT22A Back Rest Lower Volume Button Sleep Button Raise Volume Button Alarm Reset/Power Button Fwd/+ Setting Button Alarm 1 Button Alarm 2 Button Rev/– Setting Button Play/Pause Button Snooze Dimmer Button Back Aux-in Jack DC Jack Bluetooth/Pairing Button USB Charging Port Clock Adj.
-
Page 8: Battery Low Indicator
Replacing & Installing Clock Backup Batteries The iBT22A uses 3 AAA batteries (included) for backup to provide continuous alarm operation and clock settings in the event of a power failure. If the backup batteries have been installed and a power failure occurs or the AC adaptor is accidentally disconnected, the display backlight will not remain lit, but current time and alarm time settings will be temporarily maintained. -
Page 9: Setting Up The Unit
Using the The Display Bluetooth Indicator Alarm 1 & Alarm 2 Indicators DST indicator Sleep Indicator SLEEP AUX-IN Battery Low Indicator Aux-in Indicator PM Indicator Time Display Alarm time AM/PM Indicator ALM. YEAR Year/Date Indicator Alarm Time/Date Display DATE... -
Page 10: Setting The Time
Using the Setting the Time 1. Press and hold the Clock Adjust Button (located on the back of the unit) until the time flashes in the display and a beep sounds. 2. Press and release the – or + Buttons to adjust the clock to the current time (hold to advance or reverse rapidly).
Need help?
Do you have a question about the iBT22A and is the answer not in the manual?
Questions and answers