
Related Manuals for Sony CDU77E


Summary of Contents for Sony CDU77E
- Page 1 CDU77E CD-ROM Drive Unit CDU77E CD-ROM Drive Unit User’s Guide User’s Guide ©1995 by Sony Corporation...
- Page 2 The CLASS 1 LASER PRODUCT label is with the following mark. located on the top of the drive. LASER KLASSE 1 Bei diesem CD-ROM-Laufwerk CDU77E PRODUKT handelt es sich um ein Laser-Produkt der Klasse 1. Ein entsprechender Aufkleber mit der Beschriftung LASER KLASSE 1...
-
Page 3: Table Of Contents
Starting the Drive ...................19 Note: Ejecting the Disc ..................21 The CDU77E is not equipped with an ADPCM audio circuitry required to How to Use the Disc Locks..............22 support CD-ROM XA and CD-I compatible audio modes. In addition, the unit does not support the CD-I graphic decoding function; it has to be Specifications provided by the system. -
Page 4: Software Requirement
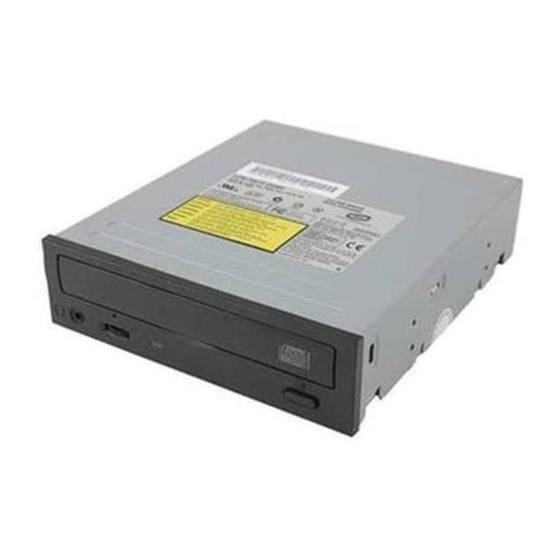
Location and Function of Parts and Controls Software Requirement Front Panel To access data on CD-ROM discs, the appropriate device driver and MSCDEX or its equivalent must be installed in your computer. The application software you need for using the data on a CD-ROM disc depends on the type and format of the target data. -
Page 5: Rear Panel
Precautions Installation Rear Panel Pin 1 Avoid placing the drive in a location subject to: – high humidity – high temperature – excessive dust – mechanical vibration – direct sunlight The drive can be used in either a horizontal or vertical position. Do not force the power cable. -
Page 6: Installing The Drive In Your Computer
Card, set the Hard Disk Drive as MASTER and the CDU77E as SLAVE. If the CDU77E is the only device connected to the IDE Card, set the CDU77E as MASTER. However, it should be noted that some personal computers may use CSEL in lieu of the foresaid MASTER/SLAVE selection. -
Page 7: Opening The Computer
Opening the Computer Preparing a Space for the Drive If your computer has its rear side covered by a plastic panel attached Remove the screws and brackets securing the floppy disk drive and the with plastic hook pad, pull it off. lower drive bay blanking plate. -
Page 8: Mounting The Drive
Mounting the Drive Connecting the Drive If mounting rails are necessary, attach them to the drive in the same way as Connect the drive to the computer with the following connectors: your floppy disk drive and slide the drive into the lower drive bay. DC INPUT connector If mounting rails are not required in your system, screw the drive in place. -
Page 9: Reassembling The Computer
F. GND tab Reassembling the Computer Connect the F. GND tab to one of the host computer’s ground cables unless the drive’s frame is in direct contact with the computer’s chassis Reinstall the floppy disk drive in the top drive bay. (a situation not likely under normal circumstances). -
Page 10: Installing The Software Driver
Note: Both Microsoft CD-ROM Extensions (MSCDEX) or equivalent and Sony’s Press the eject button. Device Driver are required to run the CDU77E under the MS-DOS and The drawer comes out automatically. Windows 3.1 environment. Therefore, prior to loading the installation diskette, make sure that the MSCDEX is in the DOS directory of your hard disk drive (C:\DOS). -
Page 11: Ejecting The Disc
Note: Ejecting the Disc When the drive is set up in vertical position, use the disc locks to prevent To eject the disc, press the eject button on the front panel. The drawer your disc from falling. See “How to Use the Disc Locks” on page 22 for comes out automatically. -
Page 12: How To Use The Disc Locks
How to Use the Disc Locks When the drive’s right side is down To facilitate disc handling, set the disc locks B, C and D into the locked The disc tray has four disc locks that prevent the disc from falling when position, and leave the disc lock A in the unlocked position. -
Page 13: Specifications
Specifications General Dimensions and Mass Host interface ATA-PI interface Dimensions Approx. 146 x 41.4 x 208 mm (w/h/d) Disc ⁄ ⁄ ⁄ inches) Acceptable discs CD-Digital Audio discs Mass Approx. 0.80 kg (1 lb 13 oz) CD-ROM mode-1 data discs Power requirement CD-ROM mode-2 form 1 / form 2 data discs CD-ROM XA discs (readable) - Page 14 Dimension diagram Important: The overhang of the screws should not exceed 6.0 mm from the surface of the side panels or the bottom plate. 203 (8) 42.3 47.5 79.25 Specifications...
Need help?
Do you have a question about the CDU77E and is the answer not in the manual?
Questions and answers