Sign In
Upload
Download
Table of Contents
Contents
Add to my manuals
Delete from my manuals
Share
URL of this page:
HTML Link:
Bookmark this page
Add
Manual will be automatically added to "My Manuals"
Print this page
×
Bookmark added
×
Added to my manuals
Manuals
Brands
Hytera Manuals
Repeater
RD988 U5
Manual
Hytera RD988 U5 Manual
Hide thumbs
1
2
3
4
Table Of Contents
5
6
7
8
9
10
11
12
13
14
15
16
17
18
19
20
21
22
23
24
25
page
of
25
Go
/
25
Contents
Table of Contents
Troubleshooting
Bookmarks
Table of Contents
Table of Contents
Checking Items in the Package
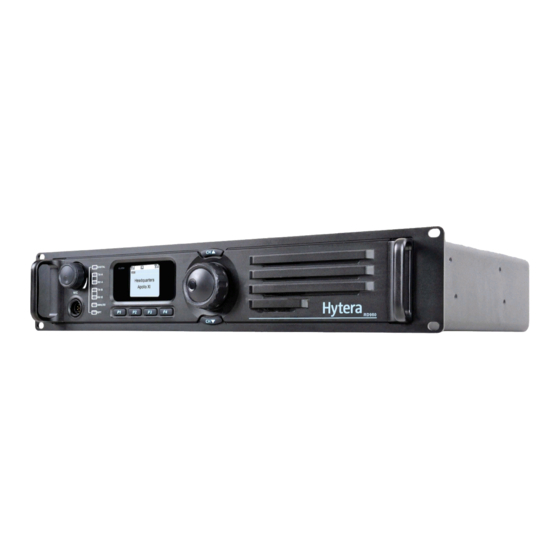
Product Overview
Front Panel
Programmable Keys
Rear Panel
Internal Parts
Installation Guide
Installation Requirements
Before Installation
Installation Steps
After-Installation Verification
Status Indication
LCD Icon
LED Indicator
Basic Operations
Turning the Repeater On/Off
Adjusting the Volume
Adjusting the Power Level
Backlight
Locking/Unlocking the Repeater
Changing the Channel
Menu Navigation
Radio Info
Channel Info
Scan
Digital Speaker
Exit
Alarm Information
Over Temperature Alarm
Fan Failure Alarm
VSWR Alarm
Low Forward Power Alarm
Over/Low Voltage Alarm
TX/RX Unlock Alarm
Troubleshooting
Care and Cleaning
Optional Accessories
Advertisement
Quick Links
1
Table of Contents
2
Programmable Keys
3
Product Overview
4
Installation Guide
Download this manual
Preface
Thanks for your favor in our product. To derive optimum performance from the product. To ensure you get
maximum benefit from the product, please read this manual carefully before use.
This manual is applicable to the following model:
RD98XS U(5) (X may indicate 0, 2, 5, 6 or 8)
Table of
Contents
Previous
Page
Next
Page
1
2
3
4
5
Advertisement
Table of Contents
Need help?
Do you have a question about the RD988 U5 and is the answer not in the manual?
Ask a question
Questions and answers
Related Manuals for Hytera RD988 U5
Repeater Hytera RD98 Series Service Manual
(333 pages)
Repeater Hytera RD98 Series Owner's Manual
Dmr digital repeater (21 pages)
Repeater Hytera RD982 Owner's Manual
Digital repeater (27 pages)
Repeater Hytera RD98 S Series Service Manual
(586 pages)
Repeater Hytera RD98X series User Manual
Dmr digital repeater (25 pages)
Repeater Hytera RD98X Manual Manual
(24 pages)
Repeater Hytera RD98X Upgrade Manual
Dmr repeater (17 pages)
Repeater Hytera RD98X Manual
(24 pages)
Repeater Hytera RD98XS Use Manual
Intelligent super repeater (26 pages)
Repeater Hytera RD98XSVHFH Manual
Dmr digital repeater (30 pages)
Repeater Hytera RD985 User Manual
Digital repeater (28 pages)
Repeater Hytera RD982i User Manual
100w digital repeater (31 pages)
Repeater Hytera RD98XSi series Manual
Dmr digital repeater (29 pages)
Repeater Hytera RD980 Upgrade Manual
Dmr repeater (15 pages)
Repeater Hytera RD982S U5 Manual
(25 pages)
Repeater Hytera RD986S U5 Manual
(25 pages)
This manual is also suitable for:
Rd980s u5
Rd982s u5
Rd985s u5
Rd986s u5
Rd98 series
Table of Contents
Print
Rename the bookmark
Delete bookmark?
Delete from my manuals?
Login
Sign In
OR
Sign in with Facebook
Sign in with Google
Upload manual
Upload from disk
Upload from URL


Need help?
Do you have a question about the RD988 U5 and is the answer not in the manual?
Questions and answers