Table of Contents
Advertisement
Quick Links
Advertisement
Table of Contents

Related Manuals for Z3 Technology DM816 Series


Summary of Contents for Z3 Technology DM816 Series
- Page 1 CONFIDENTIAL DM816x RTC User Guide v1.1 RTC Firmware for the DM81xx-MOD Family DOC-USR-0016-02 September 6, 2013 ___________________________________________________________________________________________ Z3 Technology, LLC ♦ 100 N. 8th St., Suite 250 ♦ Lincoln, NE 68508 USA ♦ +1.402.323.0702...
- Page 2 CONFIDENTIAL DM816x RTC User Guide v1.1 Revision History Version Date Change Note Author 3/7/12 Initial version 9/6/13 Updated programming procedure ___________________________________________________________________________________________ Z3 Technology, LLC ♦ 100 N. 8th St., Suite 250 ♦ Lincoln, NE 68508 USA ♦ +1.402.323.0702...
-
Page 3: Table Of Contents
Figure 6 Elprotronic Main Menu After Successful Programming ..................9 Figure 7 Example of Checking Registers Programmed in u-boot ..................10 Figure 8 Sample i2cdump Results ............................ 12 ___________________________________________________________________________________________ Z3 Technology, LLC ♦ 100 N. 8th St., Suite 250 ♦ Lincoln, NE 68508 USA ♦ +1.402.323.0702... -
Page 4: Introduction
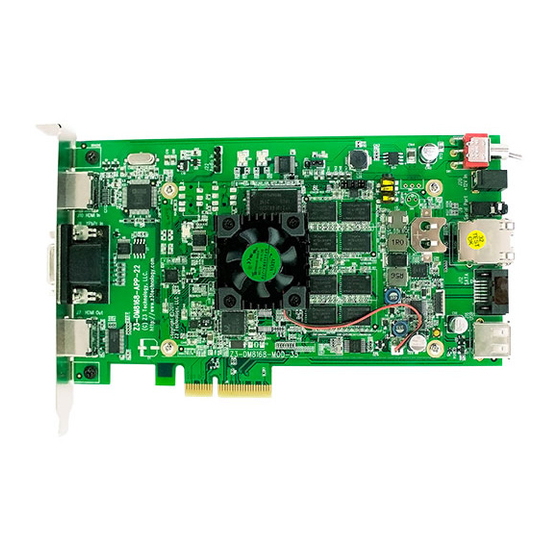
1 Introduction The DM8148, DM8168, and DM8169 modules from Z3 Technology contain a real time clock circuit that can be used to keep the time and date even when power is removed. The RTC uses a CR1220 or CR1225 lithium battery connected to the module (the CR1225 will provide slightly more power). -
Page 5: Loading The Rtc Firmware
“(FREE)”: Figure 2 Elprotronic Download Page – MSP430 Portion (2) Install the downloaded software (could take some time, depending on your system). ___________________________________________________________________________________________ Z3 Technology, LLC ♦ 100 N. 8th St., Suite 250 ♦ Lincoln, NE 68508 USA ♦ +1.402.323.0702... -
Page 6: Preparing The Board
(10) Click on “Open Code File ->” and select the MSP_DM81xx_v2.2.txt file in c:\Z3-MSP430 from step (8) (Figure 4). (11) Under Microcontroller Type, select group “MSP430F2xx.” Then in the Microcontroller type below that select “MSP430F2012” (Figure 4). ___________________________________________________________________________________________ Z3 Technology, LLC ♦ 100 N. 8th St., Suite 250 ♦ Lincoln, NE 68508 USA ♦ +1.402.323.0702... -
Page 7: Figure 4 Elprotronic Main Menu
(3) Select “Setup – Connection / Device Reset” (1) Click here and open “MSP_DM81xx_v2.2.txt” (2) Select Group “MSP430F2xx” and then “MSP430F2012” Figure 4 Elprotronic Main Menu ___________________________________________________________________________________________ Z3 Technology, LLC ♦ 100 N. 8th St., Suite 250 ♦ Lincoln, NE 68508 USA ♦ +1.402.323.0702... -
Page 8: Figure 5 Elprotronic Target Connection / Reset Options Menu
(14) Under “Final Target Device action” select “Reset and start the application program” (15) Ensure COM Port is set to “USB à Automatic” (16) Click “Ok” ___________________________________________________________________________________________ Z3 Technology, LLC ♦ 100 N. 8th St., Suite 250 ♦ Lincoln, NE 68508 USA ♦ +1.402.323.0702... -
Page 9: Figure 6 Elprotronic Main Menu After Successful Programming
Figure 6 shows what the screen should look like after a successful program. Click here to start programming Figure 6 Elprotronic Main Menu After Successful Programming (17) The Firmware should now be programmed! ___________________________________________________________________________________________ Z3 Technology, LLC ♦ 100 N. 8th St., Suite 250 ♦ Lincoln, NE 68508 USA ♦ +1.402.323.0702... -
Page 10: Verifying The Firmware Programmed Successfully - Quick Test
Figure 7 shows an example run. Once you’ve confirmed you can read the registers and the first byte increments, you have confirmed that the firmware has been successfully programmed. Figure 7 Example of Checking Registers Programmed in u-boot ___________________________________________________________________________________________ Z3 Technology, LLC ♦ 100 N. 8th St., Suite 250 ♦ Lincoln, NE 68508 USA ♦ +1.402.323.0702... -
Page 11: Verifying The Firmware Programmed Successfully - Running The Linux Apps
# make clean all install (6) The RTC files should now be at $ROOTFS/fs/usr/local/bin and ready to use when the board is rebooted. ___________________________________________________________________________________________ Z3 Technology, LLC ♦ 100 N. 8th St., Suite 250 ♦ Lincoln, NE 68508 USA ♦ +1.402.323.0702... -
Page 12: Running The Software
(14) “/usr/local/bin/hwclock2 –s” can be used to set the system time from the RTC time/date. By placing this command on a script at boot time, the system time will always be correct. ___________________________________________________________________________________________ Z3 Technology, LLC ♦ 100 N. 8th St., Suite 250 ♦ Lincoln, NE 68508 USA ♦ +1.402.323.0702... -
Page 13: Inserting The Battery
(5) [The steps to check programming was successful using u-boot or the linux software are the same as before] (6) Once complete, power the system off, remove the power plug, and disconnect the emulator from J10. ___________________________________________________________________________________________ Z3 Technology, LLC ♦ 100 N. 8th St., Suite 250 ♦ Lincoln, NE 68508 USA ♦ +1.402.323.0702...
Need help?
Do you have a question about the DM816 Series and is the answer not in the manual?
Questions and answers