Table of Contents
Advertisement
Quick Links
Advertisement
Table of Contents

Related Manuals for Stihl TS 410


Summary of Contents for Stihl TS 410
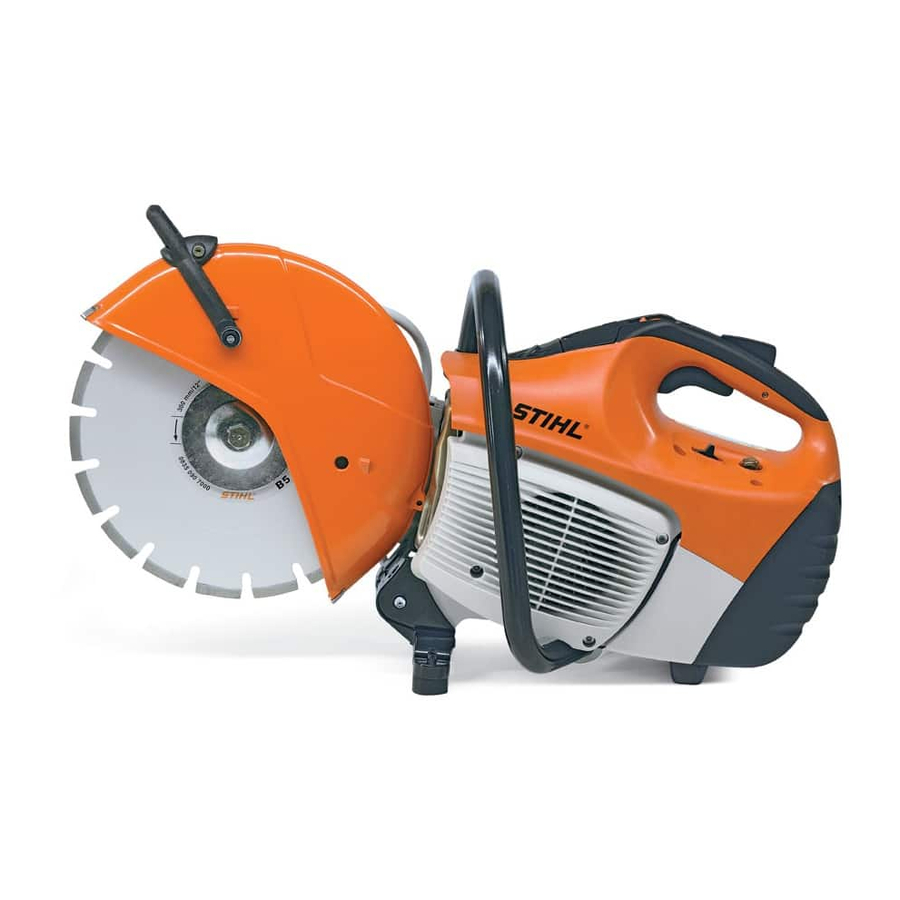
- Page 1 TS 410, 420 2 - 36 Instruction Manual...
-
Page 2: Table Of Contents
Actuate manual fuel pump and devices by employees at work. If you have never used a power tool before: have your STIHL dealer or other specialist show you how to operate the machine – or attend one of Water connection, shut-off cock the special training courses. - Page 3 Only use abrasive wheels or accessories which Wear a safety hard hat where there is a danger have been approved by STIHL for this machine of head injuries from falling objects. or which are technically equivalent. If you have Dust (e.
- Page 4 Wear "personal" hearing protection – for exam‐ ple, ear defenders. Wear sturdy protective gloves made of a resistant material (e. g. leather). STIHL can supply a comprehensive range of per‐ sonal protective equipment. Transporting the machine Always stop the engine.
- Page 5 2 Safety Precautions and Working Techniques English Before starting Spindle hole diameter of the abrasive wheel and shaft of cut-off machine Inspect the cut-off machine for safe-to-operate must match. state – observe the respective chapters in the User Manual: Check the spindle hole for damage. Do not use –...
- Page 6 Holding and guiding the machine The cut-off machine may only be used for hand- held cutting or when mounted on a STIHL Cut‐ quik cart. 2.8.1 Hand-held cutting Set the abrasive cutting wheel guard correctly: Guide particles of material away from the user and machine.
- Page 7 2 Safety Precautions and Working Techniques English – Wait until the abrasive cutting wheel has come Work calmly and carefully – in daylight conditions to a standstill or brake the abrasive cutting and only when visibility is good. Proceed with wheel until it comes to a standstill by carefully caution, do not put others in danger.
- Page 8 English 2 Safety Precautions and Working Techniques – Depending on the version, composite resin abrasive cutting wheels are suitable only for dry cutting or only for wet cutting. Always use wet cutting with composite resin abrasive cut‐ ting wheels that are suitable only for wet cut‐ ting 2.11.1 Pull away from...
- Page 9 The machine must be serviced regularly. Do not When applying diamond abrasive wheels, take a attempt any maintenance or repair work not wet cut – for example, use the STIHL water con‐ described in the Instruction Manual. All other nector.
-
Page 10: Sample Applications
Use only spark plugs that are in perfect condition 3.2.2 Composite resin abrasive wheels suit‐ and have been approved by STIHL – see Specifi‐ able only for wet cutting cations. Use abrasive wheel only with water. Inspect ignition lead (insulation in good condi‐... - Page 11 3 Sample Applications English Cut in several passes ► Make the cut (B) deeper ► Leave a "hinge" (C) ► Mark cutting line (A) ► First sever the plate at the cut ends so that no material breaks away ► Break plate ►...
- Page 12 English 3 Sample Applications Cutting concrete pipe ► Always start at the bottom, use the upper quarter of the abrasive wheel for cutting The procedure is dependent on the outer diame‐ ter of the pipe and the maximum possible cutting depth of the abrasive wheel (A).
-
Page 13: Cutting Wheels
Concrete pipe – cut recess The abrasive wheels, which have been devel‐ oped by STIHL in cooperation with renowned Sequence of cuts (1 to 4) is important: manufacturers of abrasive wheels, are of high ► First, cut hard-to-reach areas... -
Page 14: Diamond Abrasive Wheels
– on the label and – on the packaging (table with recommendations for use) is an aid to selection STIHL composite resin cutting wheels are suita‐ D-B10 ble, depending on the version, for cutting the fol‐ lowing materials: –... - Page 15 Abrasive wheel is dull; built-up Sharpen abrasive wheels for cutting performance, generation edges with abrasive wheels for stone by briefly cutting through of sparks stone abrasive materials; replace STIHL recommends STIHL servicing dealers 0458-370-8321-C...
-
Page 16: Electronic Water Control
Electronic Water Control STIHL cut-off machines may be equipped with an electronic water control system. The electronic water control makes it possible to feed the optimum amount of water to the abra‐... -
Page 17: Assembling The Cast Arm And Guard
7.3.1 For installation on the STIHL FW 20 cut-off machine cart If the cut-off machine is mounted on the STIHL FW 20 cut-off machine cart in combination with the water tank, feed the maximum amount of ► Unscrew the banjo bolt (1) with the combina‐... - Page 18 English 8 Assembling the cast arm and guard ► Turn the tensioning nut (2) counterclockwise 8.1.5 Remove the "cast arm with guard" with the combination wrench – approx. 1/4 turn, as far as it will go = 0 8.1.4 Removing the V-belt guard ►...
- Page 19 8 Assembling the cast arm and guard English ► Turn the guard so that it is in the position ► Press the oblong holes (1) in the "cast arm shown (see picture) with guard" on to the studs (2), guiding the rib‐ ►...
- Page 20 English 8 Assembling the cast arm and guard ► Fit the support with the longer banjo bolt on 8.2.1 Preparing the "cast arm with guard" for the adjusting lever (3) – screw in the banjo bolt inboard mounting and tighten with the combination wrench ►...
-
Page 21: Tensioning The Ribbed V-Belt
9 Tensioning the ribbed V‑belt English 8.2.2 Check the adjustment range of the guard ► to tighten the ribbed v-belt, fit the combination wrench over the tensioning nut as illustrated WARNING The tensioning nut is spring-loaded – hold the combination wrench securely. ►... -
Page 22: Mounting An Abrasive Wheel
English 10 Mounting an Abrasive Wheel 10 Mounting an Abrasive 10.2 Removing a cutting wheel Wheel The engine must be switched off for fitting or replacement – set slide control to STOP or 0. 10.1 Blocking the shaft ► Use the combination wrench to loosen and remove the hexagon head screw (2) ►... -
Page 23: Fuel
(3) must engage in the 11.2.2 Engine oil shaft grooves. If you mix the fuel yourself, use only STIHL two- ► Screw in the hexagon bolt and tighten it with stroke engine oil or another high-performance the combination wrench – if using a torque engine oil classified as JASO FB, JASO FC, wrench, refer to the "Specifications"... -
Page 24: Fueling
(approx. 1/8 turn) and remove 12.3 Refueling Take care not to spill fuel while fueling and do not overfill the tank. STIHL recommends use of the STIHL filling system for fuel (special acces‐ sory). 0458-370-8321-C... -
Page 25: Starting / Stopping The Engine
13 Starting / Stopping the Engine English 13 Starting / Stopping the 12.6 Changing the fuel pickup body every year Engine ► Drain the fuel tank ► Press throttle trigger lockout (1) and throttle ► Pull the fuel pickup body out of the tank with a trigger (2) simultaneously hook and disconnect it from the hose ►... - Page 26 English 13 Starting / Stopping the Engine 13.1 Starting Versions with decompression valve ► Place the cut-off machine carefully on the ground, ensuring that the abrasive wheel can‐ not touch the ground or any objects. There must not be anyone within the swivel range of the cut-off machine ►...
-
Page 27: Air Filter System
14 Air Filter System English 14 Air Filter System ► When it has warmed up, set the choke lever to 14.1 Basic information The average filter life is more than 1 year. Do not dismantle the filter cover or fit a new air filter unless there is a noticeable loss of engine power. -
Page 28: Adjusting The Carburetor
Only high-quality air filters should be used, to protect the engine against ingress of abrasive dust. STIHL recommends the use of genuine STIHL air filters. The high quality of these parts will ensure troublefree operation, a long service life for the engine and extremely long filter life. -
Page 29: Spark Arresting Screen In Muffler
– or sooner if the electrodes are badly eroded. Install only suppressed spark plugs of 16 Spark Arresting Screen in the type approved by STIHL – see "Specifica‐ Muffler tions". In some countries, the mufflers are fitted with a 17.1... -
Page 30: Replacing The V-Belt
English 18 Replacing the V‑belt 18 Replacing the V‑belt 17.2 Checking the Spark Plug ► Clean dirty spark plug. ► Undo the nuts (1) ► Check electrode gap (A) and readjust if neces‐ ► Turn the tensioning nut (2) counterclockwise sary –... -
Page 31: Cut-Off Machine Cart
NOTICE The belt action must run smoothly. The cut-off machine can be mounted on the STIHL cut-off machine cart FW 20 (special accessory) in a few easy steps. The cut-off machine cart makes it easier to – repair damaged roadways ►... -
Page 32: Maintenance And Care
Readjust idle speed Spark plug Adjust electrode gap Replace after 100 operating hours All accessible screws, Tighten nuts and bolts (not adjusting screws) Anti-vibration elements check Have replaced by serv‐ icing dealer Cutting wheel Check STIHL recommends STIHL servicing dealer 0458-370-8321-C... -
Page 33: Main Parts
C Safety information label 1 Rear handle 2 Throttle trigger lockout 23 Specifications 3 Throttle trigger 23.1 Engine 4 Slide control 5 Starter grip STIHL single-cylinder two-stroke engine 6 Carburetor adjusting screws STIHL recommends STIHL servicing dealer 1) According to version 0458-370-8321-C... - Page 34 TS 410: 3.9 m/s 3.9 m/s 23.7 Abrasive wheels (TS 410) TS 420: 3.9 m/s 3.9 m/s The K‑factor in accordance with Directive Outside diameter: 300 mm Max.
-
Page 35: Maintenance And Repairs
24 Maintenance and Repairs English accordance with Directive 2006/42/EC is STIHL parts symbol K (the symbol may appear alone on small parts). 2.0 m/s for the vibration level. 25 Disposal 23.10 REACH Contact the local authorities or your STIHL serv‐... - Page 36 TS 410: 116 dB(A) all TS 420: 116 dB(A) Technical documents deposited at: ANDREAS STIHL AG & Co. KG Produktzulassung The year of manufacture and serial number are applied to the product. Done at Waiblingen, 15.07.2021 ANDREAS STIHL AG & Co. KG Dr.
- Page 37 26 EC Declaration of Conformity English 0458-370-8321-C...
- Page 38 English 26 EC Declaration of Conformity 0458-370-8321-C...
- Page 39 26 EC Declaration of Conformity English 0458-370-8321-C...
- Page 40 *04583708321C* 0458-370-8321-C...
Need help?
Do you have a question about the TS 410 and is the answer not in the manual?
Questions and answers