Advertisement
Table of Contents
- 1 Recommendations and Warnings
- 2 Components Assembly
- 3 Preparing for Work
- 4 Switching the Balance on
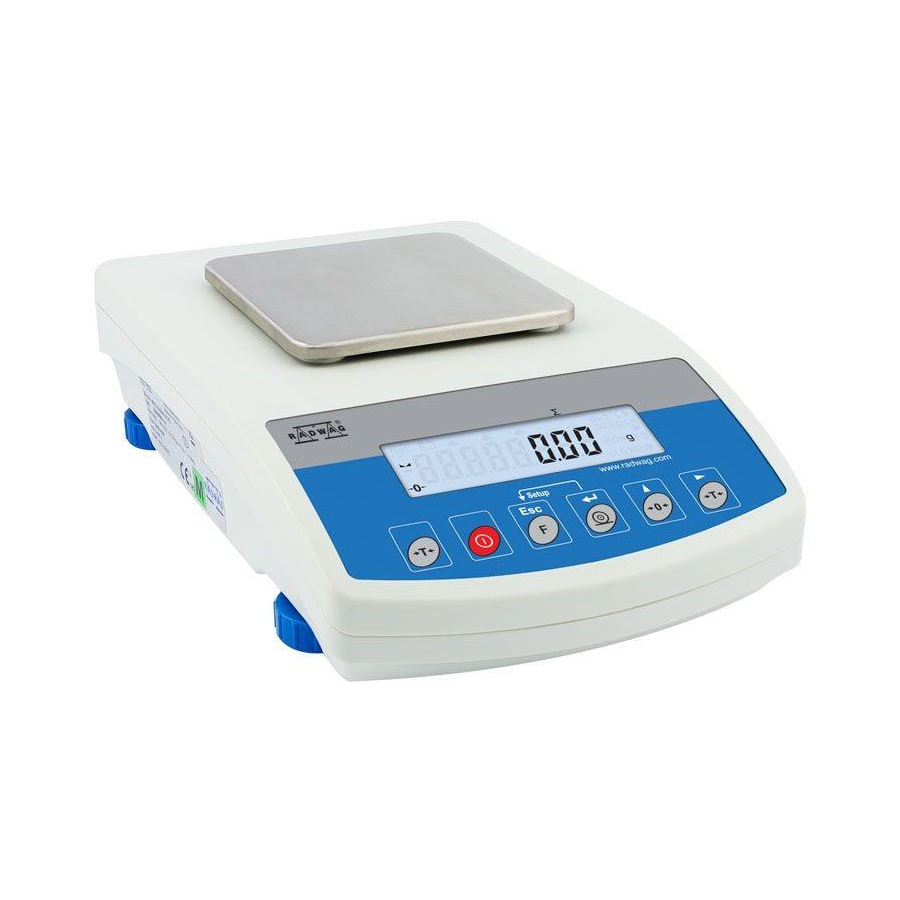
- 5 Panel Keys
- 6 Home Screen
- 7 Basic Operations
- 8 Working Modes Accessibility
- 9 Selecting Working Mode
- 10 Weighing Unit Selection
- 11 Device Cleaning
- 12 General Recommendations
- 13 Cleaning Instructions
- Download this manual
Advertisement
Table of Contents


Need help?
Do you have a question about the WLC A1 and is the answer not in the manual?
Questions and answers