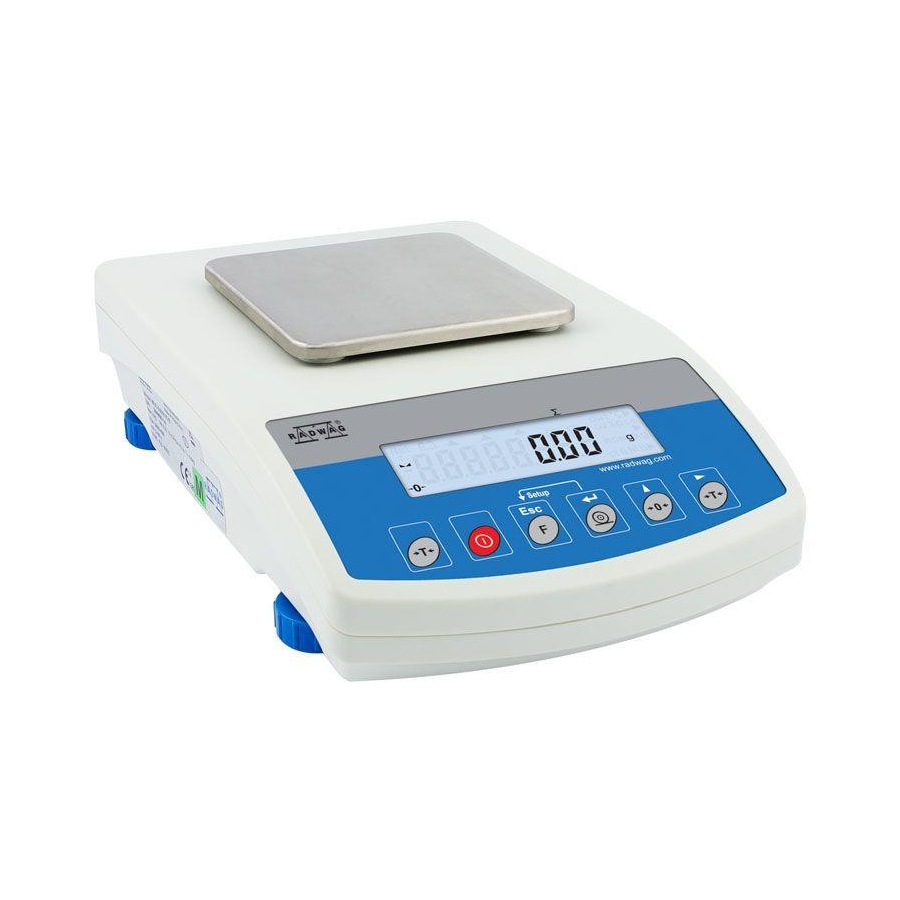
Summary of Contents for RADWAG WLC A1
- Page 1 IMMB-06-02-06-21-EN Start up Guide Precision Balances • WLC A1 • WLC A2 • WLC A1/C/2 • WLC A2 /C/2...
- Page 2 To view a complete User Manual go to the website or scan QR code: radwag.com/en/manuals/7012...
- Page 3 1. CONTENT Models: WLC A1 Balance Draft shield Weighing pan Grounding foot Foot Power adapter* ×1 ×1 ×1 ×1 ×3 ×1 Models: WLC A2 Balance Weighing pan Grounding foot Foot Power adapter* ×1 ×1 ×1 ×3 ×1 *The plug type may vary by country.
-
Page 4: Recommendations And Warnings
3. RECOMMENDATIONS AND WARNINGS Operate the device in a room where the temperature ranges between 15–30 °C +30 °C +86°F (59–86 °F) and where the relative humidity is below 80%. Any changes in temperature should be gradual and very slow. +15°C Place the balance on a solid surface to ensure stability. -
Page 5: Components Assembly
Make sure that the grounding spring juts slightly out of the hole. 5. COMPONENTS ASSEMBLY Models: WLC A2 Install the grounding foot in a freely selected opening. Models: WLC A1 Install the grounding foot in a freely selected opening. -
Page 6: Preparing For Work
6. PREPARING FOR WORK 6.1. Temperature stabilisation Prior to switching the device on, let it Connect the power adapter Connect the power reach room temperature (estimated to DC connector. adapter to the mains stabilisation time: up to 8 hours). 6.2. Levelling To level the balance, turn its feet and keep turning the feet until an air bubble takes the... -
Page 7: Panel Keys
7. PANEL AND SCREEN 7.1. Panel keys Navigation Taring and taring Switching Selecting Sending weighing Navigation ON/OFF working mode result to a printer and zeroing / ESC or a computer / ENTER 7.2. Home screen Stable result pictogram Weighing result window and communication and Balance zeroing... -
Page 8: Basic Operations
8. BASIC OPERATIONS 8.1. Adjustment (for models with an internal adjustment only) Press “Adjustment” button. Wait for the process completion. 8.2. Adjustment (for models with an external adjustment only) External adjustment is carried out using an external mass standard of the Balance Mass right accuracy and weight value, which value depends on balance type... - Page 9 Using key select “1.1.CA-E” parameter Wait for completion of the start mass and press key. determination process. Prepare suitable mass standard. Load the weighing pan with the mass standard. Adjustment completed. Unload the weighing pan. 8.3. Zeroing Make sure that the weighing pan is empty The balance has been zeroed.
-
Page 10: Working Modes Accessibility
8.4. Taring With loaded weighing pan: upon stabilisation of The balance has been tared. the weighing result, press key. 8.5. Working modes accessibility Simultaneously press keys Using key select “P3.Func” parameter to enter home screen. and press key. With “3.1.UUGG” parameter activated, press Press key to select “3.1.1.Acc”... -
Page 11: Selecting Working Mode
To configure other working modes, follow the above procedure. Press key to select “YES” value, next press key in order to save settings. 8.6. Selecting working mode In order to be able to select working modes, it is necessary to make them available first (section 8.5). Using key enter working modes menu. -
Page 12: Weighing Unit Selection
8.7. Weighing unit selection Simultaneously press keys to enter Using key select “P9.Unit” parameter home screen. and press key. Using key select weighing unit and press Press key to select “9.2.Unin” parameter, key to confirm. next press key. The balance enables selecting the following weighing units: •... - Page 13 9. PERIPHERAL DEVICES CONNECTORS...
-
Page 14: Device Cleaning
10. DEVICE CLEANING 10.1. General recommendations Prior to cleaning, it is necessary to Use soft cloths made of microfiber, Apply the cleanser onto the cloth first. disconnect the balance from the natural fiber or man-made fiber. Avoid Avoid applying the cleanser directly mains. - Page 16 www.radwag.com...


Need help?
Do you have a question about the WLC A1 and is the answer not in the manual?
Questions and answers