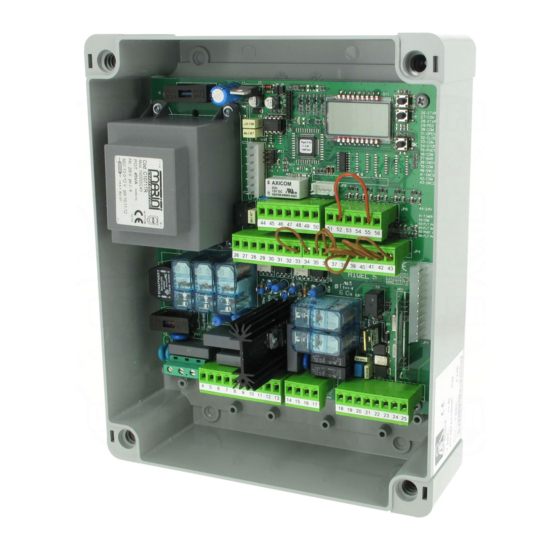
BFT Rigel 5 Quick Reference
Hide thumbs
Also See for Rigel 5:
- Installation and user manual (56 pages) ,
- Installation and user manual (11 pages) ,
- Installation and user manual (18 pages)
Advertisement
Quick Links
Rigel 5 v1.7 QRG
Quick reference guides are not a replacement for the supplied instructions, they are supplementary
Read and understand the installer warnings in the main instruction document first
Always apply good, safe, state of the art engineering and electrical installation principles
Safety of the completed installation is the ultimate responsibility of the installer
This product is not suitable for DIY use and should only be installed and maintained by a trained, skilled, professional installer
www.metalines.com
sales@metalines.com
Advertisement

Summary of Contents for BFT Rigel 5
- Page 1 Rigel 5 v1.7 QRG Quick reference guides are not a replacement for the supplied instructions, they are supplementary Read and understand the installer warnings in the main instruction document first Always apply good, safe, state of the art engineering and electrical installation principles...
-
Page 2: Menu System
Menu System www.metalines.com sales@metalines.com... -
Page 3: Menu Layout
Menu Layout Parameters; Adjustable numeric settings (formerly on pots) Logic; Function ON/OFF settings (formerly on dip switches) Radio; Transmitter storage Language; Panel language selection Default; Restore panel Parameter and Logic settings to factory default www.metalines.com sales@metalines.com... - Page 4 Essential Parameters No. of down button presses For more options and detail see main instructions www.metalines.com sales@metalines.com...
- Page 5 Essential Logics No. of down button presses The 12v dc lock output can accommodate 1 x 0.5A magnetic lock or 1 x 2A impulse lock For more options and detail see main instructions www.metalines.com sales@metalines.com...
- Page 6 Essential Radio and Language “Hidden Button” www.metalines.com sales@metalines.com...
- Page 7 Method • Set the motors in place on the correct geometry (plumb with top hinge for under ground or A = B for rams) • Install any gate stops to be used (mandatory for hydraulics-except Lux FC) • Manual release and set limit switch positions (Igea only) •...
- Page 8 Typical Wiring Example www.metalines.com sales@metalines.com...
- Page 9 Wiring Connections www.metalines.com sales@metalines.com...
- Page 10 Machine Directive Compliance Hydraulic & Electromechanical; 1. Adjust parameter to enable M1 to close 600mm before M2 Hydraulic; 2. Adjust the force at the leading edge with the CLOSE pressure screw to give under 400N in the last 500mm of closing (utilise hydraulic slow down if available) Electromechanical;...


Need help?
Do you have a question about the Rigel 5 and is the answer not in the manual?
Questions and answers