
Related Manuals for BRIO AQUUS TROE600COL


Summary of Contents for BRIO AQUUS TROE600COL
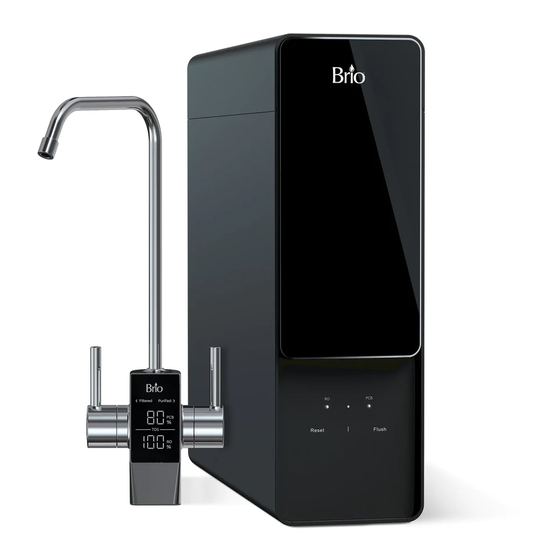
- Page 1 AQUUS Tankless 1.5:1 RO Filtration System with Smart Faucet Setup Manual Model No.: TROE600COL...
-
Page 2: Table Of Contents
Table of Contents Safety Information ..............3 Intended Use . -
Page 3: Safety Information
Safety Information WARNING: To reduce risk of injury and property damage, you must read this entire guide before assembling, installing, and operating the filtration system. • If the power cable is damaged, do not use. Contact Customer Service for a replacement. •... -
Page 4: Intended Use
Intended Use This appliance system is intended to be used in household and similar applications such as: • Staff kitchen areas in shops, offices, and other working environments • Farm houses • Hotels, motels, and other bed-and-breakfast-type environments • Residential-type environments •... -
Page 5: Indicator Panel Description
Indicator Panel Description Filter indicator lights – When blinking, indicate it is time to change filters (RO or PCB). Reset button – Press to reset the system after changing filters. Reset Flush Flush button – Press to flush newly installed filters. Product Dimensions Height Width... -
Page 6: Package Contents
Package Contents Part Description Quantity Part Description Quantity RO filtration unit Plumbers tape Smart faucet Drain saddle Power adapter RO waste water tube Feed water adapter Shut-off valve tube RO filter Faucet tubing PCB filter 1/4 in. Quick connector... -
Page 7: Installation
Installation 1. Installation Overview 2. Connect to the Cold Water Supply CAUTION: DO NOT CONNECT THIS WATER LINE TO A HOT WATER SUPPLY LINE. The water supply to the unit MUST be from the COLD WATER LINE. Using HOT WATER will severely damage your filters. Turn off and then disconnect the current cold water supply line. - Page 8 Insert the shut-off valve with tube (J) straight into the quick connector piece of the feed water adapter (D). Tighten the nut on the feed water adapter. Gently tug on the tube (J) to ensure a secure connection with the feed water adapter (D).
-
Page 9: Make The Reverse Osmosis Waste Connections
3. Make the Reverse Osmosis Waste Connections The “RO” filter assembly requires a drain line connection to be installed, which removes rejected water to the sewer. The drain saddle connects the drain line from the dispenser to your drain pipe. The drain saddle is designed to fit around a standard 1.5 in. -
Page 10: Install The Faucet
4. Install the Faucet Ensure that you have a mounting hole in your sink or countertop for this faucet. If you do not, create a mounting hole no less than 1.0 - 1.2 in. (2.54 - 3.0 cm), Remove the washer (17) and lock nut (18) from the faucet. Ensure that you leave the O-ring (19) on the faucet (B). -
Page 11: Complete The Installation
5. Complete the Installation Connect the shut-off valve tube (J) to the inlet water connection (1). Connect the RO water tube (K) to the RO water connection (2). Connect the filtered water tube (K) to the filtered water connection (3). Connect the RO waste water tube (I) to the waste water connection (4). -
Page 12: Care And Maintenance
Care and Maintenance • Keep this device in a cool, dry place away from direct sunshine. • Use a clean, soft cloth to remove dust build-up. Do not use soap, detergent, or harsh abrasives. • If the filtration system is not going to be used for an extended period of time, close the shut-off valve on tube (J) and unplug the unit. -
Page 13: Troubleshooting
Troubleshooting Problem Probable Cause Solution The filters are generating a The filters will generate a light This is normal. light noise during operation. noise during operation. The water output volume has • The filter is jammed. • Flush or replace the filter. dropped. -
Page 14: Warranty
Warranty Brio (“Vendor”) warrants to the original purchaser of the Brio Water Filtration System (the “Product”), and to no other person, that if the Product is assembled and operated in accordance with the printed instructions accompanying it, then for a period of one (1) year from the date of purchase, all parts in the Product shall be free from defects in material and workmanship. - Page 15 Contact Us Call: +1 844-257-4103 ©2021 Brio Water Technology, Inc.
Need help?
Do you have a question about the AQUUS TROE600COL and is the answer not in the manual?
Questions and answers