Table of Contents
Advertisement
Quick Links
These instructions apply to all models listed. Details and procedures unique to a
F
F
REE
ALL
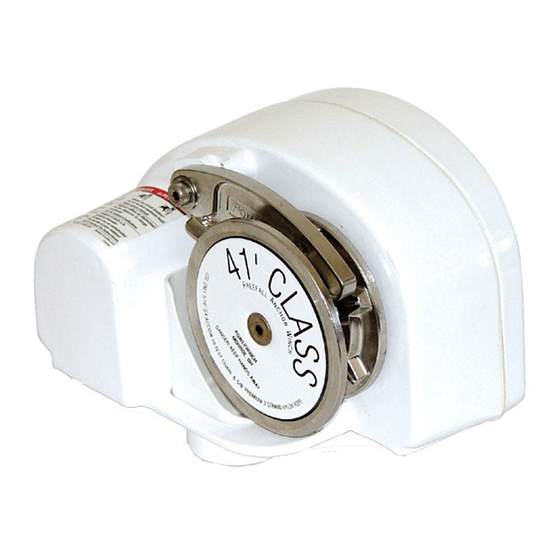
12 Volt Powered Winch
Power-In / Freewheel-out operation
Thoroughly read the manual furnished with this product and be
familiar with the controls. Do not allow individuals to operate
the winch without understanding the safe operation and
procedures for the equipment.
P1039005AVr6
specific model are labeled appropriately.
R
OPE AND
Printed in USA
O
WNER
36', 41' and 46' Class Anchor Winch
C
A
HAIN
NCHOR
'
M
S
ANUAL
W
INCH
PW46101
May, 2022
Advertisement
Table of Contents

Related Manuals for POWERWINCH PW46101


Summary of Contents for POWERWINCH PW46101
- Page 1 These instructions apply to all models listed. Details and procedures unique to a specific model are labeled appropriately. OPE AND HAIN NCHOR INCH PW46101 12 Volt Powered Winch Power-In / Freewheel-out operation Thoroughly read the manual furnished with this product and be familiar with the controls.
-
Page 2: Table Of Contents
ROPRIETARY TATEMENT The Powerwinch Anchor Winch is a product of Scott Fetzer Electrical Group or SFEG, located in Fairview, Tennessee, USA. The information contained in or to SFEG. Every effort has PROPRIETARY disclosed in this document is considered been made to ensure that the information presented in the document is accurate and complete. -
Page 3: Safety Information
36', 41' 46' A OWERWINCH NCHOR INCH AFETY NFORMATION The following Safety Precautions Must be Followed at ALL Times. Failure to follow the warnings and cautions in this manual could result in serious injury and/or property damage. WARNING This product can expose you to chemicals including Di-isodecyl phthalate (DIDP), Vinyl Chloride and Cumene, which are known to the state of California to cause cancer or birth defects or other reproductive harm. -
Page 4: Specifications
36', 41' 46' A NCHOR INCH OWERWINCH PECIFICATIONS AVIT OLLER This product requires the use of a closed loop davit or bow roller. Davit or bow roller must be installed prior to installing anchor winch to ensure proper performance. WARNING Use of a davit with an open loop is not recommended with this product. -
Page 5: Required Materials For Electrical Installation - 46' Class
EQUIRED EQUIRED HAIN 1/2" Diameter, 3 strand, medium lay, premium 1/4" Acco G4 nylon Powerwinch rope or New England Rope Hi-Test chain. 41' and 46' 5/8" Diameter, 3 strand, medium lay, premium 5/16" Acco G4 nylon Powerwinch rope or New England Rope Hi-Test chain. -
Page 6: Mounting The Unit
36', 41' 46' A NCHOR INCH OWERWINCH OUNTING THE P1053900AV Mounting Template 2 1/2" [63.5mm] Hole Thru 3/8" Hole Thru Winch Mounting Hole (3 Plcs) Center Of Rope Anchor Winch To Davit 3 1/4" [82.6mm] 2 5/16" (58.7mm] 5/16" 3 3/16" [7.9mm] [81mm] 5/8"... -
Page 7: Wiring The Unit
36', 41' 46' A OWERWINCH NCHOR INCH Place the mounting template on the deck in the desired location and secure with tape. • The winch must be placed above the rope locker. • The centerline of the gypsy must line up with the centerline of the davit or bow roller. -
Page 8: 36' & 41' Wiring
36', 41' 46' A NCHOR INCH OWERWINCH 36' & 41' W IRING Locate a suitable location for #10 Pan Head Screw (4 plcs) the switch. Ensure that there 1 " is adequate room behind the Locking mounting surface P o w e r Tabs w i n c h switch and wiring. - Page 9 36', 41' 46' A OWERWINCH NCHOR INCH 11. Connect the motor G wire to the new R wire with a 1/4 -20 screw and nut. REEN Position the wrap and lightly heat until it shrinks around the terminals. 12. Connect the motor B wire to the new B wire with a 1/4 -20 screw and LACK...
-
Page 10: 46' Wiring
36', 41' 46' A NCHOR INCH OWERWINCH 46' W IRING #8 Pan Head Screw Locate a suitable location for (4 plcs) the switch. Ensure that there is 1 " adequate room behind Locking P o w e r mounting surface for the switch Tabs w i n c h and wiring. -
Page 11: Testing The Unit
36', 41' 46' A OWERWINCH NCHOR INCH 12. At the winch position, terminate the wires from the winch and the ends of the new wires with 5/16" 6 awg ring terminals. Tip: Before making the mechanical connection, slide a 2 1/2" piece of the shrink tubing over one wire. -
Page 12: Operating The Anchor Winch
36', 41' 46' A NCHOR INCH OWERWINCH PERATING THE NCHOR INCH CAUTION use the winch to exclusively hold, support or EVER permanently secure the load. ALWAYS secure the rope to a deck cleat or similar device. NOTICE To prevent damage to the motor, do not operate the winch continuously for periods over 20 minutes. -
Page 13: Maintenance
Check rope periodically for abrasion or deep cuts. Never splice an old rope with a new rope. If replacement is necessary, use only Powerwinch® rope specifically designed for this product. Check chain periodically for bent links and corrosion. Damaged links can become jammed in gypsy or damage stripper and finger. -
Page 14: Replacement Parts List
36', 41' 46' A NCHOR INCH OWERWINCH EPLACEMENT ARTS DETAIL Windlass 36', 41' 8,10 P ow er w in ch W in dl as To rel ea se an ch sw itc h do wn or ho ld for 5 se co nd s Windlass 36', 41' P ow er... - Page 15 Circuit Breaker, 60A P7837300AJ Relay Module P1200000AJ Notes: 1. Spin Off Gear Kit (items 8 and 9) includes shock absorber kit (item 7). The following rope and chain rodes are available from Powerwinch. Part Number Chain Rope Model Use P10293 1/4 in.
-
Page 16: Warranty
OWERWINCH ARRANTY SFEG warrants to the retail Purchaser that the Powerwinch Product described in this FIRST manual is free of defects in material and workmanship within the terms and conditions as set forth below. SFEG’s obligation under this warranty is limited to the repair or replacement, at SFEG’s option, of any defective component within the stated warranty period.
Need help?
Do you have a question about the PW46101 and is the answer not in the manual?
Questions and answers