
Related Manuals for Spirit XE 125


Summary of Contents for Spirit XE 125
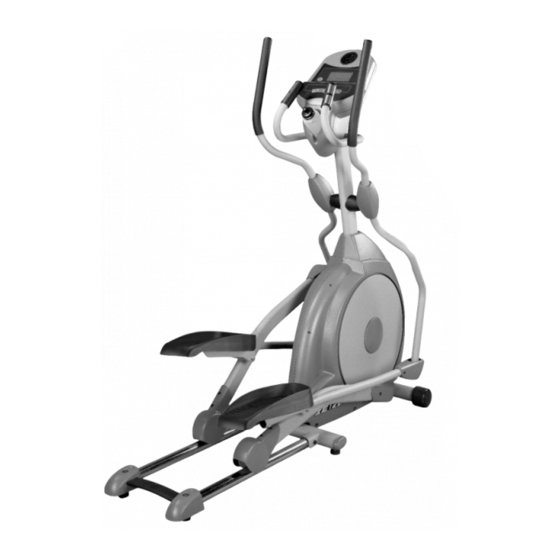
- Page 1 Z100 / Z300 Z500 Z700 OWNER’S MANUAL PLEASE CAREFULLY READ THIS ENTIRE MANUAL BEFORE OPERATING YOUR NEW ELLIPTICAL!
-
Page 2: Table Of Contents
Table of Contents Product Registration Important Safety Instructions Important Electrical Information Important Operation Instructions Assembly Instructions Operation of Your New Elliptical Manufacturer s Limited Warranty ATTENTION- THIS ELLIPTICAL IS INTENDED FOR RESIDENTIAL USE ONLY AND IS WARRANTED FOR THAT APPLICATION. ANY OTHER APPLICATION VOIDS THIS WARRANTY IN ITS ENTIRETY. -
Page 3: Product Registration
Through your dealer, Spirit will do all we can to make your ownership experience as pleasant as possible for many years to come. The local dealership where you purchased this elliptical is your administrator for all Spirit warranty and service needs. -
Page 4: Important Safety Instructions
Important Safety Instructions WARNING - Read all instructions before using this appliance. elliptical Do not operate elliptical carpet and may result. Keep children away from the caution areas that can cause harm. Keep hands away from all moving parts. Never operate the elliptical if it has a damaged cord or plug. If the elliptical is not working properly, call your dealer. -
Page 5: Important Electrical Information
Pushing harder is not going to make the unit go faster or slower. If you feel the buttons are not functioning properly with normal pressure, contact your Spirit dealer. to rain or moisture. This product is NOT designed for... -
Page 6: Assembly Instructions
Assembly Instructions UNPACKING THE UNIT 1. Using a razor knife (Box Cutter) cut the outside, bottom, edge of box along the dotted Line. Lift Box over the unit and unpack. 2. Carefully remove all parts from carton and inspect for any damage or missing parts. If damaged parts are found, or parts are missing, contact your dealer immediately. - Page 7 STEP 3: CONNECTING ARM ASSEMBLY 1. Align the hole in the end of the Connecting arms (L&R)(pivoting rod end) with the hole in the bracket of the Lower Handle Bars (L&R). The rod end should be on the inside of the Lower Handle Bars (L&R) bracket.
- Page 8 Assembly drawing step 1 XE Series Elliptical...
- Page 9 step 2 XE Series Elliptical...
- Page 10 step 3 XE Series Elliptical...
- Page 11 step 4 XE Series Elliptical...
-
Page 12: Operation Of Your New Elliptical
Transportation elliptical is equipped with two transport wheels which are engaged when rear of XE Series Elliptical is lifted. Operation of Your Elliptical Getting familiar with the control panel Starting a program Quick Start After the console powers up you may press the Start key to begin, this will initiate the Quick Start mode. - Page 13 Manual Using the Up/Down keys, highlight the Manual icon at the top of the display and press Enter key. The profile will be blinking and you may use the Up/Down keys to adjust the program work level and then press Enter. The Time window will now be blinking. Use the Up/Down keys to adjust the program Time and then press Enter.
- Page 14 User Program This mode allows you to build and save your own custom program. Press the Up or Down key until the User icon at the top of the display is blinking then press Enter. The first column of the profile will be blinking. Use the Up/Down keys to adjust the work level then press Enter.
- Page 15 FUNCTIONS TIME: Count up: accumulates training time from zero to 99:59. Count down: counts down from preset time to zero. SPEED/ RPM: Automatically toggles between SPEED and RPM every 6 seconds. Speed is in miles per hour (or kilometers per hour) DISTANCE: Count up: accumulates training distance from 0.00 to 99.99 miles.
-
Page 16: Manufacturer S Limited Warranty
3. If there is a question as to where to obtain service, contact our service department at (870) 935-1107. 4. If no local service is available, Spirit will repair or replace the parts, at Spirit s option, within the warranty period at no charge for parts.
Need help?
Do you have a question about the XE 125 and is the answer not in the manual?
Questions and answers