Table of Contents
Advertisement
Quick Links
Advertisement
Table of Contents

Summary of Contents for ATIGO A1001
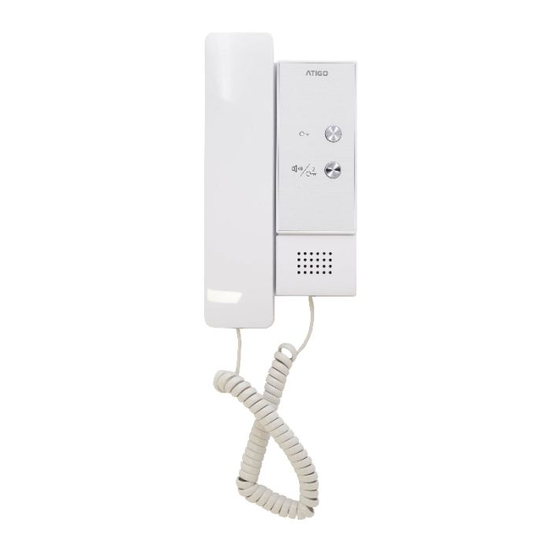
- Page 1 A1001 2-Wire Audio Receiver User Manual...
- Page 2 Contents Audio Receiver A1001........................... 3 Key functions............................3 Specification............................3 Terminal description ..........................3 Handset Mounting ..........................4 Operation Instructions ........................... 5 Door release ............................5 Intercom call ............................5 Doorbell button ..........................5 Setup Instructions ..........................5 Secondary Address Settings ......................... 6 Volume Settings ............................
- Page 3 Audio Receiver A1001 Key functions Terminal description Receptor is picked up to answer the visitor The audio door entry handset is configured by six DIP switches marked as DIP1. calls. The DIP switches can be modified before or Unlock button is used to release the door after installation.
- Page 4 Handset Mounting Make sure the cable is passed through the wall bracket. Fix the wall bracket to the wall at the appropriate height using two screws. Connect the wires to the BUS connector correctly Connect the connector to the audio handset Attach the audio handset to the wall bracket...
- Page 5 Check with your installer if the lock is electric Setup Instructions and if it can connect to the system. On the Atigo system every apartment must have a unique identification value, or user code. DIP1 switches 1 to 5 are used to set the user DIP1 switch 6 is used to match a video code according to below table.
- Page 6 Secondary Address Settings When using multiple audio receivers in the same apartment, the receivers must be set to the same user code and the Primary / Secondary type should be adjusted to ON accordingly on the receivers. To program we use DIP2 switches as follows DIP2 switches 1 and 2 are used to set the Primary / Secondary address or extended address...
- Page 7 To change the ringtone, while in Standby mode, pick the handset up and press K4 button to cycle through each group of ring tones. Hang up receptor to exit ring tone settings.


Need help?
Do you have a question about the A1001 and is the answer not in the manual?
Questions and answers