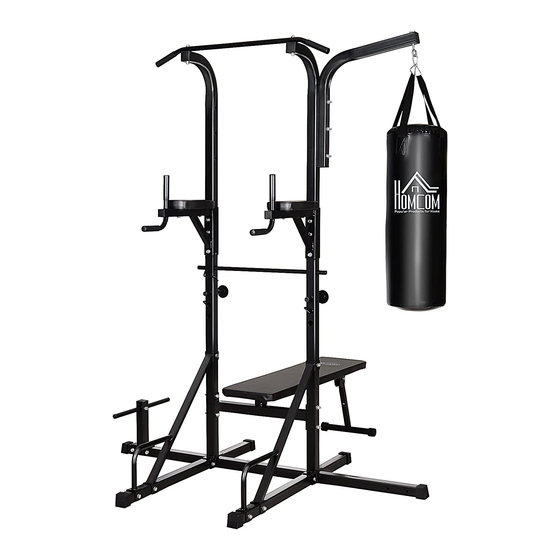
Summary of Contents for HOMCOM A91-080
- Page 1 INade072V02_UK A91-080 MUTIL POWER RACK IMPORTANT, RETAIN FOR FUTURE REFERENCE: READ CAREFULLY ASSEMBLY INSTRUCTION...
- Page 2 Important Safety Information Please keep this manual in a safe place for reference. 1. It is important to read this entire manual before assembling and using the equipment. Safe and efficient use can only be achieved if the equipment is assembled, maintained and used properly.
-
Page 3: Parts List
PARTS LIST 1× B 2× C 2× D 1× 2× F 2× 2× H 2× I 2× J 1× 6× L 2× 2× N 1× O 2×... - Page 4 PARTS LIST 2× Q 1× 1× S1 20× S2 2× S3 3× M10X70 M10X65 M10X115 4× S5 59× S6 28× S7 1× M10X20 1× S9 1× T 2× 1× V 1× W1 5× 1× M8X50 M8X40 2× W4 6× W5 1×...
-
Page 5: Assembly Drawing
ASSEMBLY DRAWING Fasten the back stand tube (D) to the backrest tube (N) with a detent pin (S7), a hex bolt (W1), two washers (W6) and a nylon nut (W5). Attach the backrest (A) to the backrest tube (N) with six hex bolts (W4) and six washers (W6). - Page 6 Attach the rotation axis (Q) to the backrest tube (N) with a hex bolt (W2). Attach the base tubes (F) to the stand tubes (E) with two hex bolts (W3), four washers (S5) and two nylon nuts (S6). Screw the stand tubes (E) and the rotation axis (Q) together with two hex bolts (S4) and two washers (S5).
- Page 7 Put the four foot caps (K) onto the base tubes (F). Attach the support frames (B) to the stand tubes (E) and the base tubes (F) with four hex bolts (S1), eight washers (S5) and four nylon nuts (S6). Attach the connecting tubes (P) to the base tubes (F), the stand tubes (E) and the four short support plates (H) with eight hex bolts (S1), 16 washers (S5) and eight nylon nuts (S6).
- Page 8 Insert the upper stand tubes (G) into the stand tubes (E). Then attach the arm frames (C) and the long support plates (X) to the stand tubes (E) with six hex bolts (S1), 12 washers (S5) and six nylon nuts (S6). Attach the top bar (J) to the upper stand tubes (G) with two hex bolts (S2), four washers (S5) and two nylon nuts (S6).
- Page 9 Assembly of the arm cushions 1. Attach the handle bars (O) to the arm frames (C) with two hex bolts (S4) and two washers (S5). 2.Attach the arm cushions (M) to the arm frames (C) with four hex bolts (W1) and four washers (W6).
-
Page 10: Exercise Instructions
EXERCISE INSTRUCTIONS Using your machine will provide you with several benefits, it will improve your physical fitness, tone muscle and in conjunction with a calorie controlled diet help you lose weight. 1.The Warm Up Phase This stage helps get the blood flowing around the body and the muscles working properly. It will also reduce the risk of cramp and muscle injury.


Need help?
Do you have a question about the A91-080 and is the answer not in the manual?
Questions and answers