Advertisement
Quick Links
CARE INSTRUCTIONS:
TO BE ASSEMBLED ON A CLEAN, DRY AND SMOOTH SURFACE. WIPE CLEAN WITH A DRY CLOTH. NEVER USE
SCOURERS, ABRASIVES OR CHEMICAL SOLVENTS. CHECK AND TIGHTEN ALL PARTS REGULARLY. KEEP AWAY FROM
MOISTURE AND DIRECT SUNLIGHT.STORE IN A DRY PLACE.FOR INDOOR USE ONLY.
WARNING:
DO NOT STAND, SIT OR LEAN ON THIS UNIT. DO NOT USE THIS UNIT AS A STEP LADDER OR AS A CHOPPING SURFACE.
ENSURE THIS UNIT IS USED ONLY ON A FLAT SURFACE. DO NOT USE THIS UNIT UNLESS ALL BOLTS AND SCREWS ARE
FIRMLY SECURED. DO NOT PLACE HOT ITEMS SUCH AS COFFEE CUPS DIRECTLY ON THE SURFACE OF THIS FURNITURE
ITEM. KEEP AWAY FROM CHILDREN AND BABIES. THIS PACKAGE CONTAINS SMALL PARTS AND SHARP POINTS. ADULT
ASSEMBLY REQUIRED. A MILD ODOUR MAY BE PRESENT WHEN FIRST OPENING THIS CARTON. SIMPLY ALLOW TO AIR
OUTSIDE AND THIS WILL FADE. MAXIMUM SAFE LOAD: 20KGS FOR TOP,
KGS FOR INSIDE SHELF.
M3x14mm
10pcs
8pcs
N
2pcs
M3x40mm
Advertisement

Subscribe to Our Youtube Channel
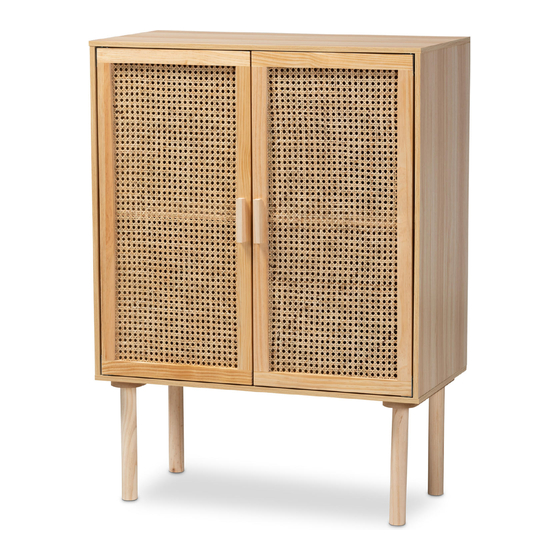
Summary of Contents for Baxton Studio FM203-008-NATURAL WOODEN-CABINET
- Page 1 CARE INSTRUCTIONS: TO BE ASSEMBLED ON A CLEAN, DRY AND SMOOTH SURFACE. WIPE CLEAN WITH A DRY CLOTH. NEVER USE SCOURERS, ABRASIVES OR CHEMICAL SOLVENTS. CHECK AND TIGHTEN ALL PARTS REGULARLY. KEEP AWAY FROM MOISTURE AND DIRECT SUNLIGHT.STORE IN A DRY PLACE.FOR INDOOR USE ONLY. WARNING: DO NOT STAND, SIT OR LEAN ON THIS UNIT.
- Page 2 Attach (K) to Part (5) & (6) by Attach handle (F) to Part securing with screw (H). (6) & (7) by aligning holes and securing with screw(E).
- Page 3 Attach Part (4)&(5) to Part (3) by inserting wooden dowel(A) and camlock (B)&(C). Firstly , Insert Part(9) to Part (3)(4)(5) as below instruction. Secondly, Insert Part (9) to Part (1) as below instruction and also attach Part(4)(5) to Part(1) by inserting wooden dowel (A) and securing with camlock (B)&...
- Page 4 Firstly , Insert Part(9) to Part (3)(4)(5) as below instruction. Secondly, attach Part(2) to Part (3)(4)(5)(9) by inserting wooden dowel (A) and male camlock (B). Insert Part (6)&(7) to Part (1)(2) by aligning holes. Attach Part (2)to Part (4)(5) by securing with female camlock(C).
- Page 5 Rotate leg (10) into the bottom one by one by aligning hole. Tighten each leg before turning assembled product upside down . Attach Part(8) to Part(1) by securing with screw (L). Attach (G) to each corner by securing with screw (D). Fix wall strap (I)to the product by securing with screw (D) and washer (J).
- Page 6 Drill Hole on the wall. Hammer (M)into the hole on the wall. Fix wall strap(I) to (M) by securing with screw (N) and washer (J) .


Need help?
Do you have a question about the FM203-008-NATURAL WOODEN-CABINET and is the answer not in the manual?
Questions and answers