Advertisement
Quick Links
Advertisement

Related Manuals for Baxton Studio WI12936


Summary of Contents for Baxton Studio WI12936
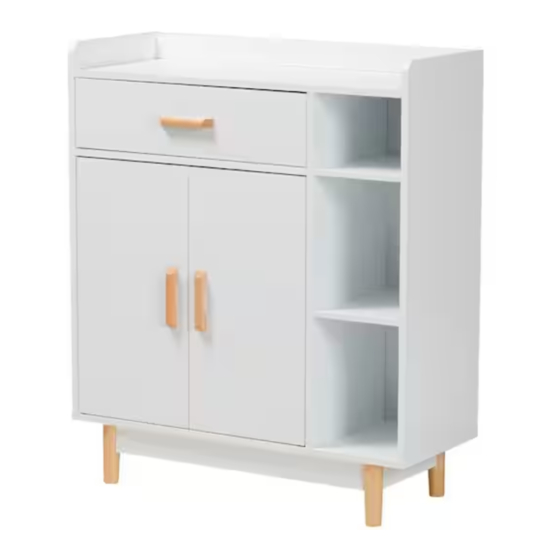
- Page 1 WI12936...
- Page 2 Parts Parts Parts Top Panel Border Top Panel Leg Support Slat Apron Left Side Panel (Front and Back) (Under the drawer) Leg Support Slat Right Side Panel Movable Shelf (Left and Right) Leg Support Panel Spacer Plate Front Drawer Panel Back Panel Slat Left Drawer Side Panel Bottom Panel...
- Page 3 Hardware Cam Lock Cam Bolt Wooden Dowel Self-tapping Screw 3*12MM Drawer Slide Self-tapping Screw 4*35MM Button Head Screw 4*40MM Self-tapping Screw 4*25MM Cross Flat Head Bolt Washer Plastic Connector Wooden Handle Button Head Bolt 4*20MM Iron Nail (for Movable Shelf) Self-tapping Screw 4*30MM Button Head Bolt 4*10MM Self-tapping Screw 4*14MM...
- Page 4 Step 1 Stretch Hardware E and fix it to Part 2 with D Bx12 Fix Hardware B to Part 2&3 Step 2 Stretch Hardware E and fix it to Part 4 with D Fix Hardware B to both sides of Part 4...
- Page 5 Step 3 Fix Hardware R to Part 10 with Q Connect Part 10 to 4 with Hardware A Step 4 Connect Part 6 to 4 with Hardware A...
- Page 6 Step 5 Fix Hardware B to Part 1 Connect Part 9 with 1 with Hardware F Step 6 Attach Part 1 to 4 with Hardware C&A( C first)
- Page 7 Step 7 Insert Hardware C into Part 1&9 Attach Part 2 to 1&9&10 with Hardware A Step 8 Attach Part 3 to 1&9&10 with Hardware C&A © first)
- Page 8 Step 9 Insert Part 8 along the slots of 3&4 Connect Part 7 with 21 and insert them along the slots of 2&4 Step 10 Lock Part 5 to 2&4&3 with C&F ( C first)
- Page 9 Step 11 Connect Part 19 to 5 with C&G ( C first) Step 12 Connect Part 18 to 5 with C&G ( C first)
- Page 10 Step 13 Lock Part 20 to 18&19 with Hardware H Hx16 Step 14 Conncect Part 17 to 20 with Hardware J&I...
- Page 11 Step 15 Install Hardware L on Part 22&23 with M Install Hardware S on Part 22&23 with D Step 16 Turn the cabinet upside down Insert Hardware K into Part 22&23 Install Part 22&23 to the cabinet frame...
- Page 12 Step 17 Insert Hardware N into Part 2&4 and place 11 on N Step 18 Connect Part 15 to 13&14 with Hardware O Insert Part 16 along the slots of 13&14 Install Hardware L to Part 12 with M and connect 12 to 13&14 with B&A...
- Page 13 Step 19 Attach drawers to slides E with Hardware P...
Need help?
Do you have a question about the WI12936 and is the answer not in the manual?
Questions and answers
How do i put on the E piece in step one? I need a visual
Step 1 does not mention installing piece E. The first mention of piece E appears in Step 19, where drawers are attached to slides E with Hardware P. Therefore, there are no instructions for installing piece E in Step 1.
This answer is automatically generated
@Mr. Anderson . Looking right at it