Advertisement
Quick Links
NO
PART LIST
QTY
1
BACK REST
1PC
SIDE PANEL
1PC
2
(L)
SIDE PANEL
1PC
3
(R)
FRONT
4
1PC
SIDE RAIL
BACK
1PC
5
SIDE RAIL
6
LEG
4PCS
SLAT
7
2 SET
7pcs
CENTER
1PC
8
SUPPORT
SUPPORT
2PCS
9
LEG
TRUNDLE
10
1PC
FRONT RAIL
TRUNDLE
11
1PC
BACK RAIL
TRUNDLE
2PCS
12
SIDE RAIL
TRUNDLE
2 SET
13
SLAT
5pcs
TRUNDLE
14
3PCS
SUPPORT
15
CASTOR
6PCS
QTY
ITEM
HARDWARE
JCBB SCREW
A
20PCS
M8 x 20MM
JCBC SCREW
B
4PCS
M6 x 35MM
JCBC SCREW
C
16PCS
M6 x 50MM
D
SPRING WASHER
16PCS
FLAT WASHER
E
4PCS
(BIG)
FLAT WASHER
12PCS
F
(SMALL)
SCREW
G
24PCS
M4 x 16MM
SCREW
H
22PCS
M4 x 32MM
L - KEY
1PC
I
M4 x 100MM
L - KEY
J
1PC
M5 x 65MM
K
STOPPER
2PCS
Please do not tighten the hardware until the entire assembly is completed.
STEP 1
Begin assembly by attaching each Leg (6) to the bottom of the
Side Panel (2) & (3) securing with 2 Allen Bolt (B) per panel using
L-key (I).
L
2
B
I
STEP 3
Attach the Back Rest (1) to each Side Panel (2) & (3) by aligning the
hole and securing with 2 Allen Bolts (C), 2 Spring Washer (D), 2 Flat
Washer (E) per each end using L-key (I) as picture below.
(DO NOT FULLY TIGHTEN BOLTS FOR THIS STEP)
1
2
5
4
STEP 2
Attach the Front Rail (4) and Back Rail (5) to the Side Panel (2) & (3)
by aligning holes and securing with 2 Allen Bolts (A) per each end using
L-key (J). (DO NOT FULLY TIGHTEN BOLTS FOR THIS STEP)
R
3
6
STEP 4
Secure 2 Support Leg (9) to the Center Support (8) as shown on step 4.1.
Tighten the Support Leg (9) clockwise until secure. Insert the pre-set
metal on Center Support (8) to the metal bracket on each side of Side
Panel (2) & (3) as step 4.2. Then securing the metal bracket as shown in
step 4.3 with 1 Screw (H) each side using Phillips Head Screwdriver
(NOT INCLUDED)
D
E
C
I
STEP 4.2
STEP 4.3
3
2
5
4
8
2
4
H
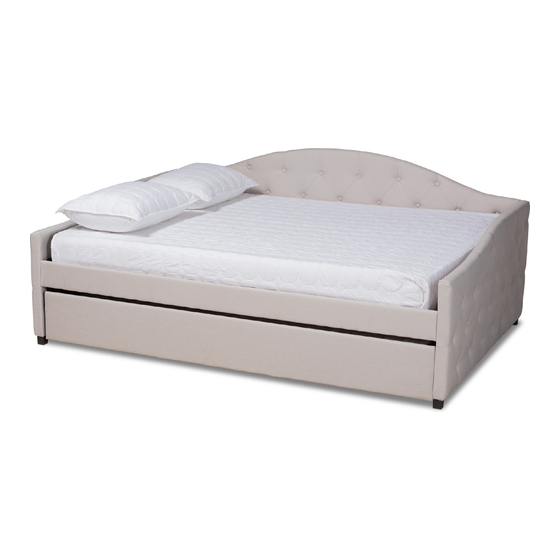
BECKER F/T DAYBED
BECKER Q/T DAYBED
J
A
3
STEP 4.1
8
9
1
5
3
Advertisement

Subscribe to Our Youtube Channel
Related Manuals for Baxton Studio BECKER F/T DAYBED


Summary of Contents for Baxton Studio BECKER F/T DAYBED
- Page 1 BECKER F/T DAYBED BECKER Q/T DAYBED STEP 1 STEP 2 PART LIST Begin assembly by attaching each Leg (6) to the bottom of the Attach the Front Rail (4) and Back Rail (5) to the Side Panel (2) & (3) BACK REST Side Panel (2) &...
- Page 2 STEP 5 STEP 6 Tighten All Bolts from step 1 to step 4 by using L-key (I) & (J) that has been provided. Attach the Stopper (K) to the front side of Side Panel (2) & (3) each side by Attached Slat (7) to Front Side Rail (4) &...
- Page 3 STEP 8 STEP 9 Begin with attaching Trundle Side Rail (12) to Front Rail (10) Attaching 2 Castors (15) to the bottom of Trundle Support (14) & Back Rail (11) using 2 Bolts (A) per corner. according to the pre-mark line. Securing with 4 Screws (G) Tighten bolts with Allen Key (J) provided.
Need help?
Do you have a question about the BECKER F/T DAYBED and is the answer not in the manual?
Questions and answers