Advertisement
Quick Links
EN
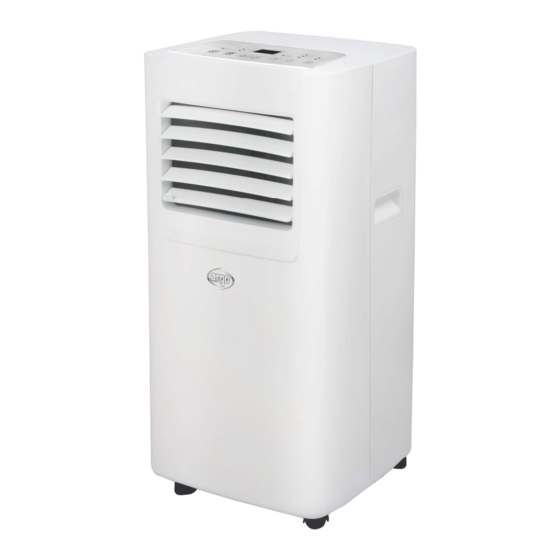
PORTABLE AIR CONDITIONER (LOCAL)
KENNY EVO
OPERATING INSTRUCTIONS
Read the instructions carefully before operating the appliance or carrying out maintenance work.
Observe all the safety instructions; failure to do so may lead to accidents and/or damage. Store these
instructions in a safe place for future reference.
Advertisement

Related Manuals for Argo KENNY EVO


Summary of Contents for Argo KENNY EVO
- Page 1 PORTABLE AIR CONDITIONER (LOCAL) KENNY EVO OPERATING INSTRUCTIONS Read the instructions carefully before operating the appliance or carrying out maintenance work. Observe all the safety instructions; failure to do so may lead to accidents and/or damage. Store these instructions in a safe place for future reference.
-
Page 2: Remove Front Panel
I. Remove the top cover assembly 1. remove the three screws behind the top cover assembly with a screwdriver and remove the filter; 2. use the hand to buckle the back sides of the top cover, after the top cover assembly is separated from the body, the front panel and the top cover assembly edge are lightly arranged with the palm, so that the top cover buckle is separated from the front panel. - Page 3 with the side of the stop button; finally, remove the rear shell backward. III. Split top cover, display PCB plate 1. push the four clasps of the middle small top cover buckle on the large top cover to the middle, the small top cover can be removed from the large top cover.
- Page 4 IV. Dismantling of the front shell 1. remove the left and right six screws fixed to the front housing with the internal assembly with one screw at the front bottom. V. Dismantling the electronic control box 1. remove the two screws on the cover of the electronic control box and pull out the electronic control box.
- Page 5 VI. Dismantling the volute of the upper duct 1. remove the top cover and three screws fixed to the upper duct volute with a screwdriver. 2. use tools to fix the upper wheel blade do not rotate the lock in the motor of the reverse nut removed to remove the wind wheel.
- Page 6 VII. Dismantling the volute of the lower duct 1. remove the screws fixed on the lower duct volute and on the left and right sides of the evaporator. 2. remove the left and right side screws under the lower duct volute and under the condenser.
- Page 7 6. the motor write down the four screws on the duct volute, remove the motor. VIII. Dismantling of the refrigeration system 1. remove the two screws of the main bracket fixed on the chassis and remove the main bracket. 2. the three nuts of the fixed compressor foot are rotated separately, the nut and gasket are taken out, and the refrigeration system composed of compressor, condenser and evaporator is raised upward.
- Page 8 IX. Split Chassis Components 1. remove the two screws that hold the main frame on the chassis and remove the main frame. 2. remove the two screws that hold the water heater on the chassis and remove the water heater. Remove a screw from the water level switch on the chassis and remove the water level switch.
- Page 10 REGULATION (EU) No. 517/2014 – F-GAS The unit contains R410A, a fluorinated greenhouse gas with global warming potential (GWP) = 2087.50. 0.260 kg = 0.543 CO equiv. tons. Do not release R410A into the atmosphere. www.argoclima.com...
Need help?
Do you have a question about the KENNY EVO and is the answer not in the manual?
Questions and answers