Table of Contents
Advertisement
Quick Links
EN
PORTABLE AIR CONDITIONER (LOCAL)
ORION PLUS
OPERATING INSTRUCTIONS
Read the instructions carefully before operating the appliance or carrying out maintenance work.
Observe all the safety instructions; failure to observe the instructions may lead to accidents and/or
damage. Store these instructions in a safe place for future reference.
V 01/21
17
Advertisement
Table of Contents

Subscribe to Our Youtube Channel
Related Manuals for Argo ORION PLUS


Summary of Contents for Argo ORION PLUS
- Page 1 PORTABLE AIR CONDITIONER (LOCAL) ORION PLUS OPERATING INSTRUCTIONS Read the instructions carefully before operating the appliance or carrying out maintenance work. Observe all the safety instructions; failure to observe the instructions may lead to accidents and/or damage. Store these instructions in a safe place for future reference.
- Page 2 Appliance is filled with flammable gas R290. Before installing and using the appliance, read the owner manual. Before installing the appliance, read the installation manual. Any repairs you need, contact the nearest authorized Service Centre and strictly follow manufacturer’s Service Manual. The Refrigerant R290 ...
- Page 3 GENERAL OPERATING AND SAFETY INSTRUCTIONS This appliance is a local air conditioner designed for domestic use. Only use this air-conditioner as described in this manual. Ensure that the required voltage and frequency (220-240V/50 Hz) match the available power source. ...
- Page 4 Do not install the air conditioner in rooms where it may receive water splashes (e.g. laundry rooms). This air conditioner can be used by children of 8 years of age or older, and by persons with reduced physical, sensory and mental abilities or who lack the necessary know-how and experience to operate it, if under the supervision or instruction of a person responsible for their safety, so that they are fully aware of the attendant risks.
- Page 5 WARNING! The air conditioner must be positioned at least 50 cm from the wall or any other obstacles, on a flat and stable surface so as to avoid water leaks. The air conditioner is fitted with a system for protecting the compressor from overload.
-
Page 6: Description Of The Appliance
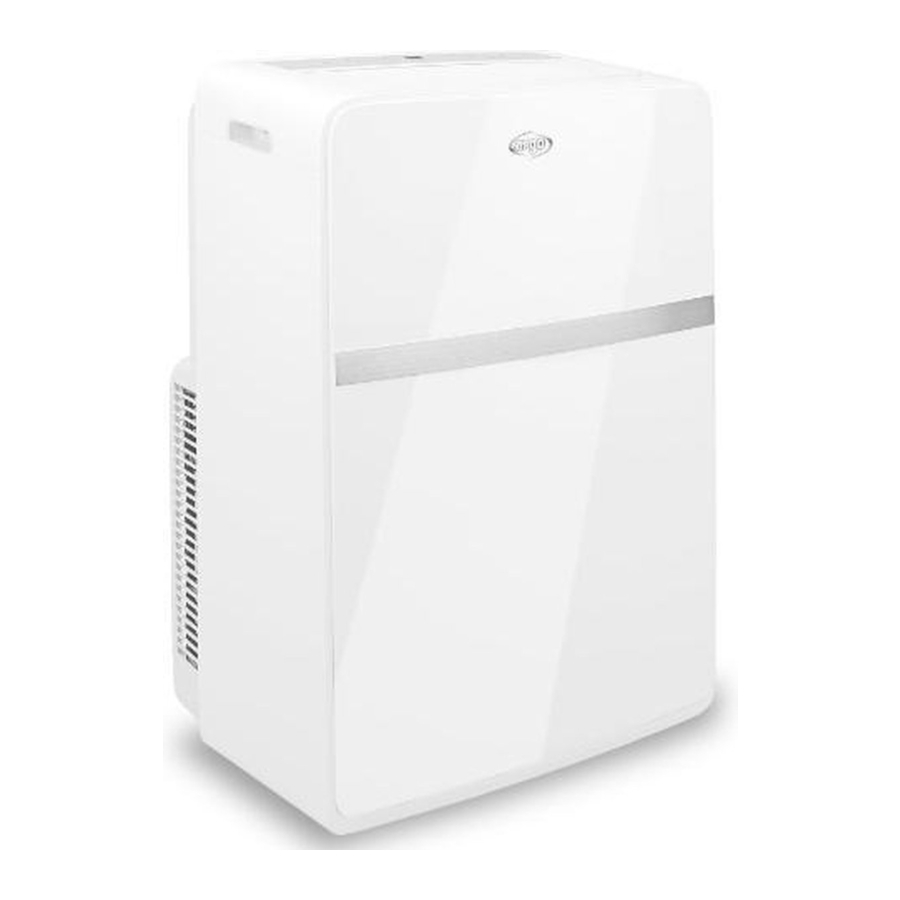
DESCRIPTION OF THE APPLIANCE FRONT VIEW REAR VIEW VERTICAL FINS AND AIR INTAKE HANDLE FRONT PANEL DRAIN HOSE AIR OUTAKE CONTROL PANEL AND FUNCTION BUTTONS WITHOUT REMOTE CONTROL 10) POWER CORD FILTER 12) REMOTE CONTROL AIR INTAKE CORD CABLE CLAMP Min/max operating limits (internal temperature) Cooling: 16 °C DB / 35 °C DB Dehumidification: 16 °C DB / 35 °C DB... -
Page 7: Appliance Start-Up
PRE-OPERATING CHECKS AND OPERATIONS The following space must be maintained to ensure the operating efficiency of the portable air conditioner. APPLIANCE START-UP Open the packaging and remove the box from above. Remove the product and the other elements supplied (illustrated in the box below). LCD remote control Round fitting for window (1) to be positioned between... - Page 8 2. Slide the flat fitting downwards into the grooves (A) and secure it with the hook on top (B). Open the windows and lock one of the two leaves with the handle. Place the end fitting against the fixed leaf of the window,and draw the other leaf towards it USE WITH WINDOW UNIT KIT To make the hole in the glass it is advisable to take...
-
Page 9: How To Use The Appliance
5. If the air conditioner is not used for prolonged periods, disconnect the pipe and plug the window unit. Connect the power cord to a suitable electric socket (220–240 V). Insert the supplied batteries into the remote control and make sure the poles match. Select the desired operating mode from the remote control. HOW TO USE THE APPLIANCE This appliance can be used for cooling, dehumidifying, ventilating and heating. -
Page 10: Heating Mode (Heat)
2. HEATING MODE (HEAT) The “Heat” LED on the control panel will turn on. The temperature can be adjusted to between 16 °C and 32 °C. In this mode, each time the ON/OFF button is pressed the unit switches off, the appliance saves the temperature setting and retains this setting when it is switched on again. -
Page 11: Remote Control Operation
Dehumidification WARNING! When using the air conditioner in dehumidification mode, we recommend always ensuring continuous drainage, in order to maximise dehumidification efficiency. Use the drainage outlet on the appliance. The water can be drained into a drain by simply connecting a tube with 14 mm internal diameter (not supplied). -
Page 12: On/Off Button
FOR OPTIMUM OPERATION OF THE REMOTE CONTROL, ADDRESS THE TRANSMITTER HEAD TOWARDS THE RECEIVER LOCATED ON THE AIR CONDITIONER. To operate the remote control, press the ON / OFF button on the handset. The icon on the remote control display will flash once and you will hear a sound signal indicating that the signal has been sent to the air conditioner. -
Page 13: Care And Maintenance
(5) MODE SELECTION BUTTON (MODE) Press this button to select the various operating modes, according to the following sequence: In the COOL mode the display lights up. In the DRY and FAN modes the display does not light up. (6) SLEEP BUTTON Press this button to activate the Sleep function, which automatically adapts the temperature to changes in body and room temperature throughout the night, so as to optimise comfort when sleeping and minimise consumption. - Page 14 1. Cleaning the air filters The air filter must be checked at least once every two weeks of operation. Operating with dirty or clogged filters will decrease the effectiveness of the air conditioner and can cause serious problems. To remove the filter, release the rear grille then slide out the filter by gently pulling it sideways. Use a vacuum cleaner to remove any dust.
- Page 15 REGULATION (EU) No. 517/2014 – F-GAS The unit contains R290, a natural greenhouse gas with global warming potential (GWP) = 3 - Kg. 0.21 = 0.00063 Tons CO equiv. Do not release R290 into the atmosphere. INFORMATION FOR THE CORRECT DISPOSAL OF THE PRODUCT IN ACCORDANCE WITH EUROPEAN DIRECTIVE 2012/19/EU This appliance may not be scrapped with domestic waste at the end of its life cycle.
Need help?
Do you have a question about the ORION PLUS and is the answer not in the manual?
Questions and answers