Table of Contents
Advertisement
Quick Links
VANGUARD II 16x8H
16CH / H.265 / Hybrid DVR
Quick Installation Guide
Copyright © EverFocus Electronics Corp.
Release Date: April 2022
All the images including product pictures or screen shots in this document are for example only. The images may
vary depending on the product and software version. Information contained in this document is subject to
change without notice.
EverFocus Taiwan:
2F., No.12, Ln. 270, Sec. 3, Beishen Rd., Shenkeng Dist., New Taipei City 222, Taiwan
TEL: +886 2 2662 2338 FAX: +886 2 2662 3632
www.everfocus.com.tw marketing@everfocus.com.tw
Advertisement
Table of Contents

Related Manuals for EverFocus VANGUARD II 16x8H


Summary of Contents for EverFocus VANGUARD II 16x8H
- Page 1 VANGUARD II 16x8H 16CH / H.265 / Hybrid DVR Quick Installation Guide Copyright © EverFocus Electronics Corp. Release Date: April 2022 All the images including product pictures or screen shots in this document are for example only. The images may vary depending on the product and software version.
-
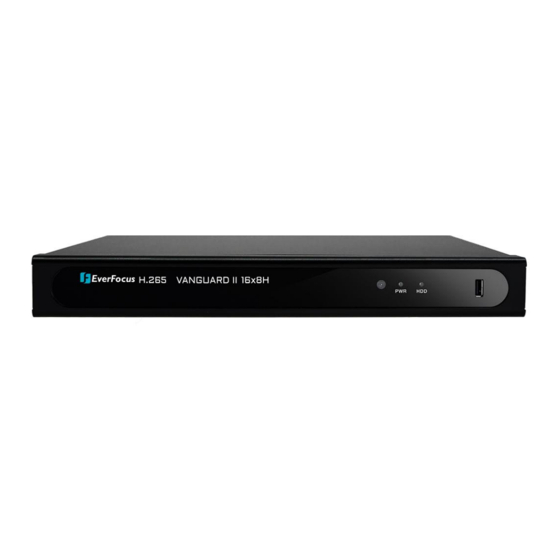
Page 2: Front Panel
1. Overview 1.1 Front Panel Name Description IR Receiver Receiver for signals from the IR remote control. Power: When power is on, the LED will continue lighting in green. LED Indicator HDD: When power is on, the LED will continue lighting in red. When HDD is reading/writing data, the LED will flashes red. -
Page 3: Packing List
Note: 1. Equipment configurations and supplied accessories vary by country. Please consult your local EverFocus office or agents for more information. Please also keep the shipping carton for possible future use. 2. Contact the shipper if any items appear to have been damaged in the shipping process. - Page 4 2. Basic Installation 2.1 Hard Disk Installation You can install two 3.5” HDDs inside the DVR for recording videos. The maximum capacity of each HDD is 8TB. 1. Make sure the DVR is power-off. 2. Unscrew the eight housing screws (4 on the rear panel, 2 on the left and right side each). To remove the housing cover from the DVR, push the cover backward and then lift it.
-
Page 5: Hard Disk Compatibility List
2.2 Hard Disk Compatibility List Please go to EverFocus’ Website www.everfocus.com.tw, and go to Support > Product Marketing to search for and download the Storage Compatibility Table. It’s recommended to use the hard disk models listed on the table to ensure your hard disks will be compatible. -
Page 6: Turning On/Off The Power
4. Turning On / Off the Power Before powering on the DVR, please make sure the internal HDD have been installed properly. Once you have completed the basic cable connections, you are ready to turn on the DVR. Simply plug in the power source and then press the Power Switch on the rear panel of the DVR. The POWER LED will light up if power is normal and the DVR will enter the System Initialization process. - Page 7 The P2P function allows users to add DVRs to EverFocus’ eFVMS App through QR code. 1. Install EverFocus eFVMS App. For Android users, go to Google Play Store. For iOS users, go to Apple Store. After the installation process is complete, start eFVMS App.
-
Page 8: Ir Remote Control
4. The DVR is now added and connected to the App. You can start accessing the DVR. VANGUARD II 8x4H VANGUARD II 8x4H – CH1 [P2P] VANGUARD II 8x4H 6. IR Remote Control Key1-8: Channel Select; Numeric Keys Key9, 0: Numeric Keys Multiple Display Mode Enter into Main Menu / Exit Enter into Submenu...
Need help?
Do you have a question about the VANGUARD II 16x8H and is the answer not in the manual?
Questions and answers