
Subscribe to Our Youtube Channel
Related Manuals for Birlea URBAN 4 DOOR WARDROBE ME53978895


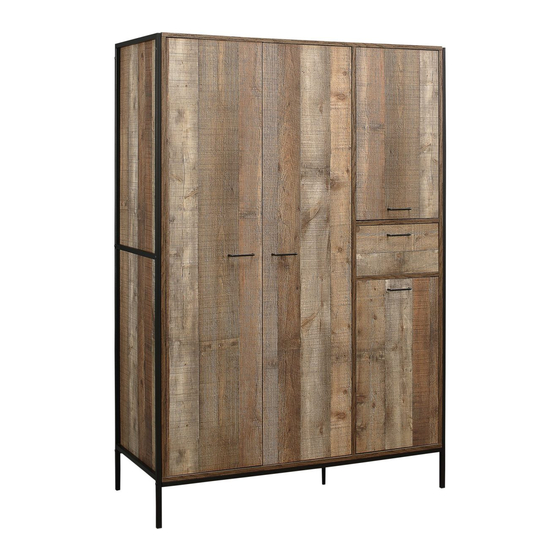
Summary of Contents for Birlea URBAN 4 DOOR WARDROBE ME53978895
-
Page 2: Health And Safety
Periodically check all screws & fixings to ensure they are secure. DO NOT push this product as this will cause damage. Always lift this product with two people to repositions. Keep any sharp objects away from this product . Page of 10 www.birlea.com... - Page 3 Vendor: S000350 Parts List Hardware List ( BOX 3 ) Part Descripion Qty Part Description Top panel Cam lock Bottom panel Minifix screw Side panel ( Left ) Plastic cap Side panel ( Right ) M8 x 30mm Wood Dowel Center panel M6 x 50mm CSK Cap Wood screw Middle panel ( Left )
- Page 4 Vendor: S000350 Step 1: Prepare these parts for assembly using hardware parts A1, A2, B, D, E, L, M and Q1. DO NOT use any power tools as this may damage the frame and will invalidate any claim. A2 A2 A2 A2 A2 A2 Left face...
- Page 5 Vendor: S000350 Step 2: Attach the panel (6) and (10) to panel (3) using hardware A1 and A3 with a screwdriver (not provided). DO NOT use any power tools as this may damage the frame and will invalidate any claim. Step 3: Insert the panel (12) along the slot.
- Page 6 Vendor: S000350 Step 5: Attach the panel (7), (9) and (11) to panel (5) using hardware A1 and A3 with a screwdriver (not provided). DO NOT use any power tools as this may damage the frame and will invalidate any claim. Step 6: Insert the panel (13) along the slot.
- Page 7 Vendor: S000350 Step 8: Attach the panel (3), (4) and (5) to panel (1) using hardware A1 and A3 with a screwdriver (not provided). DO NOT use any power tools as this may damage the frame and will invalidate any claim. Step 9: Attach the panel (2) to panel (3), (4) and (5) using hardware C and F.
- Page 8 Vendor: S000350 Step 11: Attach the Metal Middle (22) to panel (2) using hardware I and F. Assemble hardware R onto panel (2) using hardware D with a screwdriver (not provided). DO NOT use any power tools as this may damage the frame and will invalidate any claim. Step 12: Attach the Metal Side (21) to panel (3) and (4) using hardware I and F.
- Page 9 Vendor: S000350 Step 13: Attach hardware N into hardware M. Insert hardware P into mounting positions on panel (4) and (5). DO NOT use any power tools as this may damage the frame and will invalidate any claim. Step 14: Assemble the panel (8) between panel (4) and (5). DO NOT use any power tools as this may damage the frame and will invalidate any claim.
- Page 10 Vendor: S000350 Step 16: Attach panel (14) to panel (3) and (5) using hardware D with a screwdriver (not provided). Attach panel (15) and (16) to panel (4) using hardware D with a screwdriver (not provided). DO NOT use any power tools as this may damage the frame and will invalidate any claim. Vertical Adjustment Horizontal...
- Page 11 Ensure the head of any screw used has a diameter greater than the mounting hole and the fixing is safe and secure before use. Birlea Furniture advise you use the wall straps provided to further enhance the safety of this product.
Need help?
Do you have a question about the URBAN 4 DOOR WARDROBE ME53978895 and is the answer not in the manual?
Questions and answers