Advertisement
SERRATURE PER ANTE
CON BLOCCO A TENAGLIA
ISTRUZIONI DI MONTAGGIO/ NOTICE DE POSE /
Queste istruzioni sono valide per le serrature serie 35. I disegni degli articoli riportati sotto ogni paragrafo sono
rappresentativi delle serrature ad 1/2/3 punti di chiusura, pertanto possono non corrispondere alla serratura
contenuta nella confezione. La sequenza di montaggio, anche per le serrature a 2 e 3 punti di chiusura, inizia
sempre dal paragrafo "1 PUNTO DI CHIUSURA".
Ces instructions sont valides pour les serrures sèrie 35. Les dessins indiqués sous chaque paragraphe sont
seulement représentatifs des serrures avec 1/2/3 points de fermeture, donc il est possible qu'ils ne correspondent
pas à l'article contenu dans l'emballage. Aussi pour les serrures 2 et 3 points, la séquence d'installation
commence toujours par le paragraphe "SERRURES 1 POINT ".
These instructions are valid for all the locks series 35. The drawings under each paragraph are only
representative of locks with 1/2/3 points locking, so they could not correspond to the article in the packing. Also
for the 2- and 3-point locks, the installation sequence begins always from the paragraph "1 POINT LOCKING".
1 PUNTO DI CHIUSURA / SERRURES 1 POINT / 1 POINT LOCKING
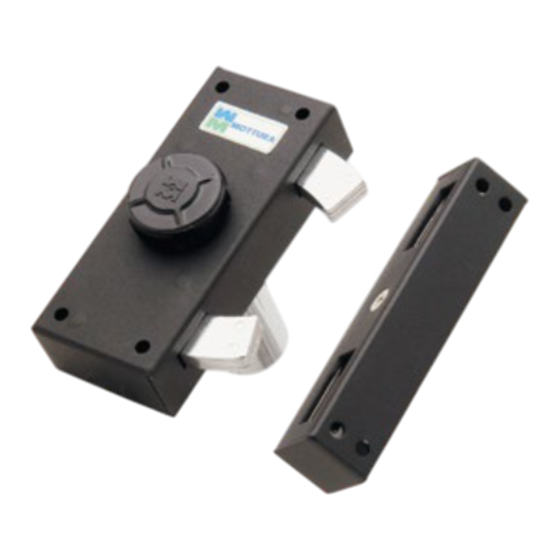
Art. 35.361
1 - Praticare sulla porta il foro per il passaggio della
pompa cilindro dove prevista.
2 - Fissare la serratura sulla porta mediante le viti in
dotazione e controllare che funzioni senza attriti.
3 - Fissare la mostrina esterna in dotazione.
4 - Fissare la ferrogliera, controllando che i fori siano
perfettamente allineati ai catenacci della serratura.
Attenzione: Verificare che la serratura funzioni
correttamente e senza attriti prima di usarla
dall'esterno.
1 - Pratiquer sur la porte un trou pour le passage de la
pompe-cylindre comme prévu.
2 - Fixer la serrure sur la porte au moyen des écrous en
dotation et contrôler qu'elle fonctionne sans
frottement.
2/3 PUNTI DI CHIUSURA / SERRURES 2/3 POINTS - 2/3-POINT LOCKING
Art. 35.370
5 - Fissare alla serratura l'asta superiore con relativo
passante e regolarne la lunghezza.
6 - Posizionare e fissare la ferrogliera superiore.
7 - Fissare l'asta inferiore, praticando sul pavimento il
foro per inserire l'apposita boccola.
ASSEMBLY INSTRUCTIONS
www.mottura.it
Art. 35.362
3 - Fixer la plaque extérieure de dotation.
4 - Fixer la gâche, et contrôler que les trous soient
parfaitement en ligne avec les pênes de la serrure.
Attention : Vérifier que la serrure fonctionne
convenablement sans frottement avant de l'utiliser
de l'extérieur.
1 - Make on the door the hole for fitting the pump-
cylinder if provided.
2 - Fix the lock on the door by means of the screws
supplied in the packing.
3 - Fix the external keylhole cover supplied in the
packing.
4 - Fix the striker plate, and check that the holes are
perfectly aligned to the bolts.
Caution: Verify carefully that the lock works properly
without frictions before using it from outside.
Art. 35.373
Attenzione: verificare che la serratura funzioni
correttamente e senza attriti prima di usarla
dall'esterno.
Advertisement
Table of Contents

Related Manuals for Mottura 35 Series


Summary of Contents for Mottura 35 Series
- Page 1 Attenzione: verificare che la serratura funzioni passante e regolarne la lunghezza. correttamente e senza attriti prima di usarla dall’esterno. 6 - Posizionare e fissare la ferrogliera superiore. 7 - Fissare l’asta inferiore, praticando sul pavimento il foro per inserire l’apposita boccola. www.mottura.it...
- Page 2 Sont excluses de cette garantie les irrégularités de fonctionnement dues à l’utilisation impropre ou a une installation non conventionelle. NE PAS LUBRIFIER. WARRANTY This lock is guaranteed efficient and in good working order according to the italian current laws. No liability will be accepted for inefficient operation due to misuse or unconventional istallation. DO NOT LUBRICATE. www.mottura.it...
Need help?
Do you have a question about the 35 Series and is the answer not in the manual?
Questions and answers