fully Jarvis Assembly Instructions Manual
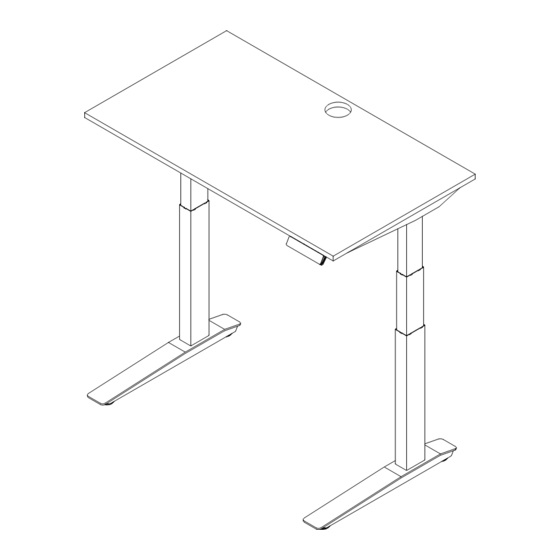
Standing desk – narrow
Hide thumbs
Also See for Jarvis:
- Installation manual ,
- Assembly instructions manual (29 pages) ,
- Quick start manual (9 pages)

Related Manuals for fully Jarvis


Summary of Contents for fully Jarvis
- Page 1 Jarvis standing desk – narrow Assembly instructions For assembly assistance, visit fully.com/instructions, contact us at 888-508-3725 or support@fully.com...
- Page 2 Thank you for choosing a Jarvis desk from Fully.
-
Page 3: Custom Settings
Cautions and use Before starting Contact In the box Assembly Initial calibration & reset Custom settings Using your own desktop... - Page 4 This Jarvis height adjustable desk has electric motors and is designed for use in dry work environments only. This Jarvis desk is adjustable so it can be positioned at an optimal ergonomic height. Any extracurricular use is at user’s own risk.
- Page 5 Small Machine Screw x8 Desktop Washer x9 Screw x12 Desktop Screw x9 Desktop Screw x9 Noise Attenuation for Fully bamboo desktops for all other Fully desktops Grommet x5 (Extra) Desktop box 4 mm Desktop Desktop Screw x9 (Extra) *Not to scale...
- Page 6 4 mm 4 mm...
- Page 7 4 mm 4 mm...
- Page 8 Use black screws with Use silver screws with Use wood screws if you Fully bamboo desktops. all other Fully desktops. have your own desktop. 4 mm...
- Page 9 Use black screws with Use silver screws with Use wood screws if you Fully bamboo desktops. all other Fully desktops. have your own desktop. 4 mm Tighten pre-installed screws Skipping this step will result in stability issues. 3 mm...
- Page 10 42” 30", 36" Pro tip: You may need to position the control box elsewhere to accommodate accessories.
- Page 11 90° plug (Optional)
- Page 12 Optional 4 mm...
- Page 13 Hold it there until the desk reaches the desired height. of the four numbers you want to preset. This number will return To lower desk - touch one finger to the Fully logo on the front Jarvis to your preferred height from now on.
- Page 14 Choose from 3 different brightness levels to help you Max height navigate through your presets and menu options. If you want to limit how high your Jarvis can go, set a Max height limit. Simply raise Jarvis to the desired maximum Memory preset mode height and navigate to Max height on the menu, then press ‘1’...
- Page 15 Generally speaking, the desktop should be centered over the frame side-to-side, and positioned slightly forward of center (towards the user) front-to-back. First, determine if your Jarvis has a short or long foot. Short Foot: Engraved with YQ-140 Bottom view of Foot: Recommended for desktops 24”–27”...
- Page 16 4” of overhang. Laying it out The easiest way to position your own desktop on Jarvis is to partially assemble the frame and use it as a guide. This frame assembly is easier to maneuver than the entire frame and will allow you to see exactly how things line up and where all of the holes should be.
- Page 18 Everything you need to find your work flow version 40000487V.E...
Need help?
Do you have a question about the Jarvis and is the answer not in the manual?
Questions and answers