fully Jarvis Assembly Instructions Manual
Benching systems w/kit c–feet
Hide thumbs
Also See for Jarvis:
- Assembly instructions manual (29 pages) ,
- Quick start manual (9 pages) ,
- Assembly and use instructions (8 pages)

Related Manuals for fully Jarvis


Summary of Contents for fully Jarvis
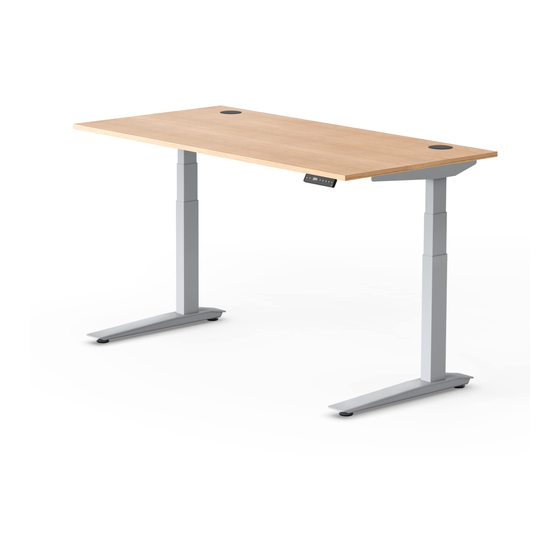
- Page 1 Jarvis benching system Assembly instructions for benching systems w / Kit C – F eet For assembly assistance, visit fully.com/howtojarvis or call 888-508-3725 or email support@fully.com...
- Page 2 Thank you for choosing a Jarvis benching system from Fully.
- Page 3 Cautions and Use Before starting Specs In the box Assembly Setup Custom settings Troubleshooting Reset procedure Contact...
- Page 4 Use & liability Control Boxes are available from Fully. This Jarvis benching system has electric motors and is designed for use in dry work environments only. This Jarvis benching system is adjustable so it can be positioned at an optimal ergo- nomic height.
- Page 5 Before starting On a padded or carpeted area, take all of the items out of your Jarvis Benching System Boxes and confirm that nothing is missing. Reference the included parts listings on page Tools Phillips Screw Driver 4 mm Hex Wrench...
- Page 6 Jarvis benching system Kit A — F rame Components (two kits needed per Benching System) A — R ight Lifting Column B — L eft Lifting Column C — R ight Side Bracket D — L eft Side Bracket E ...
- Page 7 Assembly Step 1 Insert a Right Lifting Column into a Frame End w/ Capture Plate. Use four Small Machine Screws to secure the Frame End to the leg, as shown. Once all four screws are in place, tighten completely. A — R ight Lifting Column Repeat this step to create the corresponding assembly for each desk.
- Page 8 *Front edge of Jarvis Desk Top Q — D esk Top Washer x5 Important If your Jarvis Desk Top’s pre-drilled holes have metal inserts, you will need to use the Machine Screws packaged with the Jarvis Desk Top to secure the frame.
- Page 9 Screws packaged with the desk top to secure the frame; otherwise use Wood Desk Top Machine Screw x4 Screws. (Included with Jarvis Desk Top) Insert all screws part way. Once they are in place, tighten them all completely. P — W ood Screw x4 (If using own desk top) Q ...
- Page 10 Step 7 Center the labeled midpoint marks on both Center Rails between the two Frame Ends, and tighten the Set Screws to lock the Center Rails down firmly. Repeat Steps 5 and 6 for other desks. O— Medium Set Screw x8 (Pre-Installed) Warning Skipping this step will...
- Page 11 K — L eg Cable Cable Clip x10 Pro Tip Cable Clips work best adhered directly to the Jarvis metal frame. Plus, it looks cleaner. Route your power cord towards the side of your nearest wall outlet, or use...
- Page 12 Step 10 Loosely attach a Foot to the bottom of each Lifting Column using four (4) Medium Machine Screws per Foot. V — F eet x2 Once all the screws are in place, tighten them down the rest of the way in an X pattern.
- Page 13 Step 13 Note: Use the Closed Stretcher Rail on ends that will not be connected to other desk pairs. Choose the Open Stretcher Rail to connect to additional desks pairs. Using the Thick Machine Screws, connect the appropriate Stretcher Rails to the back of one desk.
- Page 14 Step 15 - optional Assemble all desks up to Step 14 before proceeding. If attaching two pairs of desks to each other, use two Small Stretcher Bars to connect them using Thick Machine Screws. X — S mall Stretcher Bars x2 If installing the optional Privacy Panels (see Step 17), wait to secure the Stretcher Plate.
- Page 15 Step 17 - optional Slide Privacy Panel Poles into the holes on the underside of the Field Privacy Panel. Secure Field Privacy Panel using eight Small Machine Screws, as shown. Field Privacy Panel Privacy Panel Poles x2 N — S mall Machine Screw x8...
- Page 16 Setup Initial calibration Before you start using your desk normally, you’ll need to get all the parts synced. Don’t worry — it’s easy. With Standard Up-Down Handset Press and hold the DOWN button until the desk reaches its lowest position. Release. Press and hold the DOWN button again for about 10 seconds.
- Page 17 Custom settings for Memory Preset Handset Lock your desk If you have a Memory Preset handset, your desk can be locked in place at any height, either as a safety precaution or just to keep your friends from messing with your settings. It unlocks just as easily, but we recom- mend guarding that secret.
- Page 18 Set custom upper and lower height limits By default, the Jarvis frame and handset are set to allow the maximum range of motion — from a fully retracted Lifting Column to a fully extended one. If you would like to set a higher minimum height or a lower maximum height, you can do that! Before starting, make sure the desk is plugged in, and the LED display is showing a num- ber.
- Page 19 Toggle between One Touch and Constant Touch presets Our programmable handsets allow your desk to remember your favorite height settings. By default, if you press and release a memory preset button, the desk will move on its own to the programmed height. You can change this behavior so that the desk will only continue to move to the programmed height with continued pressure on that preset number.
-
Page 20: Troubleshooting
Fully. If there is a difference in height between the two legs that exceeds 1.5”, stop the reset procedure and contact Fully. If the Memory Preset Handset displays “HOT”, let the desk cool down for 20 minutes. Reset procedure CAUTION: This will override any custom lower limit you might have set! Please ensure proper clearance for the Lifting Columns to retract fully. - Page 22 Desks, chairs & things to keep you moving Version 90.014.01.0669v.B...
Need help?
Do you have a question about the Jarvis and is the answer not in the manual?
Questions and answers