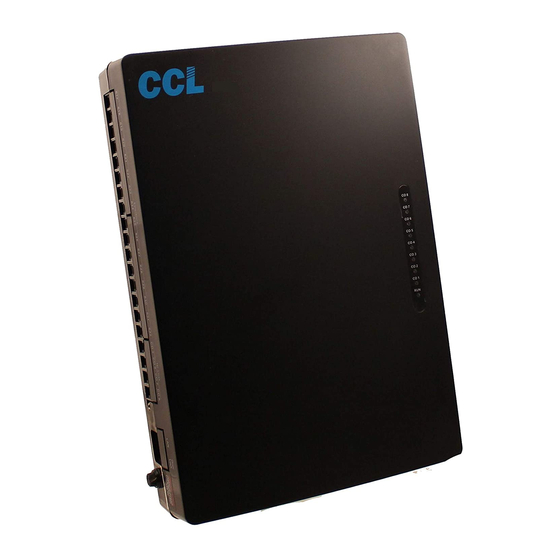
Operating / Programming Manual & Warranty Document PBX Model: 216B / 224B / 232B We extend a warm welcome to you on becoming a part of the Copper Connections family. Our service support Engineers shall be working hard through our channel partners to ensure your satisf action with the product and after sales services.
All Junctio n lines of the PBX are Disab led in defau lt. To enable them refer headin g “Junctio n Line - Enable / “ Disab le Model 216B has 2 CO Lines, 16 Extensions. Model 224B has 2 CO Lines, 24 Extensions. Model 232B has 2 CO Lines, 32 Extensions.
Direct sun light should not fall on the PBX. The PBX should be installed on the wall at a minimum of 2 ft height from the floor. Note: The Comp any’s warrantee voids if the above points are not followed. Front Panel Indications Following is the descriptio ns of the LED indicato rs of the front panel of the PBX: LED Nam e...
Wher e- M = 1 for Welco m e Mess ag e (10 Secs) = 2 for Busy Messag e (5 Secs) = 3 for No Answer Mess ag e (5 Secs) Busy Messag e ON/O F F : The facility of playing Busy mess ag e can be turned ON or OFF.
Call Forwa rd Always Dial # 26 NN XXXX Wher e, XXXX= Extensio n numb e r where Calls are to be forward ed . Flexible numb er (2-4 digits long) N= the last two digits of the original Extensi o n. Dial # 26 NN # (To clear the feature of N Extensio n ) Dial # 26 # (To clear the Call Forward Always feature of all the extensi o ns.
Note- If CLI digit addition is enabl e then if extensio n is of 2 digits then 2 dummy zero s are added before extensi o n numb er and if the extensio n numb e r is of 3 digits then a zero is added before the extensio n numb er.
1 Door Phone can be connected to the PBX. Open the back cover of the Door Phone and connect 2 wires on the Terminal block. These 2 wires are to be connected to any of the Extension port (f rom 601 to 632) of the PBX. To def ine the Extension as the f irst Door Phone extension, program as below: Dial #0000 + 80 NN # Where, N = 01 - 32 (Representing the Extension numbers f rom 601 to 632)
Dial #* 0000 + 883 NN XXXX# Wher e, NN= last digit of Original Extensio n numb ers that is to be program m ed for this feature. XXXX = Extensio n numb er to which call will land in Hotline feature..
Junction Call Hold + Transfer To transf er a Junctio n line to anothe r extensio n, FLASH and dial the Extensio n numb e r while talking on the junction line. Now there can be following 4 conditions: When called extensio n lifts, calling extensi o n can convers e and then keep the Hand s et down. The Junctio n call will then get transf err ed .
Page 10
To allot group 0 to a Junctio n= Dial #* 0000 + 50 J 0 # To allot group 8 to a Junctio n= Dial #* 0000 + 50 J 8 # Wher e, J = Junctio n Numb er (1-2) Junction to Junction Forwarding There are 2 types of Junction to Junction Transf er: 1.
Page 11
To reset default Passwo rd : #*#*# *# PBX Version To check the PBX Versio n Dial #64 from CLI Phone, PBX will give a beep tone after that put the hands et down. When Phone is ON Hook PBX versio n is displayed after a ring. Redial In order to redial after getting an engag ed tone on an outgoing call, follow below proced ure: Press ** on the SLT...
Page 12
If the product is purchased online through Amazon or other web portals, then in case of repair, the system is to be sent to t he mentioned company address in Delhi. One-way delivery charge will be borne by company, and one-way will have to be borne by the user. Part no: 216B - 12 ISO 9001:2015 Certified company Copper Connections Limited B-221, Okhla Industrial Area, Phase-1, New Delhi-110020.
Need help?
Do you have a question about the 216B and is the answer not in the manual?
Questions and answers