Table of Contents
Advertisement
Quick Links
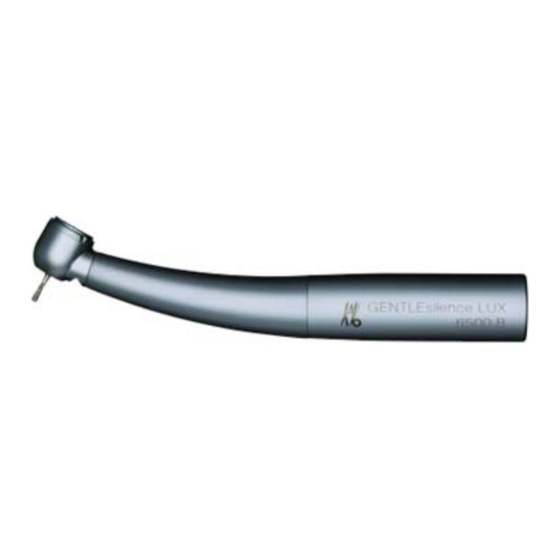
KaVo GENTLEsilence LUX 6500B – PB (Pushbutton
Tools needed to properly repair this handpiece:
1. Kavo Coupler
2. Kavo Back Cap Removal Tool (10129)
3. Auto-Chuck Protector Punch (00024A)
4. Round Tip Punch (00024R)
The KaVo 6500B is a relatively new handpiece. It came out in 2005 and you should
now start seeing them out of Manufacturers warranty. Lube is required on this
handpiece.
STEP 1
Try to determine the problem before opening the handpiece. Insert a high speed bur,
checking that it inserts smoothly and tightens securely. Twist the bur manually to feel
how smoothly it turns. Attach it to your KaVo coupler and run the handpiece (if you can).
Check that air pressure is at 40-45 p.s.i.. Listen for the appropriate pitch at full speed
and for a smooth rundown. Check the water spray – it should be a fine mist. Attempt to
cut a shell to test the torque. Disassemble the handpiece following the instructions
below.
STEP 2
Using the Kavo PB back cap removal tool (10129), twist in a
counterclockwise direction to unscrew the back cap and remove the
turbine assembly.
TIP: Sometimes the cap is very tight. Be very careful not to let the tool slip and strip or
scratch the back cap.
good support for the impeller. Don't worry about the fragile impeller, on the OEM KaVo
6500 turbine, we must replace it any way.
Repair Procedure
DISASSEMBLY
STEP 3
Place the turbine in your
workblock. As pictured, be sure
to insert the rear bearing of the
assembly into the hole just
above and to the right of Hole
#2. This hole allows the bearing
to fit in nicely while providing
)
Advertisement
Table of Contents

Related Manuals for KaVo GENTLEsilence LUX 6500B


Summary of Contents for KaVo GENTLEsilence LUX 6500B
- Page 1 Twist the bur manually to feel how smoothly it turns. Attach it to your KaVo coupler and run the handpiece (if you can). Check that air pressure is at 40-45 p.s.i.. Listen for the appropriate pitch at full speed and for a smooth rundown.
- Page 2 DO NOT ATTEMPT to BREAK the BEARINGS. We are using a different technique on the KaVo 6500. With the 00024R Round punch perfectly aligned over the spindle, carefully press the spindle down out of the top bearing and impeller.
- Page 3 Assembly for OEM Spindle Only STEP 1 Now the re-assembly process will begin. First, place a 40405CM bearing, with the shield side UP, into Hole #2 on your work block. Next, using your Auto-Chuck Protector Punch (00024A), carefully press the spindle down into the bearing until the flange on the end of the spindle touches the bearing.
- Page 4 Description Number 10106 O-Ring 10106S O-Ring (Sable brand) 10216 KaVo 6000/6500 Spring Washer Kit 40405CM Myonic Straight Bearing 10116T-A After-Market KaVo 6500 Spindle/Impeller Combo 10116T-S Sable KaVo 6500B Balanced Spindle/Chuck Combo 10101ANG KaVo Bearing 10116TS KaVo 6500B Front Thrust Washer...
- Page 5 Place your 10101ANG KaVo bearing, Shield Side DOWN, into Hole #2 on your work block. Then, place the open end of your 10116T KaVo 6500B Spindle into the Bearing. Using your Auto-Chuck Protector Punch, carefully press the spindle into the bearing until the impeller and bearing make contact.
Need help?
Do you have a question about the GENTLEsilence LUX 6500B and is the answer not in the manual?
Questions and answers