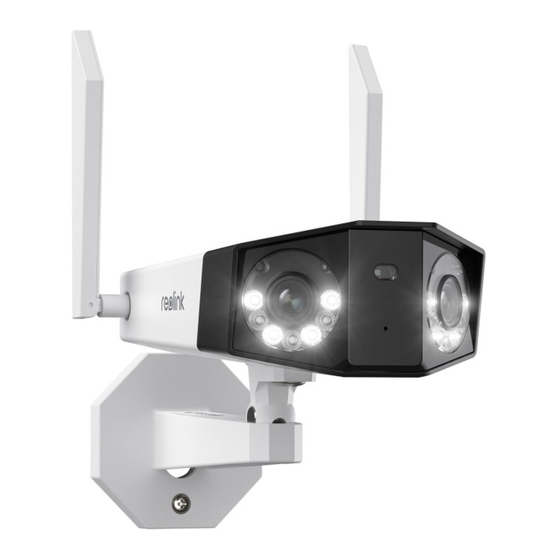
Reolink Duo 2 Operational Instruction
Hide thumbs
Also See for Duo 2:
- Operational instruction (19 pages) ,
- Operational instruction (47 pages) ,
- Quick start manual
Advertisement
Quick Links
REOLINK INNOVATION LIMITED
FLAT/RM 705 7/F FA YUEN COMMERCIAL BUILDING 75-77 FA YUEN STREET MONG KOK KL
HONG KONG
Product Ident GmbH
EU REP
Hoferstasse 9B, 71636 Ludwigsburg, Germany
Email: prodsg@libelleconsulting.com
APEX CE SPECIALISTS LIMITED
UK REP
Addr.: 89 Princess Street, Manchester, M14HT, UK
Email: info@apex-ce.com
Operational Instruction
Apply to: Reolink Duo 2
Advertisement

Subscribe to Our Youtube Channel
Summary of Contents for Reolink Duo 2
- Page 1 Operational Instruction Apply to: Reolink Duo 2 REOLINK INNOVATION LIMITED FLAT/RM 705 7/F FA YUEN COMMERCIAL BUILDING 75-77 FA YUEN STREET MONG KOK KL HONG KONG Product Ident GmbH EU REP Hoferstasse 9B, 71636 Ludwigsburg, Germany Email: prodsg@libelleconsulting.com APEX CE SPECIALISTS LIMITED UK REP Addr.: 89 Princess Street, Manchester, M14HT, UK...
-
Page 2: Table Of Contents
Content What's in the Box What's in the Box Camera Introduction Set up the Camera Charge the Camera Camera Antennas Strap Mounting Plate Mounting Hole Template Install the Camera Safety Instructions of Battery Usage Troubleshooting Specification Notification of Compliance USB Cable Quick Start Guide Surveillance Pack of Screws Screwdriver... -
Page 3: Camera Introduction
Camera Introduction Antennas Micro SD Card Slot Daylight Sensor Reset Button *Press the reset button with a pin to restore factory settings. Lens Power Switch PIR Sensor Infrared Lights Spotlights Speaker Mounting Bracket Different states of the status LED: Power Port Red Light: WiFi connection failed Blinking: Standby status Blue Light: WiFi connection succeeded... -
Page 4: Set Up The Camera
Step 3 Launch the Reolink App, click the “ ” button in the top right corner to add the camera. Set up the Camera Scan the QR code on the device and follow the onscreen instructions to finish initial setup. Devices Cloud Step 1 Scan to download the Reolink App from the App Store or Google Play store. -
Page 5: Charge The Camera
It’s recommended to fully charge the battery before mounting the camera outdoors. Charge the battery with a power adapter. (not included) θ θ θ Charge the battery with the Reolink Solar Panel (not included if you only purchase the camera). -
Page 6: Install The Camera
Install the Camera Mount the Camera to the Wall • Install the camera 2-3 meters (7-10 ft) above the ground. This height maximizes the detection range of the PIR motion sensor. • For better motion detection performance, please install the camera angularly. - Page 7 Mount the Camera to Ceiling NOTE: The camera can’t be adjusted horizontally when ceiling mounted. Please adjust the To get the best field camera angle before fixing it. of view, loosen the adjustment screw on security mount and turn the camera. Stiffen the adjustment screw to lock the camera. Drill holes in accordance with the mounting template, Secure the mounting plate to the wall with the upper two screws and hang the camera on it. Then lock the camera in position ...
- Page 8 Install the Camera with Loop Strap Thread the loop strap through the slots and fasten the strap. It is the most recommended To get the best field installation method if you plan to mount the camera to a tree. of view, loosen the adjustment screw on security mount and turn the camera.
-
Page 9: Safety Instructions Of Battery Usage
Camera is not Powering on Reolink Duo 2 is not designed for running 24/7 at full capacity or around-the-clock live • Try to scan the QR code under sufficient streaming. It’s designed to record motion events and to live view remotely only when you lighting. -
Page 10: Specification
Weather Resistance: IP66 Weatherproof • Connect the equipment into an outlet on and found to comply with the limits for Size: 81x103x195 mm If these won’t work, please contact Reolink a circuit different from that to which the a Class B digital device, pursuant to Weight (Battery included): 720g Support https://support.reolink.com... - Page 11 To return your used device, agreement to the Terms of Service and 2.4GHz: 2412-2462MH (18dBm) please use the return and collection Privacy Policy at reolink.com Keep out of 5GHz: 5180-5240MHz (16.09dBm) systems or contact the retailer where the reach of children.


Need help?
Do you have a question about the Duo 2 and is the answer not in the manual?
Questions and answers