
Related Manuals for Reolink Duo


Summary of Contents for Reolink Duo
- Page 1 Q S G 1 _ A _ E N Quick Start Guide Apply to: Reolink Duo @ R e o l i n kTe c h h t t p s ://re o l i n k . c o m...
-
Page 2: What's In The Box
Content What's in the Box What's in the Box Camera Introduction Set up the Camera Charge the Camera Camera Antennas Strap Mounting Plate Mounting Hole Template Install the Camera Safety Instructions of Battery Usage Troubleshooting Specification Notification of Compliance USB Cable Quick Start Guide Surveillance Pack of Screws Screwdriver... -
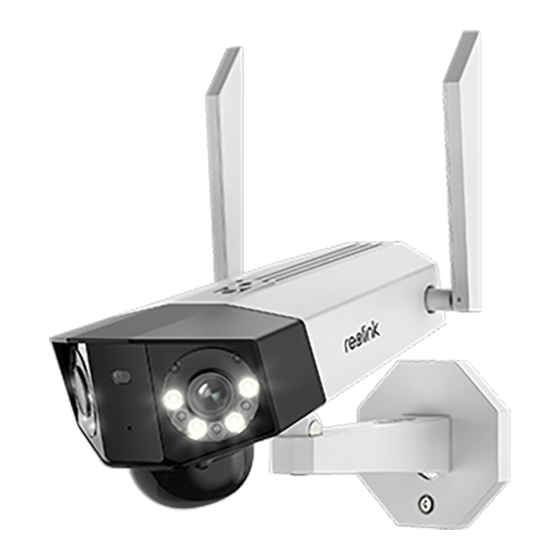
Page 3: Camera Introduction
Camera Introduction Antennas Micro SD Card Slot Daylight Sensor Reset Button *Press the reset button with a Lens pin to restore factory settings. PIR Sensor Power Switch Infrared Lights Spotlights Speaker Mounting Bracket Different states of the status LED: Red Light: WiFi connection failed Blinking: Standby status Blue Light: WiFi connection succeeded On: Working status... -
Page 4: Set Up The Camera
Set up the Camera on PC (Optional) Devices Cloud Step 1 Download and install the Reolink Client: Go to https://reolink.com > Support > App&Client. Step 2 Loosen the screw and remove the cover, then turn on the power switch to power on You haven't added any device. -
Page 5: Charge The Camera
Charge the battery with a power adapter. θ please always cover the USB charging (not included) port with the rubber plug after charging the battery. θ θ Charge the battery with the Reolink Solar Panel (not included if you only purchase the camera). English English... -
Page 6: Install The Camera
Install the Camera Mount the Camera to the Wall • Install the camera 2-3 meters (7-10 ft) above the ground. This height maximizes the detection range of the PIR motion sensor. • For better motion detection performance, please install the camera angularly. - Page 7 Mount the Camera to Ceiling NOTE: The camera can’t be adjusted horizontally when ceiling mounted. Please adjust the To get the best field camera angle before fixing it. of view, loosen the adjustment screw on security mount and turn the camera. Stiffen the adjustment screw to lock the camera. Drill holes in accordance with the mounting template, Secure the mounting plate to the wall with the upper two screws and hang the camera on it. Then lock the camera in position ...
- Page 8 Install the Camera with Loop Strap Thread the loop strap through the slots and fasten the strap. It is the most recommended To get the best field installation method if you plan to mount the camera to a tree. of view, loosen the adjustment screw on security mount and turn the camera.
-
Page 9: Troubleshooting
• Charge the battery with a DC 5V/2A Failed to Connect to WiFi charger or Reolink solar panel. Do not charge the battery with solar panels from any other power adapter. When the green light is on, During Initial Setup Process brands. -
Page 10: Specification
• Connect the equipment into an outlet on and found to comply with the limits for Size: 95x 103x 56 mm If these won’t work, please contact Reolink a circuit different from that to which the a Class B digital device, pursuant to Weight (Battery included): 720g Support https://support.reolink.com... -
Page 11: Limited Warranty
To return your used device, agreement to the Terms of Service and 2.4GHz: 2412-2462MH (18dBm) please use the return and collection Privacy Policy at reolink.com Keep out of 5GHz: 5180-5240MHz (16.09dBm) systems or contact the retailer where the reach of children.
Need help?
Do you have a question about the Duo and is the answer not in the manual?
Questions and answers