
Subscribe to Our Youtube Channel
Related Manuals for BRONKHORST mini CORI-FLOW


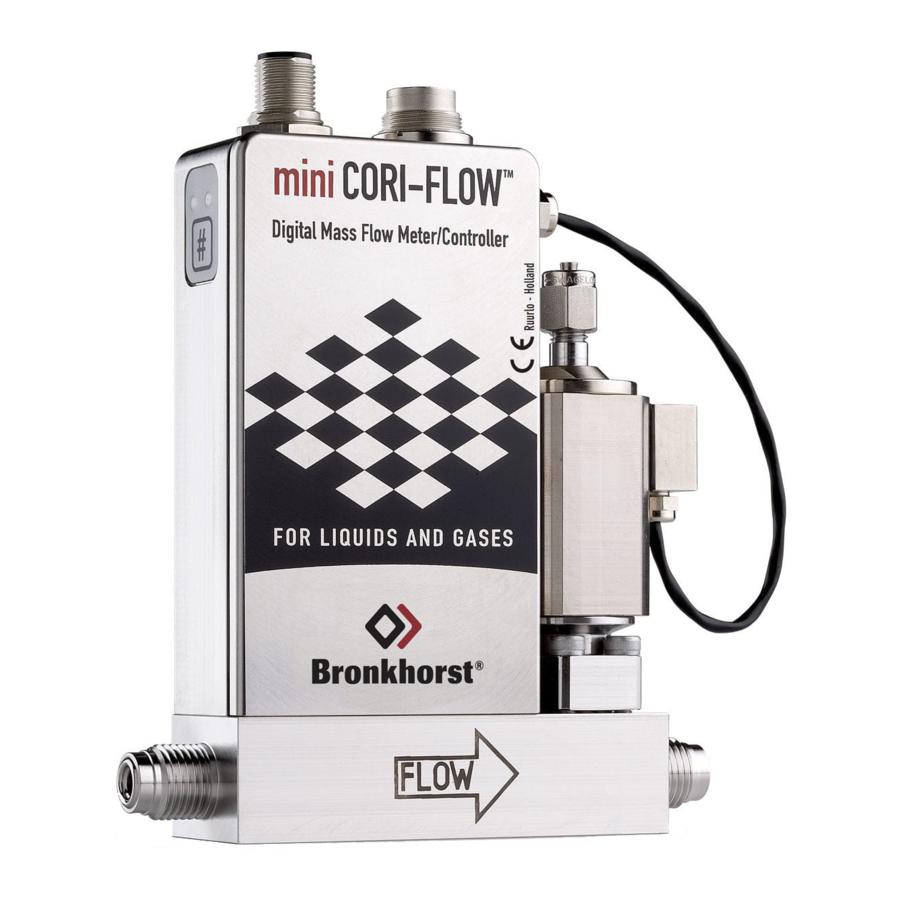
Summary of Contents for BRONKHORST mini CORI-FLOW
- Page 1 Quick Installation Guide Doc. no.: 9.17.052 rev. I Date: 22-02-2022 Starting up the mini CORI-FLOW™ in 10 steps...
- Page 2 Output parameters are: mass flow, density, temperature, totalized mass flow, alarms. Input parameters are: setpoint (desired mass flow rate for controllers), reset alarm/counter. This Quick Installation Guide will help you start up your mini CORI-FLOW™ in only 10 steps, covering the following subjects: 1. Check functional properties 6.
- Page 3 Base mounting Mount the mini CORI-FLOW™ instrument, with screws in the body, to a rigid, stiff base body or heavy mass on a vibration-free position, such as a wall, heavy rig or stable construction. This is essential to achieve optimal accuracy with the mini CORI-FLOW™...
- Page 4 (optional) connectors and the impact protection cover must be mounted on the instrument. Analog/local operation Connect the mini CORI-FLOW™ to the power supply/readout unit with the 8-pin cable at the circular connector. The two examples below have the following electrical properties: Power +15…+24 Vdc...
- Page 5 Special control mode for purging In case of a mini CORI-FLOW™ controller give setpoint = 100 % to control the valve or the pump. It is also possible to use special control mode = 8 to fully open the valve or set the pump at max. rpm, using a digital interface. This will bypass the PID-controller and might be useful when having the mini CORI-FLOW™...
- Page 6 Measurement check For a controller, send a setpoint to the mini CORI-FLOW™ and check the measured value. Make sure the mini CORI-FLOW™ indicates 0% at zero flow. Your mini CORI-FLOW™ is now ready for operation.
Need help?
Do you have a question about the mini CORI-FLOW and is the answer not in the manual?
Questions and answers