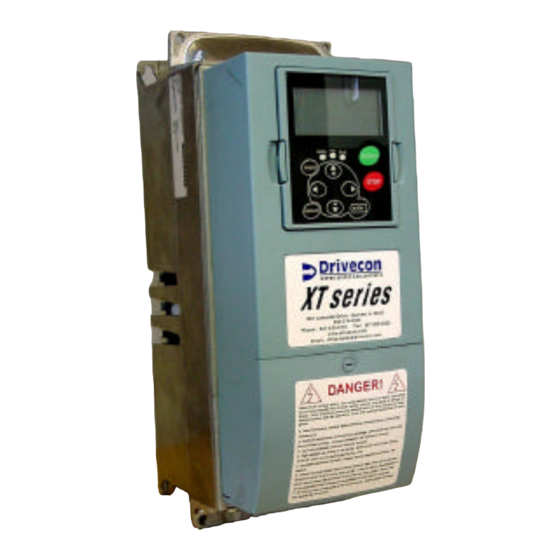
Drivecon XT Series Quick Setup Manual
Loadbrake
Hide thumbs
Also See for XT Series:
- Service manual (106 pages) ,
- Owner's manual (57 pages) ,
- Quick setup manual (3 pages)
Advertisement
Quick Links
XT Series Hoist Quick Setup Guide (Loadbrake)
Navigating the Keypad
In the parameter addresses shown below, the first character is a letter and should be ignored. (i.e. G4.23.1).
This letter has no relationship to your location in the menu structure. Navigation is determined by the numbers
alone. Focus on the numbers and the decimal points separating them.
Programming your Drive's Parameters
When viewing a parameter value you want to change, press
flash on the keypad. Use
numeric value, you can press
decrease its value. Once the desired selection is achieved, press
memory. A successful parameter change is confirmed when the parameter value stops flashing.
1. Check all power and control connections to the drive.
Ensure all are correct, and there are no loose wires. Refer to "Control Mode Selection
Parameters" and "Control Unit Connections" pages in the back of this manual for drive control
configuration.
2. Apply power to the drive.
The keypad should turn on and display a monitoring page with the motor current, voltage, and
frequency. If the drive displays a fault code, check the service manual for troubleshooting tips.
3. Enter the password into the drive.
Press and hold
have just entered the Engineering level password into the drive. This shortcut works from any
location within the parameter menu structure, and allows the user access to all of the necessary
parameters to complete the drive setup process.
4. Edit applicable motor parameters.
Navigate to 3.4.1.1 and enter the following motor and encoder info from the nameplates:
3.4.1.1 - Motor Nominal Voltage
3.4.1.2 - Motor Nominal Freq.
3.4.1.3 - Motor Nominal Speed
3.4.1.4 - Motor Nominal Current
3.4.1.5 – Nominal Flux Current
3.4.1.6 - Motor [Cos Φ]
3.4.1.7 - Start Current
3.4.1.8 - Current Limit
3.4.1.15 - Max. Freq. S1
3.4.1.16 - Max. Freq. S2
5. Verify the follow parameters are set accordingly:
3.4.1.9 - Control Mode
3.4.1.10 - Accel Time 1
3.4.1.11 - Decel Time 1
3.4.1.13 - Min. Freq. S1
3.4.1.14 - Min. Freq. S2
3.4.1.19 - Drive Selection
and
to select between the available preset values. If the parameter is a
again to select an individual digit and use the
until the display shows "Password Level: Engineering." By doing this, you
S TA R T
(Set to nameplate value)
(Set to nameplate value)
(Set to nameplate value)
(Set to nameplate value)
(If not available, set at 50% of motor rated current)
(= Motor Power Factor. If not available, do not change)
(Set the same as 3.4.1.4)
(Set to 120% of 3.4.1.4)
(Set to nameplate value)
(Set to nameplate value)
(Set for OL Frequency Control)
(Set for 3 seconds)
(Set for 3 seconds)
(Set for 2.5 Hz)
(Set for 2.5 Hz)
(Must be set for "Travel")
to edit it. The value of the parameter will
and
to save the change to the drive's
enter
to increase or
Advertisement

Summary of Contents for Drivecon XT Series
- Page 1 XT Series Hoist Quick Setup Guide (Loadbrake) Navigating the Keypad In the parameter addresses shown below, the first character is a letter and should be ignored. (i.e. G4.23.1). This letter has no relationship to your location in the menu structure. Navigation is determined by the numbers alone.
- Page 2 6. Wire in your slow and/or stop limits, or set limit parameters to ‘not used.’ By default, the drive is programmed to operate using 4 limit switches: 2 slow limits and 2 stop limits. If you are using limit switches: •...
- Page 3 Heat sink temp V4.15 Motor torque V4.19 **Default display G4.23 Multimonitor System Menu **Copy parameters to or from keypad S6.3 Copy Parameters Parameter comparison S6.4 Active Faults Fault History 5318 S Emmer Drive, New Berlin, WI 1-800-727-8774 www.drivecon.com CAE Drivecon...


Need help?
Do you have a question about the XT Series and is the answer not in the manual?
Questions and answers