Advertisement
Quick Links
SCTM
Issue 1
C
o
l
o
r
C
o
l
o
T
e
T
e
P
o
w
e
r
P
o
w
e
r
Colortrac Ltd
SC Series Technical Manual
This is a confidential controlled document and is the property of Colortrac Ltd.
It is not to be copied or reproduced in part or whole.
t
r
a
c
r
t
r
a
c
c
h
n
i
c
a
c
h
n
i
c
a
S
w
i
t
c
h
S
w
i
t
c
h
S
C
S
e
S
C
S
e
l
M
a
n
u
l
M
a
n
u
M
o
d
i
f
i
M
o
d
i
f
Page 1 of 11
Date: 17/11/14
r
i
e
s
r
i
e
s
a
l
a
l
c
a
t
i
o
n
i
c
a
t
i
o
n
Advertisement

Related Manuals for Colortrac SC Series


Summary of Contents for Colortrac SC Series
- Page 1 SCTM Colortrac Ltd Page 1 of 11 SC Series Technical Manual Issue 1 Date: 17/11/14 This is a confidential controlled document and is the property of Colortrac Ltd. It is not to be copied or reproduced in part or whole.
- Page 2 Technical Support, Colortrac Ltd. Colortrac Ltd shall not be liable for any damages, errors, issues or events that result from the use of the equipment or this manual. Page 2 of 11...
- Page 3 SC Series Technical Manual CONTENTS Tools Required ......................... 4 Procedure ..........................5 Page 3 of 11...
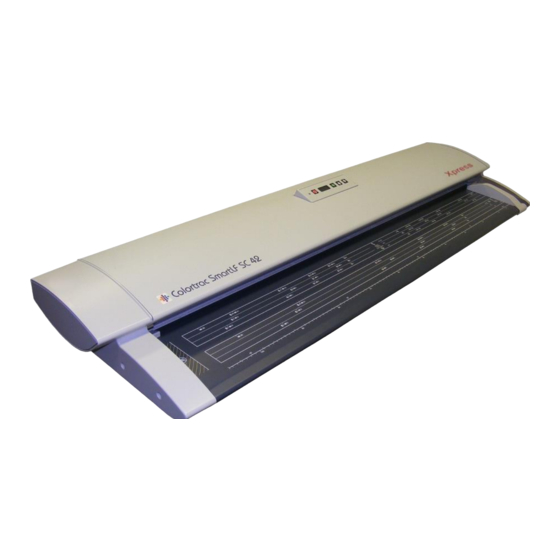
- Page 4 SC Series Technical Manual Tools Required To maintain the SC Scanner the tools listed below are required. The tools are generally available; they are not the responsibility of Colortrac to supply. 1. Wristband 2. Pencil Anti-static and cable.
- Page 5 SC Series Technical Manual Procedure 2.1.1 Safety Precautions Ensure that the power and USB cables are completely disconnected from the scanner unit. Ensure the scanner is positioned on a stable maintenance platform. 2.1.2 Tools Medium Pozi-drive screwdriver.
- Page 6 SC Series Technical Manual 4. Remove the Top Lid Cover, by depressing the Lid Latches at either end of Lid Assembly. NOTE: The end covers do not need to be removed for this procedure. 5. Allow the Lid Assembly to gently open.
- Page 7 SC Series Technical Manual 8. Close the Lid Assembly making sure both Lid Latches lock securely. 9. Carefully lift the Top Lid Cover off from the Lid Assembly. 10. Remove the Aluminium EMC Tape covering the cables to the Main Board Cover.
- Page 8 SC Series Technical Manual 12. WARNING: Gently lift the Main Board Cover to reveal the Mains Connector. Release the Mains Connector from the Main Board. NOTE: Care needs to be taken with the Suppressor leads on the Main Board cover as they can be broken with repeated or excessive movement.
- Page 9 SC Series Technical Manual 16. Press one end of the modification link into the black earth cable 17. Press the other end of the modification link to the 2 black earth cables that had been removed from the switch. 18. Feed the modification link...
- Page 10 SC Series Technical Manual 20. After making sure all the cables are in their appropriate cutout, and the USB connector is also in it’s cutout in the cover, fit 4 x M3 screws to hold the Main Board Cover in place.
- Page 11 SC Series Technical Manual 24. Reposition the scanner back into the protective plastic and bottom carton. 25. Replace the protective foam and the Calibration Sheet Cardboard Envelope. 26. Replace the Top Carton, and secure with 2 x packing straps. Page 11 of 11...
Need help?
Do you have a question about the SC Series and is the answer not in the manual?
Questions and answers