Table of Contents
Advertisement
Advertisement
Table of Contents

Subscribe to Our Youtube Channel
Related Manuals for Texecom Odyssey Series


Summary of Contents for Texecom Odyssey Series
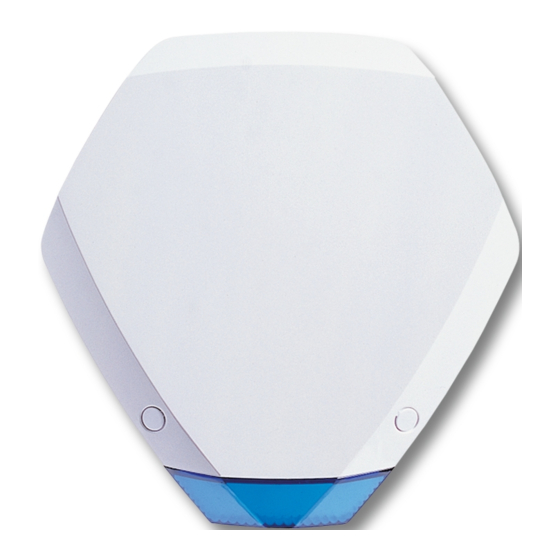
- Page 1 Odyssey Series Installation Manual INS154-7...
-
Page 2: Table Of Contents
Content 1.0 Installation ..........................1.1 Accessing The Unit ......................1.2 Mounting the Unit ........................ 1.3 Adjusting Tamper Sensitivity ....................1.4 Wiring The Unit ........................1.5 Grade 3 Wiring ........................1.6 Installing Multiple Units ....................... 1.7 Commissioning ........................2.0 Servicing ..........................3.0 Safety ............................. -
Page 3: Installation
1.0 Installation 1.1 Accessing The Unit INS154-7 3/17... -
Page 4: Mounting The Unit
For maximum weatherproofing the unit should be flat to the wall. 1.3 Adjusting Tamper Sensitivity Some Texecom external sounder models now include a patented* tamper adjustment feature. If greater wall/lid tamper sensitivity is required, the microswitch position can be adjusted by loosening the locking screw and altering the orientation of the microswitch as shown. -
Page 5: Wiring The Unit
* Premier Elite Sounders only Output to Activate Strobe For safety reasons, each Texecom sounder and strobe unit incorporates a unique patented engineer Hold‑Off mode. This mode prevents the unit from self-activating during installation and maintenance, thereby allowing only bona fide engineers... -
Page 6: Grade 3 Wiring
Grade 3 to monitor the status of the battery, the supply voltage and the integrity of the trigger wire. The two diagrams below show wiring configurations for Texecom control panels, and other manufacturers. Please check the Control Panel installation manual for any programming requirements relating to Grade 3 installations. - Page 7 LED will flash quickly to signal that the unit cannot self‑activate until power has been supplied from the control panel. Prolonged “battery first” connection without power from the control panel may cause permanent damage to the internal battery. Texecom INS154-7 7/17...
-
Page 8: Installing Multiple Units
recommend that the unit is initially powered on battery only for no longer than 24 hours. 1.6 Installing Multiple Units The following diagram illustrates how to wire multiple units together: If the first unit is opened it will self-activate and a tamper will be signalled to the control panel. -
Page 9: Commissioning
battery rather than from the control panel. Although volume is somewhat reduced, lowering the current demand on the control panel will enable the connection of additional sounder units. To select SCB Mode, the unit should first be powered from the built-in battery by either using the jumper included on some models or by connecting the red battery wire from the “N/C”... -
Page 10: Servicing
2.0 Servicing Most control panels have a method of testing the siren and strobe, which should be utilised. Failing this, simply arm the system and cause an alarm to confirm correct operation. Temporarily disconnect the positive supply to the unit at the control panel to confirm that the sounder self-activates. - Page 11 present and signalling that the self activating S/A function will be re-enabled within 2 minutes, after which the LEDs will alternate slowly to signal normal operation. If the tamper circuit is re-opened or remote power removed within the 2 minute period, then Hold-Off...
-
Page 12: Safety
3.0 Safety All strobes produce hazardous voltages. However, the unit includes dual circuit safety interlocks. When the strobe is de-activated it invokes a final flash to discharge the high voltage. Back-up circuitry guarantees discharge of the high voltage within 3 minutes. For your own safety be sure to observe the following precautions when installing and servicing the unit: NEVER remove the cover when the strobe is flashing. -
Page 13: Technical Specification
Always observe local regulations when disposing of a battery. lastic bags can suffocate - always dispose of packaging carefully. 4.0 Technical Specification Environmental Electrical Volume (SAB Supply 12-16 mode at Voltage: 13.7VDC) (13.7 nominal) E Models: 109dB Peak at 1m Current (A Weighting, 90°) Drain (typical... - Page 14 Operating -25°C (-13°F) to Voltage: 7.2VDC Temperature +55°C (+131°F) (nominal Storage -25°C (-13°F) to Capacity: 250mAh Temperature +60°C (+140°F) Residential / Flash Tube: Environment: Commercial /Light Xenon Industrial / Industrial Flash Rate: (typical) Discharge Time seconds (60VDC): Comfort LEDs Brightness: 100mcd (typical) Flash Rate...
-
Page 15: Standards
310mm x 196mm x 58.5mm 5 &5E: 284 mm x 256 mm x 68 mm 5C & 5EC: 189 mm x 186 mm x 60 mm 5.0 Standards Texecom declares that this product complies with the requirements of the INS154-7 15/17... -
Page 16: Warranty
The Premier Elite Odyssey 1, 2, 3, 4, 5, and 5 Compact are covered by a five year warranty. Because the Premier & Premier Elite Odyssey Series are not complete alarm systems but only a part thereof, Texecom cannot accept responsibility or liability for any damages whatsoever based on a claim that a unit failed to function correctly. - Page 17 INS154-7 17/17...
Need help?
Do you have a question about the Odyssey Series and is the answer not in the manual?
Questions and answers