Advertisement
Quick Links
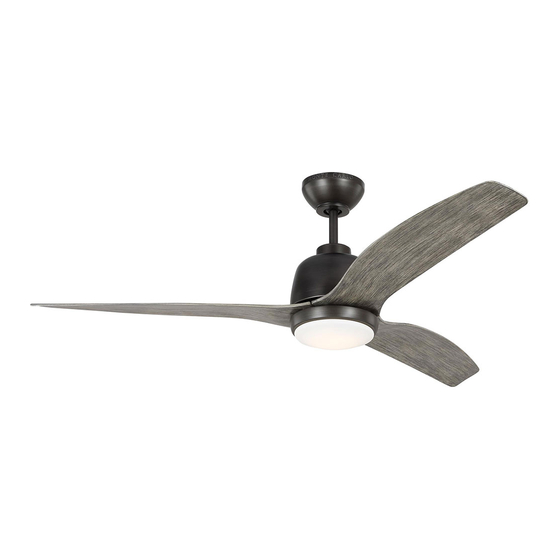
Owner's Guide and Installation Manual
Attach sales receipt to this card and retain as your proof of purchase
DATE OF PURCHASE:
MODEL NUMBER:
To register your fixture, please visit our website www.montecarlofans.com
3AVLCR54XXXD Series Fan
CUL Model NO. : 3AVLCR54XXD
RETAILER NAME:
RETAILER ADDRESS:
7.82 kg
17.2 lbs
Total fan weight with light
Advertisement

Summary of Contents for Monte Carlo Fan Company 3AVLCR54XXD Series
- Page 1 Owner’s Guide and Installation Manual 3AVLCR54XXXD Series Fan CUL Model NO. : 3AVLCR54XXD Attach sales receipt to this card and retain as your proof of purchase DATE OF PURCHASE: RETAILER NAME: RETAILER ADDRESS: MODEL NUMBER: To register your fixture, please visit our website www.montecarlofans.com 7.82 kg 17.2 lbs Total fan weight with light...
-
Page 2: Cautions And Warnings
Cautions and Warnings WARNING: TO REDUCE THE RISK OF FIRE, ELECTRIC SHOCK, OR INJURY TO PERSONS, FOLLOW THESE INSTRUCTIONS. Installation work and electrical wiring must be done by qualified person(s) in accordance with applicable codes and standards (ANSI/NFPA 70), including fire-rated construction. - Page 3 Outlet box Before you begin installing the fan, Switch Before installing this fan make sure the Use metal outlet box suitable for fan power off at Service panel and lock outlet box is properly installed to the support and use only the screws provided service disconnecting means to prevent house structure.
- Page 4 SAFETY CABLE INSTALLATION Lag screw Keeper pin Cross pin Safety cable Slot Washer Lock washer Slip downrod into motor housing yoke, Install ball end of downrod into mounting Safety cable must be installed into the aligning holes and install cross pin and bracket opening.
- Page 5 Flywheel Light pan Blade Plate on motor Install a blade onto the flywheel. Loosen 2 and remove 1 preassembled Place the lead wires from fan over the Align the holes on the blade and the screw from the plate on motor. Save central hole of light pan.
- Page 6 Reverse switch Setting the reverse switch in the left hand side will result in downward airflow and setting the switch in the right hand side will result in upward airflow. Note: Reverse switch must be set either way completely. If the reverse switch is set in the middle position, fan will not operate.
- Page 7 Remote Controller Operation Remove the battery cover from the remote control transmitter and install batteries. Replace the cover. This remote uses 2 1.5V/AAA batteries. Note: If not using for long periods of time, remove the batteries to prevent damage to DIM (D) remote controller, and store the remote controller away from excess heat or humidity.
- Page 8 THIS DEVICE COMPLIES WITH PART 15 OF THE FCC RULES OPERATION IS SUBJECT TO THE FOLLOWING TWO CONDITIONS. (1)THIS DEVICE MAY NOT CAUSE HARMFUL INTERFERENCE AND (2) THIS DEVICE MUST ACCEPT ANY INTERFERENCE RECEIVED, INCLUDING INTERFERENCE THAT MAY CAUSE UNDESIRED OPERATION. © 2021 Monte Carlo Fan Company 5/2021...
-
Page 9: Troubleshooting
6. If this fan uses a remote controller, make sure dip switches are in the correct setting and make sure the battery works. CAUTION: Make sure main power is turned off before entering switch housing and/or canopy. © 2021 Monte Carlo Fan Company 5/2021... - Page 10 Jun.2021 Dec.2021 update step 12 with step screw...


Need help?
Do you have a question about the 3AVLCR54XXD Series and is the answer not in the manual?
Questions and answers