Advertisement
Quick Links
Owner's Guide and Installation Manual
Attach sales receipt to this card and retain as your proof of purchase
DATE OF PURCHASE:
MODEL NUMBER:
To register your fixture, please visit our website www.montecarlofans.com
3 0 6 4 9 6 4
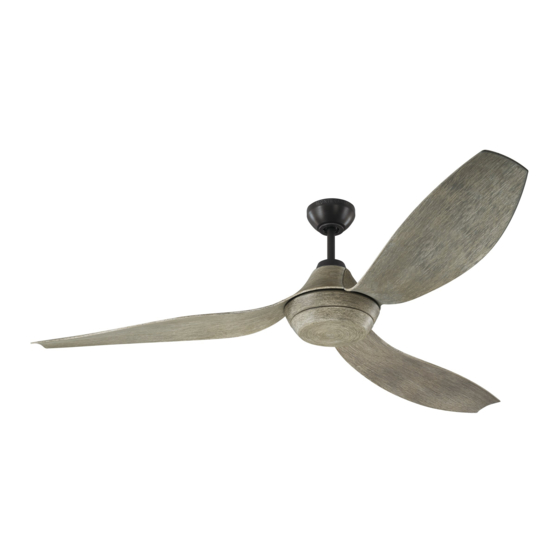
3AVMR64XXD Series Fan
ETL Model NO. : 3AVMR64XXXXX
RETAILER NAME:
RETAILER ADDRESS:
7.95 kgs
17.5 lbs
Total fan weight with light
Advertisement

Related Manuals for Monte Carlo Fan Company 3AVMR64 D Series


Summary of Contents for Monte Carlo Fan Company 3AVMR64 D Series
- Page 1 Owner’s Guide and Installation Manual 3AVMR64XXD Series Fan ETL Model NO. : 3AVMR64XXXXX Attach sales receipt to this card and retain as your proof of purchase DATE OF PURCHASE: RETAILER NAME: RETAILER ADDRESS: MODEL NUMBER: To register your fixture, please visit our website www.montecarlofans.com 7.95 kgs 17.5 lbs Total fan weight with light...
-
Page 2: Cautions And Warnings
Note: Suitable for use in damp locations. Tools Required for Assembly (not included): Electrical Tape, Phillips Screwdriver, Pliers, Safety Glasses, Stepladder and Wire Strippers Customer Service 800-969-3347 Customer Service Center 7400 Linder Ave. Skokie, IL 60077 www.montecarlofans.com © 2016 Monte Carlo Fan Company 11/2016... - Page 3 Tighten set screws with wood screws provided. Do not over securely. Do not over tighten. tighten. Note: For easy assembling and avoiding blade damage from scratch, put blades on Styrofoam as shown above. © 2016 Monte Carlo Fan Company 11/2016...
- Page 4 25º. Note : If Installing The Secondary Support result in serious injury. Safety Cable in the U.S., Do Not Remove Knockouts In The Outlet Box. © 2016 Monte Carlo Fan Company 11/2016...
- Page 5 Reinstall the screw removed in step 14 clockwise till lock. and tighten all screws securely. Attach canopy bottom cap onto canopy by aligning its notch with the screws on mounting bracket and twist clockwise till tight. © 2016 Monte Carlo Fan Company 11/2016...
- Page 6 Reinstall the shade and twist clockwise until tight. plate and twist clockwise until tight. screws removed in step 19. Tighten all Note: Do not install LED light kit if screws securely. use blanking plate. © 2016 Monte Carlo Fan Company 11/2016...
-
Page 7: Transmitter Operation
Or you may turn power off for 15 seconds then turn power back, and then turn the fan on, Over load protection (current limit)- The device will limits the maximum current output from the receiver/drive when the fan or light load was increased abnormally. © 2016 Monte Carlo Fan Company 11/2016... - Page 8 4. When fan is turned on or operated forward/reverse function, it shutters & goes back & forth until it turns. It is a normal performance of this fan and it will take for few seconds to run this operation. © 2016 Monte Carlo Fan Company 11/2016...
-
Page 9: Troubleshooting
Trouble Shooting Warning Trouble Suggested Remedy CAUTION CAUTION CAUTION © 2016 Monte Carlo Fan Company 11/2016... - Page 10 Nov.2016...
Need help?
Do you have a question about the 3AVMR64 D Series and is the answer not in the manual?
Questions and answers
Which direction should the fan turn in Summer weather ? Clockwise or Counter Clockwise ?