Advertisement
Quick Links
Owner's Guide and Installation Manual
Attach sales receipt to this card and retain as your proof of purchase
DATE OF PURCHASE:
MODEL NUMBER:
To register your fixture, please visit our website www.montecarlofans.com
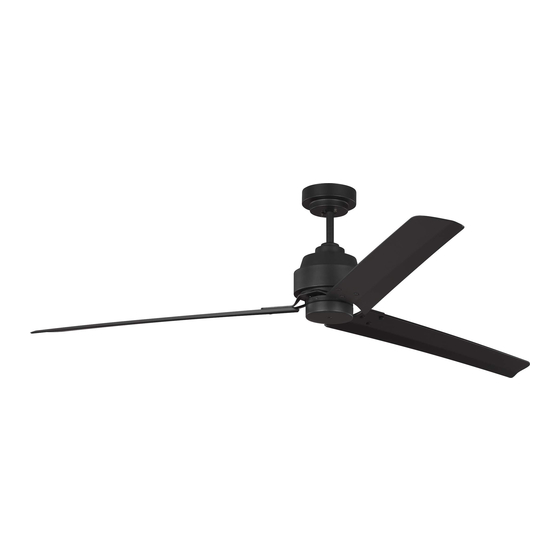
3ARR68XXX Series Fan
cETL Model NO. : 3ARR68XXX
RETAILER NAME:
RETAILER ADDRESS:
7.4 kg
16.28 lbs
Total fan weight
Advertisement

Related Manuals for Monte Carlo Fan Company Arcade 3ARR68 Series


Summary of Contents for Monte Carlo Fan Company Arcade 3ARR68 Series
- Page 1 Owner’s Guide and Installation Manual 3ARR68XXX Series Fan cETL Model NO. : 3ARR68XXX Attach sales receipt to this card and retain as your proof of purchase DATE OF PURCHASE: RETAILER NAME: RETAILER ADDRESS: MODEL NUMBER: To register your fixture, please visit our website www.montecarlofans.com 7.4 kg 16.28 lbs Total fan weight...
-
Page 2: Cautions And Warnings
All set screws must be checked and tightened where necessary before installation. Tools Required for Assembly (not included): Electrical Tape, Phillips Screwdriver, Pliers, Safety Glasses, Stepladder and Wire Strippers Customer Service 800-969-3347 Customer Service Center 7400 Linder Ave. Skokie, IL 60077 www.montecarlofans.com © 2019 Monte Carlo Fan Company 7/2019... - Page 3 Remove preassembled cross pin and Place downrod over canopy and yoke yoke at top of motor assembly. keeper pin from downrod. Keep parts. cover. Thread lead wires and safety cable from motor assembly through downrod. © 2019 Monte Carlo Fan Company 7/2019...
-
Page 4: Safety Cable Installation
The splices after being made should be turned upward and pushed carefully up into the outlet box. © 2019 Monte Carlo Fan Company 7/2019... - Page 5 Switch housing Remove set screws from switch housing. Keep screws. Install switch housing, aligning the screw holes on switch housing with the holes on top cover of switch housing and reinstall the set screws. © 2019 Monte Carlo Fan Company 7/2019...
- Page 6 Note: This remote controller has auto resume function, the fan and light will maintain the last setting if turned off. © 2019 Monte Carlo Fan Company 7/2019...
- Page 7 THIS DEVICE COMPLIES WITH PART 15 OF THE FCC RULES OPERATION IS SUBJECT TO THE FOLLOWING TWO CONDITIONS. (1)THIS DEVICE MAY NOT CAUSE HARMFUL INTERFERENCE AND (2) THIS DEVICE MUST ACCEPT ANY INTERFERENCE RECEIVED, INCLUDING INTERFERENCE THAT MAY CAUSE UNDESIRED OPERATION. © 2019 Monte Carlo Fan Company 7/2019...
-
Page 8: Troubleshooting
5.Remove light kit and check the plug connections if they are present. 6.If this fan uses remote controller, make sure dip switches are setting properly and make CAUTION: Make sure main power is turned off before entering switch housing and/or canopy. © 2019 Monte Carlo Fan Company 7/2019... - Page 9 Aug.2019...
Need help?
Do you have a question about the Arcade 3ARR68 Series and is the answer not in the manual?
Questions and answers