OnRobot GECKO GRIPPER Quick Start Manual
Hide thumbs
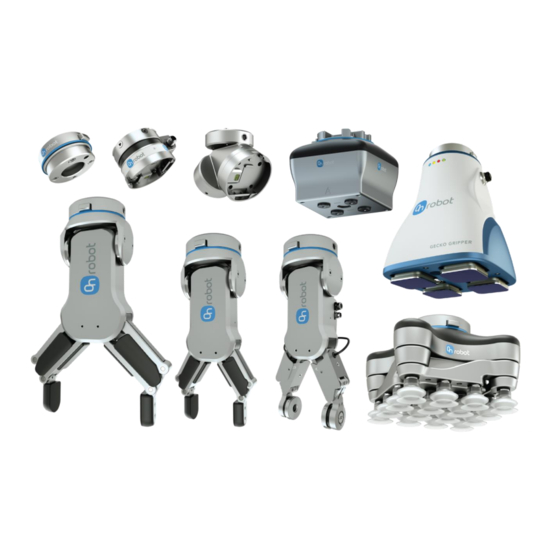
Also See for GECKO GRIPPER:
- Quick start manual (2 pages) ,
- Original user manual (198 pages)
Advertisement
1. Mount Gripper
2. Connect Power, Comms, and Piezo Cables
V 1.0
Copyright © 2018 by OnRobot A/S. All rights reserved
GECKO GRIPPER QUICK START GUIDE
1.1.
Insert the 4 Gecko pads by aligning the tab
with the notch in the mounting plate.
1.2.
Align two mounting holes between the gripper
and robot. Insert the 2 mounting screws and
tighten to 8 N-m with a 5mm hex key .
2.1.
Plug in 10-pin power (24V via I/O cable). If
using Ethernet, connect 8-pin cable as well. 4-pin is
for optional cleaning system.
2.2.
If using Digital I/O communication, wire flying
leads to appropriate ports. If using Ethernet
communication, plug in cable to appropriate port.
2.3.
Use 4-pin piezo driver cable to connect gripper
to high-voltage power supply.
Page 1 of 4
Advertisement
Table of Contents

Related Manuals for OnRobot GECKO GRIPPER


Summary of Contents for OnRobot GECKO GRIPPER
- Page 1 If using Ethernet communication, plug in cable to appropriate port. 2.3. Use 4-pin piezo driver cable to connect gripper to high-voltage power supply. V 1.0 Copyright © 2018 by OnRobot A/S. All rights reserved Page 1 of 4...
- Page 2 192.168.0.XXX where XXX is a different integer between 0-250. NOTE: The Training Mode Screen will appear when connection to the Gripper is successfully established. V 1.0 Copyright © 2018 by OnRobot A/S. All rights reserved Page 2 of 4...
- Page 3 Set Ultrasonic Range for the gripper sensor. 5.4. The gripper arrives with pads fully retracted. To engage the pads for use, set the Pad Position to “Engage.” V 1.0 Copyright © 2018 by OnRobot A/S. All rights reserved Page 3 of 4...
- Page 4 Piezoelectric Cleaning System, you can specify the duration of a cleaning cycle in the Clean Pads window, accessed via the “Clean Pads” button on the Training Mode Screen. V 1.0 Copyright © 2018 by OnRobot A/S. All rights reserved Page 4 of 4...
Need help?
Do you have a question about the GECKO GRIPPER and is the answer not in the manual?
Questions and answers