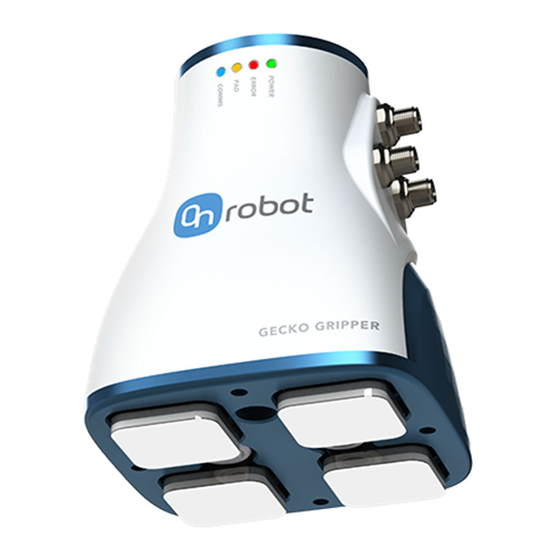
OnRobot Gecko Gripper Quick Start Manual
For universal robots
Hide thumbs
Also See for Gecko Gripper:
- Quick start manual (4 pages) ,
- Original user manual (198 pages)
Advertisement
Quick Links
5
Perform Action
6
Other Features
Gecko Gripper Quick Start Guide for Universal Robots
1. Select "Perform
Action" to actuate the
gripper and set
parameters.
This step must be
completed when using
I/O comms to save the
configuration to the
SD card.
1. Retrieve Error Logs from the
"Help" menu bar by clicking on
"Error Logs."
2. Click "Load Logs" for full error
log information. By selecting
"Save to File," you can save
error logs.
page 4 of 4
Gecko Gripper
Quick Start Guide for Universal Robots
1
Mount Gripper
2
Connect Power and Comms
Gecko Gripper Quick Start Guide for Universal Robots
1. Insert the 4 Gecko pads by
aligning the tab with the
notch in the mounting plate.
2. Align two mounting holes
between the gripper and
robot. Insert the 2 mounting
screws and tighten to 8 N-m
with a 5mm hex key.
1. Plug in 10-pin power (24V via I/O
cable). If using Ethernet, connect 8-pin
cable as well. 4-pin is for optional
cleaning system.
2. If using Digital I/O communication,
wire flying leads to appropriate ports.
If using Ethernet communication, plug
in cable to appropriate port.
3. Pin 10 of the IO cable is Earth Ground –
this must be properly grounded to
ensure proper operation
page 1 of 4
Advertisement

Summary of Contents for OnRobot Gecko Gripper
- Page 1 3. Pin 10 of the IO cable is Earth Ground – this must be properly grounded to ensure proper operation Gecko Gripper Quick Start Guide for Universal Robots page 4 of 4 Gecko Gripper Quick Start Guide for Universal Robots...
-
Page 2: Install Software
– account for this 5. Choose to Enable or delay when robot programming Disable Cleaning. Gecko Gripper Quick Start Guide for Universal Robots page 2 of 4 Gecko Gripper Quick Start Guide for Universal Robots page 3 of 4...


Need help?
Do you have a question about the Gecko Gripper and is the answer not in the manual?
Questions and answers