Sign In
Upload
Download
Add to my manuals
Delete from my manuals
Share
URL of this page:
HTML Link:
Bookmark this page
Add
Manual will be automatically added to "My Manuals"
Print this page
×
Bookmark added
×
Added to my manuals
Manuals
Brands
AIDA Manuals
Digital Camera
NDI HD-NDI-CUBE
Manual
AIDA NDI HD-NDI-CUBE Manual
Full-hd ndi/hx pov cameras
Hide thumbs
1
Table Of Contents
2
3
4
5
6
7
8
9
10
11
12
13
14
15
16
17
18
19
20
21
22
23
page
of
23
Go
/
23
Contents
Table of Contents
Bookmarks
Advertisement
Quick Links
1
Table of Contents
2
Usb Tool
3
Web Settings
Download this manual
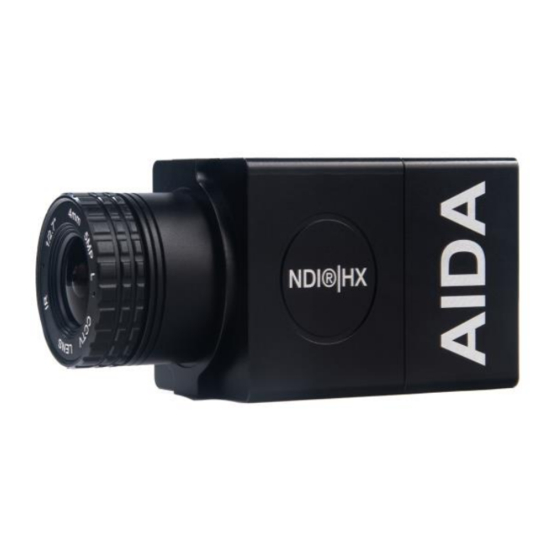
AIDA NDI® POV
HD-NDI-CUBE | HD-NDI-IP67 | HD-NDI-MINI
Full-HD NDI®|HX POV Cameras
Version 1.0
AIDA
Table of
Contents
Previous
Page
Next
Page
1
2
3
4
5
Advertisement
Need help?
Do you have a question about the NDI HD-NDI-CUBE and is the answer not in the manual?
Ask a question
Questions and answers
Related Manuals for AIDA NDI HD-NDI-CUBE
Digital Camera AIDA HD-NDI-POV Upgrade Manual
(9 pages)
Digital Camera AIDA NDI HD-NDI-MINI Manual
Full-hd ndi/hx pov cameras (23 pages)
Digital Camera AIDA HD-NDI-CUBE Upgrade Manual
(9 pages)
Digital Camera AIDA HD-NDI-200 Manual
Full-hd ndi |hx2 pov camera (24 pages)
Digital Camera AIDA HD-NDI-X20 Manual
Full-hd ndi hx2 pov camera (25 pages)
Digital Camera AIDA HD-NDI-200 Upgrade Manual
(14 pages)
Digital Camera AIDA HD-NDI-MINI Upgrade Manual
(9 pages)
Digital Camera AIDA PTZ4K12G-FNDI-X30 Operation Manual
12g-sdi / high bandwidth ndi pan-tilt-zoom broadcast camera (54 pages)
Digital Camera AIDA HD3G-IPC Series Operation Manual
3g-sdi ip controllable micro pov cameras (41 pages)
Digital Camera AIDA PTZ-X12-IP User Manual
Full-hd optical zoom ptz (38 pages)
Digital Camera AIDA HD-100A-IP67 Operation Manual
Full hd hdmi camera (19 pages)
Digital Camera AIDA HD-100A Upgrade Manual
(9 pages)
Digital Camera AIDA UHD6G-X12L Operation Manual
Micro uhd hdmi optical zoom efp camera (26 pages)
Digital Camera AIDA UHD-100 Upgrade Manual
(8 pages)
Digital Camera AIDA HD-X3L-IP67 Operation Manual
Fhd weatherproof pov camera (20 pages)
Digital Camera AIDA UHD6G-X12L Operation Manual
4k/uhd 6g-sdi pov camera (19 pages)
This manual is also suitable for:
Ndi hd-ndi-ip67
Ndi hd-ndi-mini
Print
Rename the bookmark
Delete bookmark?
Delete from my manuals?
Login
Sign In
OR
Sign in with Facebook
Sign in with Google
Upload manual
Upload from disk
Upload from URL


Need help?
Do you have a question about the NDI HD-NDI-CUBE and is the answer not in the manual?
Questions and answers