Sign In
Upload
Download
Table of Contents
Contents
Add to my manuals
Delete from my manuals
Share
URL of this page:
HTML Link:
Bookmark this page
Add
Manual will be automatically added to "My Manuals"
Print this page
×
Bookmark added
×
Added to my manuals
Manuals
Brands
Laspaziale Manuals
Coffee Maker
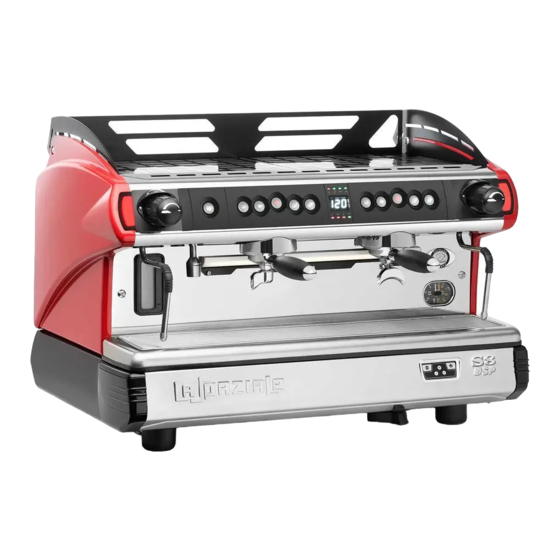
S8 DSP
Installation instructions manual
Laspaziale S8 DSP Installation Instructions Manual
Hide thumbs
1
2
Table Of Contents
3
4
5
6
7
8
9
10
11
12
13
14
15
16
17
18
19
20
21
22
23
24
25
26
27
28
29
30
31
32
33
34
35
36
37
38
39
40
41
42
43
44
45
46
47
48
49
50
page
of
50
Go
/
50
Contents
Table of Contents
Bookmarks
Table of Contents
Table of Contents
General Description of the Machine
General Description of the Control Panel and Programming Touchpad
General Description of the Push-Button Keyboard
General Warnings for the Installer
Removing the Packaging
Standard Outfit of the Machine
OPTIONAL ACCESSORIES (Supplied Only on Request of the Customer)
Installation
Electric Installation Diagram
Water Mains Installation Diagram
Drainage System
Electrical Switch on of the Appliance
Programming
Programming the Boiler Temperature
Programming Coffee Doses
Programming Hot Water Delivery for the Preparation of Infusions
Programming Access Block
Technical Menu
Machine Functions
Economy Function
Up Function
Washing the Boiler
Washing the Units
Optional
Electric Cup Warmer
Automatic System for Emulsifying the Milk with Adjustable Temperature ( Optional )
Mixed Water") System
Cash Register Connection
Technical Assistance Program G.a
Optional )
Counter Function
Optional )
Alarms
Notes for the Service Engineer
Diagrams for Electronic Board Connections
Electronic Control Board
Expansion Board
7-Segment Display
Power Diagram
Electric Diagram
Expansion Unit Diagram
Hydraulic Diagram
Technical Data
Advertisement
Quick Links
1
Programming
Download this manual
espresso coffee machines
LSI 090 - Rev. 00 - Ed. 04/2018
Table of
Contents
Previous
Page
Next
Page
1
2
3
4
5
Advertisement
Table of Contents
Need help?
Do you have a question about the S8 DSP and is the answer not in the manual?
Ask a question
Questions and answers
Related Manuals for Laspaziale S8 DSP
Coffee Maker Laspaziale S1 Dream-T Owner's Manual
(18 pages)
Coffee Maker Laspaziale Mini Vivaldi Instruction Manual
(32 pages)
Coffee Maker LaSpaziale S1 Dream Owner's Manual
Espresso machine (44 pages)
Coffee Maker Laspaziale S1 Dream Instruction Manual
(96 pages)
Coffee Maker Laspaziale S5 Manual For Use And Maintenance
(8 pages)
Coffee Maker Laspaziale S40 Manual
(16 pages)
Coffee Maker Laspaziale S2 Installation Instructions Manual
(28 pages)
Coffee Maker Laspaziale S1 Vivaldi Instruction Manual For The Installer
(24 pages)
Coffee Maker Laspaziale S 3 Manual For Use And Maintenance
(32 pages)
Coffee Maker Laspaziale SUPER 3000 Manual For Use And Maintenance
(32 pages)
Coffee Maker Laspaziale SPAZIO Manual For Use And Maintenance
(32 pages)
Coffee Maker Laspaziale S1 Armonia Instruction Manual
(38 pages)
Coffee Maker Laspaziale S9 DSP Installation Instructions Manual
(50 pages)
Coffee Maker Laspaziale S21 Installer Manual
Espresso coffee machines (33 pages)
Coffee Maker Laspaziale Lucca A53 MINI Instruction Manual
Espresso machine (36 pages)
This manual is also suitable for:
S9 dsp
Table of Contents
Print
Rename the bookmark
Delete bookmark?
Delete from my manuals?
Login
Sign In
OR
Sign in with Facebook
Sign in with Google
Upload manual
Upload from disk
Upload from URL


Need help?
Do you have a question about the S8 DSP and is the answer not in the manual?
Questions and answers