Table of Contents
Advertisement
Quick Links
Advertisement
Table of Contents

Related Manuals for Roadmaster StowMaster ALL TERRAIN


Summary of Contents for Roadmaster StowMaster ALL TERRAIN
-
Page 2: Table Of Contents
All illustrations and specifications contained herein are based on the latest information available at the time of publication. ROADMASTER, Inc. reserves the right to make changes, at any time, without notice, in material, specifica- Serial number: tions and models, or to discontinue models. -
Page 3: Safe Towing Practices
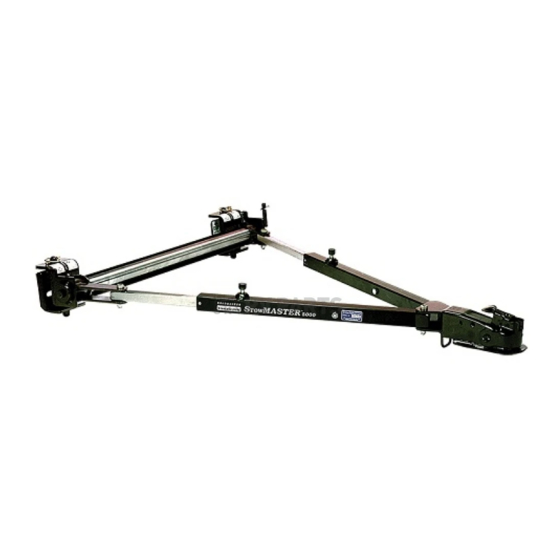
• Always stand to one side and as close to the motor- fail. home as possible when releasing the tow bar locking • The StowMaster All Terrain tow bar is rated at a maxi- mechanisms. Never stand between the adjustable arms, mum of 6,000 pounds carrying capacity; therefore the... -
Page 4: Installer's Safety Checklist
The safety cables must connect the towed vehicle to the towing vehicle, frame to frame. The weight capacity of the safety cables must meet or exceed the towed weight, or the safety cables will fail. • The StowMaster All Terrain tow bar is rated at a maxi-... -
Page 5: Installing The 'Quick-Disconnect' System
INSTALLING THE ‘QUICK-DISCONNECT’ SYSTEM This ROADMASTER tow bar is equipped with an exclu- nects or other components may vibrate loose, which sive “quick-disconnect” (or, “QD”) system. Before connect-... -
Page 6: Connecting The Tow Bar
Installing the ‘quick-disconnect’ system continued from preceding page tow bar is centered on the front of the vehicle. If necessary, adjust the quick-disconnects by moving them to the left or the right, until the tow bar is centered to the front of the vehicle. CAUTION The quick-disconnects must be centered on the mounting brackets. - Page 7 Connecting the tow bar plug in the electrical wiring cord, according to the sup- plier’s instructions. continued from preceding page just clears the tab hole (Figure 11), and pull straight back Before towing the vehicle, make sure the steering is toward the towed vehicle.
-
Page 8: Disconnecting The Tow Bar
Note: if it is difficult to lift the coupler, the towed ve- (ROADMASTER recommends replacing at least one hicle’s weight may be pressing against it. Release the linch pin with a padlock — part number 301 or 302 — to pressure by pushing down on one or both of the release prevent accidental release or theft.) -
Page 9: Safety Cables
“pole vault” the towed vehicle. • Some ROADMASTER tow bar mounting kits with re- movable arms use two safety cables on each side. If two sets of safety cables are required, both must be used. This is required by law. -
Page 10: Proper Installation Of Safety Cables
Note: the snap hooks can be attached at either the towed vehicle or the motorhome. Option 2 Some ROADMASTER tow bar mounting brackets with removable arms, such as the one in Figure 15, use both Figure 15 a long safety cable and a short safety cable on each side. -
Page 11: Care And Cleaning
CARE AND CLEANING As is the case with most precision equipment, frequent Clean the interior of the coupler, and wipe away the old cleaning and care results in better performance and lon- grease, dirt and debris. gevity. Use the following guidelines to keep your tow bar After cleaning the tow bar, wipe any remaining cleaner clean and well-lubricated. -
Page 12: Atwood Coupler Information
ATWOOD COUPLER INFORMATION 5. Insert padlock or bolt through lock hole in yoke for theft Following are the operation, latching and maintenance instructions from the coupler manufacturer, repeated here protection. for your information. (References to trailer use do not ap- Note: these couplers are not adjustable for ball size. -
Page 13: Limited Warranty
ROADMASTER as provided below, and within a reason- effect, and the invalid provision shall be partially enforced able time ROADMASTER will provide, at its option, one of to the maximum extent permitted by law to effectuate the the following: (1) replacement components for any non- purpose of the agreement. - Page 14 STOWMASTER ALL TERRAIN COMPONENTS Please have your serial number handy when calling for repair parts, as not all versions of this tow bar use the same parts. part part description number description number 5a inner arm assembly, passenger side 1 quick-disconnects, car side set (color-coded red) .......
Need help?
Do you have a question about the StowMaster ALL TERRAIN and is the answer not in the manual?
Questions and answers