Advertisement
Table of Contents
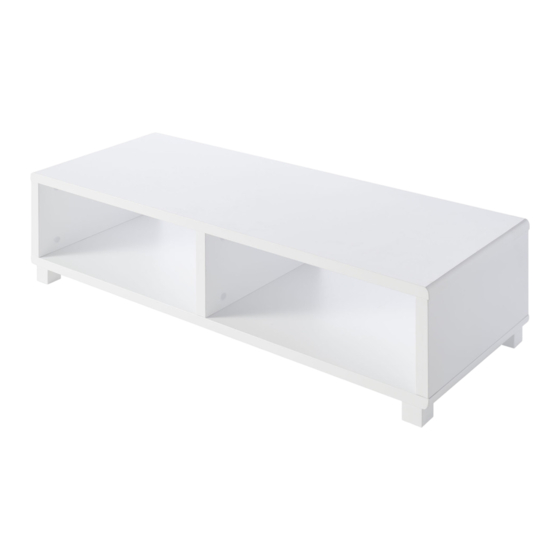
Mocka Essentials Coffee Table
Assembly Instructions
Thank you for your purchase.
Please follow the instructions below for correct assembly.
A
B
locking
bolt
nut x12
x12
Hardware Supplied
Phillips & Flathead screwdrivers required
*We recommend using a Flathead screwdriver to tighten all locking nuts 100% before first use.
Please clear any loose wood from the locking nut holes before inserting the nut to ensure it locks 100%.
mocka.co.nz | mocka.com.au
C
D
E
screw
leg
cover
x8
x4
x12
1
Advertisement
Table of Contents

Related Manuals for Mocka Essentials Coffee Table


Summary of Contents for Mocka Essentials Coffee Table
- Page 1 Mocka Essentials Coffee Table Assembly Instructions Thank you for your purchase. Please follow the instructions below for correct assembly. screw locking bolt cover nut x12 Hardware Supplied Phillips & Flathead screwdrivers required *We recommend using a Flathead screwdriver to tighten all locking nuts 100% before first use.
- Page 2 Mocka Essentials Coffee Table Assembly Instructions To begin assembly first screw in 12x bolts (B) into holes in both top and Slide three vertical panels [1] onto the screw tops in the correct position bottom panels [2 & 3]. as shown. Insert 6x locking nuts (A) into the lower holes in side of panels and tighten with screwdriver.
- Page 3 Mocka Essentials Coffee Table Assembly Instructions Place base panel [3] with bolts (B) already attached into holes on top of Attach all feet (D) to the base panel [3] using 2x screws (C) in each. vertical panels. Insert 6x locking nuts (A) into remaining holes in all Ensure all screws are securely tightened with a screwdriver.
- Page 4 Mocka Essentials Coffee Table Assembly Instructions Flip table over so feet sit on the floor. Check all screws and hardware To finish use (E) to cover the holes where hardware (A) is used. are secure. Lift furniture into desired position, do not drag.
Need help?
Do you have a question about the Essentials Coffee Table and is the answer not in the manual?
Questions and answers