
Subscribe to Our Youtube Channel
Related Manuals for Banner TCNM-ACM-OM110


Summary of Contents for Banner TCNM-ACM-OM110
- Page 1 TCNM-ACM-OM110 Installation Manual 1 – Laser beam output window 2 – Power cable Sep 2013 p/n 174698 Rev. A...
- Page 2 When opening the packaging, verify the TCNM-ACM-OM110 oscillating mirror is complete and includes a set of fixture screws. Dimensions The following figure gives the overall dimensions of the TCNM-ACM-OM110 and may be used for its installation. p/n 174698 Rev. A...
- Page 3 Step 2. Remove the scanning window from the scanner. Step 3. Bring the TCNM-ACM-OM110 close to the scanner and insert the cable into the scanner’s power connector. Make sure the cable doesn't remain in the path of the mirror movement.
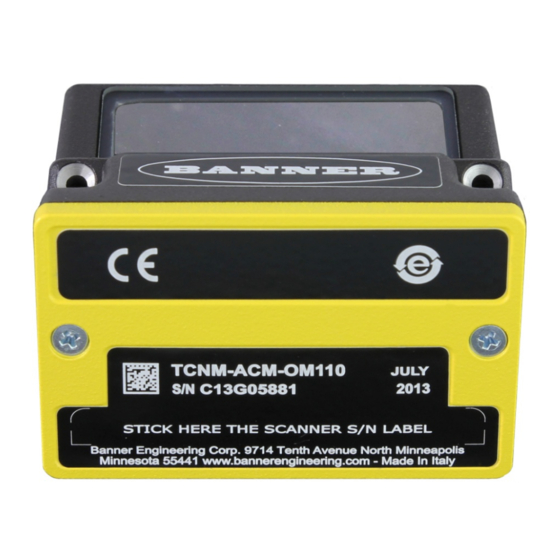
- Page 4 TCNM-ACM-OM110 Installation Manual Step 5. In the indicated space on the front side of the TCNM-ACM-OM110, apply the spare scanner serial number label provided with the scanner. Reading Features The reading distance of the TCNM-AD/EX series scanner with the TCNM-ACM-OM110 is shifted by 10 mm toward the scanner because of the internal optical path between the scanner and the TCNM-ACM- OM110 output window.
- Page 5 (see figure below). Configuration The TCNM-ACM-OM110 must be mounted to a TCNM-AD/EX scanner and is configurable exclusively through the GeniusPlus utility program. When entering the SMART-TEACH interface on the TCNM-AD/EX, the Oscillating Mirror remains in the default fixed position (-15°) in order to make barcode reading easier while...
- Page 6 The maximum allowable frequency for an amplitude of 35° or more is 3 Hz. Maintenance and Troubleshooting TCNM-ACM-OM110 has no user replaceable components and, apart from periodically cleaning the output window, no particular maintenance is necessary; dust and dirt on the surface may alter the reading performance of the system.
- Page 7 TCNM-ACM-OM110 Installation Manual Specifications Electrical Operating Voltage Power Consumption Max 10 to 30V dc 1 W (RMS) @ 30 Vdc Input Current Max Raster Width 40 mA (RMS) @ 10 Vdc Software adjustable from 10° to 40° 1.2 A max peak current @ 10 Vdc at...
Need help?
Do you have a question about the TCNM-ACM-OM110 and is the answer not in the manual?
Questions and answers