Table of Contents
Advertisement
Quick Links
ASSEMBLY INSTRUCTIONS
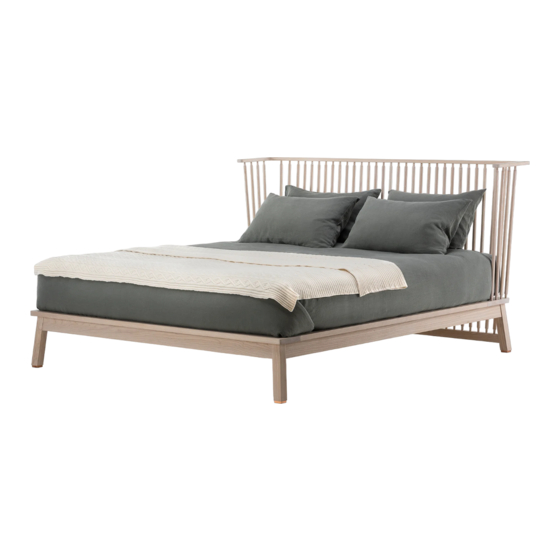
COMPANIONS BED BY STUDIOILSE
PARTS
1x Headboard
1x Central beam
2x Side beams
HARDWARE
(4x) Universal connector
(12x) M8x30 bolts
(26x) M5 washers
YOU WILL NEED
-8mm socket/ratchet set OR cordless drill with the appropriate
attachment
-5mm Allen Key
-The help of a friend
NOTES
NOTE 1: Be certain that all assembly is carried out on a flat
and stable surface. This will ensure a good final result.
Reverse the steps to disassemble the piece.
NOTE 2: Your furniture arrives packed in numerous layers that
protect it during transport. It is important that you remove
the packaging carefully to avoid damaging your furniture. Refer
to our information sheet "Unpacking Your Furniture" for further
details.
NOTE 3: Great care is required when assembling our products .
Use blankets to soften the assembly surface - hard surfaces
such as wood or stone flooring may damage the furniture if in
direct contact.
NOTE 4: We advise that assembly and disassembly of De La Espada
furniture is undertaken by a minimum of 2 people.
13x Timber slats
(14 for Cal King)
1x Footboard
(4x) M8x40 Metal dowel
(26x) M5 bolts
SALES@DELAESPADA.COM
DELAESPADA.COM
0
1
S
T
U
D
I
O
I
L
S
E
Advertisement
Table of Contents

Related Manuals for De La Espada COMPANIONS BED


Summary of Contents for De La Espada COMPANIONS BED
- Page 1 Use blankets to soften the assembly surface - hard surfaces such as wood or stone flooring may damage the furniture if in direct contact. NOTE 4: We advise that assembly and disassembly of De La Espada SALES@DELAESPADA.COM furniture is undertaken by a minimum of 2 people.
- Page 2 ASSEMBLY INSTRUCTIONS CONTINUED COMPANIONS BED NOTE 5: When screwing in bolts, tighten well, but be sure NOT TO OVERTIGHTEN. This can cause the thread to strip thus resulting in a poor connection. NOTE 6: All mating parts are numbered so they correspond to the appropriate part around the frame of the bed.
- Page 3 ASSEMBLY INSTRUCTIONS CONTINUED COMPANIONS BED c) Insert a Universal Connector into the rebate in the head- board end of one sidebeam, and place a metal dowel into the corresponding pre-drilled hole in the headboard. Guide the met- al dowel into the Universal Connector and tighten firmly with an Allen Key.
- Page 4 ASSEMBLY INSTRUCTIONS CONTINUED COMPANIONS BED 2. ATTACH FOOTBOARD a) Prepare to attach the footboard by placing it in the correct orientation. b) Insert a Universal Connector into the rebate in the foot- board end of one sidebeam, and place a metal dowel into the corresponding pre-drilled hole in the footboard.
- Page 5 ASSEMBLY INSTRUCTIONS CONTINUED COMPANIONS BED c) The construction should now look like this. Insert 2x M8x30 bolts into the footboard at each connection point and tighten with an Allen Key.
- Page 6 ASSEMBLY INSTRUCTIONS CONTINUED COMPANIONS BED 3. ATTACH THE TIMBER SLATS TO THE PLATFORM BASE a) Space out the bed slats so they are aligned with the corresponding holes on the timber lip on the inner face of the side beams. The underside of the each slat has a threaded sleeve fixed inside.
- Page 7 ASSEMBLY INSTRUCTIONS CONTINUED COMPANIONS BED c) The assembly is now complete and the bed is ready to receive a mattress.
Need help?
Do you have a question about the COMPANIONS BED and is the answer not in the manual?
Questions and answers