Advertisement
Table of Contents
- 1 Parts List
- 2 Step 1 - Remove All Parts from Their Packaging
- 3 Step 2 - Lay the Back Frame (Part A) on a Flat Surface
- 4 Step 3 - Lay the Right Arm (Part C) on a Flat Surface
- 5 Step 4 - Place the Back Frame and Seat Frame on Their Side
- 6 Step 5 - with Help, Place the Chair Body Onto Its Back
- 7 Step 6 - with Help, Carefully Set the Chair Upright
- 8 Step 7 - Place the Seat Cushion (Part F) Onto the Seat Frame
- Download this manual
Thank you for purchasing our fine product!
This package contains all tools necessary for assembly.
WARNING
: Failure to follow these directions and warnings can result in serious injury
and/or product damage.
Assistance is required to assemble this chair.
!
Never stand on the chair or use it as a ladder.
!
Do not tip the chair when seated.
!
Periodically re-tighten all bolts and legs.
!
Do not exceed 250 lbs. (113.4 kg) weight limit on the chair.
!
If any parts become missing, damaged or worn, discontinue use until they are replaced with identical parts.
!
Always seek assistance before moving furniture.
!
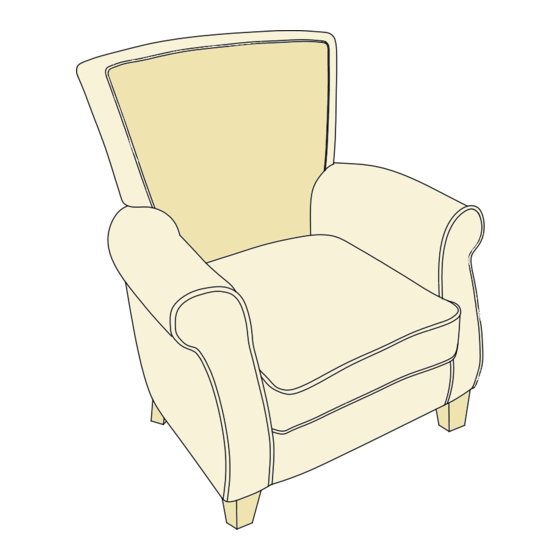
#1092 Wingback Arm Chair
Assembly Instructions
Give us a chance to make it right.
Do not return this item to the store. Contact our friendly customer
service department with any
for missing or damaged parts are normally shipped the same day!
TOLL FREE: 1-866-528-8364
Monday - Friday, 8am-5pm, ET. After business hours, leave a message.
We will return your call the next business day.
#1092 Wingback Arm Chair
problems or comments
. Replacements
Page 1
Advertisement
Table of Contents

Related Manuals for µ-Dimension 1092


Summary of Contents for µ-Dimension 1092
- Page 1 #1092 Wingback Arm Chair Assembly Instructions Thank you for purchasing our fine product! This package contains all tools necessary for assembly. Give us a chance to make it right. Do not return this item to the store. Contact our friendly customer...
- Page 2 #1092 Wingback Arm Chair Assembly Instructions PARTS LIST Part Drawing Part Name Qty. Part Drawing Part Name Qty. Back Frame Seat Cushion Wood Dowel Seat Frame Bolt with Right Arm Washers Allen Left Arm Wrench Legs Step 1 - Remove all parts from their packaging and confirm that the quantities match those listed above.
- Page 3 #1092 Wingback Arm Chair Assembly Instructions Step 2 - Lay the Back Frame (Part A) on a flat surface. Pull the Velcro® attached dust cover on the bottom of the Seat Frame (Part B) back to expose the inner frame. Align the bolt holes on the underside of the Seat Frame with the corresponding bolt holes in the Back Frame like shown below.
- Page 4 #1092 Wingback Arm Chair Assembly Instructions Step 4 - Place the Back frame and Seat frame on their side as shown below. Align the wood dowel in the Right Arm with the corresponding hole in the Back frame. With the arm seated against the chair body, align the four bolt holes that connect the arm to the Back frame and Seat frame.
- Page 5 #1092 Wingback Arm Chair Assembly Instructions Step 6 - With help, carefully set the chair upright. Insert two Bolts with Washers (Part H) through the Back frame and into the Left Arm. Tighten the bolts inserted in this step as well as the bolts inserted in the previous step using the Allen Wrench (Part I).
Need help?
Do you have a question about the 1092 and is the answer not in the manual?
Questions and answers