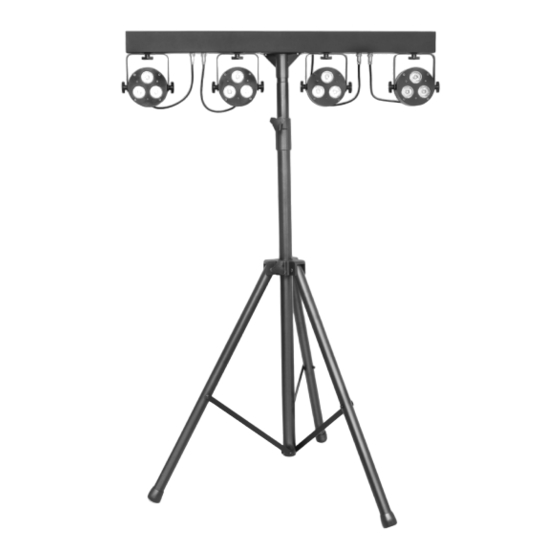
Summary of Contents for Stagg FlatPar 4
- Page 1 USER MANUAL FlatPar 4 SLB 4P 36-41 Please read the instructions carefully before use...
-
Page 2: Safety Instructions
SAFETY INSTRUCTIONS Please read the instructions carefully as they include important information about the installation, operation and maintenance. • Please keep this user’s guide for future consultation. If you sell the unit to another user, be sure that they also receive this instruction booklet. •... -
Page 3: Installation
• Disconnect the mains power before replacing or servicing the fuses. • Only replace the fuses with the same type. • In the event of a serious operating problem, stop using the unit immediately. • Never turn on and off the unit time after time. -
Page 4: Technical Specifications
TECHNICAL SPECIFICATIONS - Type: Light set with 4 Flat PAR spotlights - LED: 4 x 3 RGBW 4-in-1 LEDs, 6 watts per LED - Illuminance: 3320 lux at 2 metres (6.6') - Beam angle: 25° - Control modes: DMX-512 (6 or 15 channels), master/slave, auto, sound - Functions: Dimmer, strobe, auto, RGBW colour changing - Display: 4-digit - Housing: Aluminium... -
Page 5: Menu Structure
MENU STRUCTURE DMX mode (1 to 512) Automatic selection mode Sound mode Colour mode (000 to 255) Channel mode selection Slave mode User mode... - Page 6 Addr – DMX address setting via control board. 1. Press the MENU button. Then press the UP or DOWN button until “Addr” is displayed. Then, press ENTER. 2. The screen displays “A×××”. “×××”represents the showed address. Press the UP or DOWN button to select the desired address. Auto –...
-
Page 7: Dmx Control Mode
SLav – In this menu, you can select the master/slave mode. 1. Press the MENU button. Then press the UP or DOWN button until “SLav” is displayed. Then, press ENTER. 2. The screen displays “Sla”: the slave mode is confirmed. It can be controlled by the auto mode, sound mode and chase mode. - Page 8 CH 1 0--255 LED function CH 2 0--255 LED function speed and flash speed CH 3 0--255 Red (0%--100%) CH 4 0--255 Green (0%--100%) CH 5 0--255 Blue (0%--100%) CH 6 0--255 White (0%--100%) CH 7 0--255 Red (0%--100%) CH 8 0--255 Green (0%--100%) CH 9...
- Page 9 CH 1 0-- 255 Dimmer CH 2 0-- 255 Strobe CH 3 0-- 255 Red (0%--100%) Green CH 4 0-- 255 --100%) Blue (0%- CH 5 0-- 255 100%) White CH 6 0-- 255 (0%-- 100%) CH 7 0-- 255 Red (0%--100%) Green CH 8...
-
Page 10: Dmx512 Connections
512 channels. Warning To avoid signal transmission problems and interferences when using fixtures in chain, use a Stagg N-series professional 3-pin DMX terminator (resistance: 120 ohms; pin2: DMX-; pin3: DMX+). FIXTURE CLEANING An internal cleaning must be carried out periodically to optimize the light output. - Page 11 For more info and last updates: staggmusic.com 07/2017...


Need help?
Do you have a question about the FlatPar 4 and is the answer not in the manual?
Questions and answers