Table of Contents
Advertisement
Quick Links
Advertisement
Table of Contents

Related Manuals for Kogan KAMN30FXULA


Summary of Contents for Kogan KAMN30FXULA
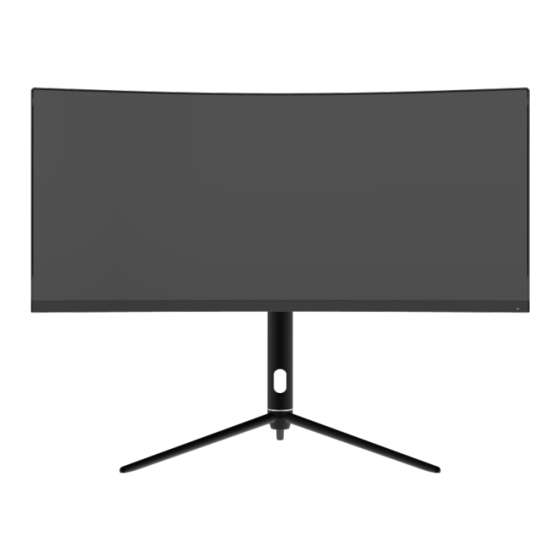
- Page 1 30" CURVED ULTRAWIDE GAMING MONITOR (2560 x 1080, 1500r, 200Hz, 21:9) KAMN30FXULA...
-
Page 2: Table Of Contents
Safety & Warnings Components Overview Assembly VESA Mount Connectivity Operation ECO Modes & Gameplus Specifications... -
Page 3: Safety & Warnings
SAFETY & WARNINGS • Read all instructions before using the appliance and retain this user guide for future reference. • Unplug the monitor before cleaning it. • Use a clean, slightly-dampened cloth to wipe the main monitor body. • To clean the screen: turn it off, unplug it and wait for it to cool completely, then wipe it with a dry microfibre cloth. -
Page 4: Components
COMPONENTS Monitor Stand Stem Stand Base VESA Connectors DP cable Power Cable Power Adapter User Guide... -
Page 5: Overview
OVERVIEW Controls Power button RGB Range/Exit LED light effect/Down Menu/Enter GamePlus Mode/Up Ports Power Input HDMI Input DisplayPort Input Audio Output... -
Page 6: Assembly
ASSEMBLY Before disposing of any packaging, place all items on a soft, clean and flat surface to ensure all components are accounted for. The panel of the monitor is fragile. Keep the foam WARNING: underneath the monitor screen while assembling the stand. Installing the Stand Base Lay the monitor screen facing down on a table with the monitor still resting on the packing foam. -
Page 7: Vesa Mount
VESA MOUNT Follow the steps below to install onto a monitor arm or wall mount (not included) Lay the monitor screen facing down on a table with the monitor still resting on the packing foam. With the circular indentation now open to you, remove the four screws installed on the back of the monitor. -
Page 8: Connectivity
CONNECTIVITY Power Connect the included power cable to the monitor power port. Connect the power cable to the power adapter. Connect the power adapter to the power outlet. Audio Plug in your earphones to receive audio signals from your monitor. If your earphones are connected to the monitor and audio devices are connected to your computer at the same time, the audio devices will not produce sound. - Page 9 HDMI In order for the monitor to receive HDMI signals from the computer, use a HDMI cable to connect the monitor to the computer. DisplayPort In order for the monitor to receive DisplayPort signals from the computer, use the DisplayPort cable to connect the monitor to the computer.
-
Page 10: Operation
OPERATION Connect the monitor to the input device via HDMI or DisplayPort. Connect the power cable to the monitor, then connect the other end directly to a power socket. Use the power button to turn the monitor on. Indicator Light Solid Blue light: Power is on and the monitor is operating normally. - Page 11 List of Functions Main Menu Sub-Menu Options Description Input Source NONE Switch to DP signal input HDMI 1(2.0) NONE Switch to HDMI signal input HDMI 2(1.4) HDMI 3(1.4) Brightness/ Brightness 0~100 Adjust display brightness Contrast Black level 0~100 Adjust display black level Contrast 0~100 Adjust display contrast...
- Page 12 Response Time Off, High, Turn On/Off the response Setting Middle, Low time of the monitor Noise Reduction Off, High, Reduce the interference of Middle, Low image noise caused by signal source interference. Super Resolution Off, High, When the resolution of the Middle, Low display screen is low, this function can be turned on...
- Page 13 PIP Position TopRight, Top Adjust the PIP/PBP window Left, Bottom position Right, Bottom Left Swap NONE Swap the PIP/PBP signal sources English, Language Set OSD language 简体中文,한국어, Русский, Español, 日本語 , Francais OSD H-Position 0~100 Adjust the OSD’s horizontal position OSD V-Position 0~100 Adjust the OSD’s vertical...
-
Page 14: Eco Modes & Gameplus
ECO MODES & GAMEPLUS Press any button to activate OSD guidance. Press Down to enter LED light effect system console. There are options for Color, Strength, Mode. Press Left button to switch colour gamuts mode between “Limited & Full”. Gameplus Press Up button to switch Gameplus modes. -
Page 15: Specifications
SPECIFICATIONS Model KAMN30FXULA Screen Size 30" Aspect Ratio 21:9 Backlight E-LED Brightness 350cd/m² Panel Resolution 2560x1080 Refresh Rate 200Hz Response Time Viewing Angle 178°(H) / 178°(V) (Typ.) Contrast Ratio 3000:1 VESA Mounting 75x75 Colours 16.7M Adaptive Sync Signal Input DPx1, HDMI2.0x1, HDMI1.4x2... - Page 16 Need more information? We hope that this user guide has given you the assistance needed for a simple set-up. For the most up-to-date guide for your product, as well as any additional assistance you may require, head online to help.kogan.com...
Need help?
Do you have a question about the KAMN30FXULA and is the answer not in the manual?
Questions and answers
KAMN30FXULA Can I adjust the height of the stand ,,does it slide down the slot on the rear