Advertisement
Quick Links
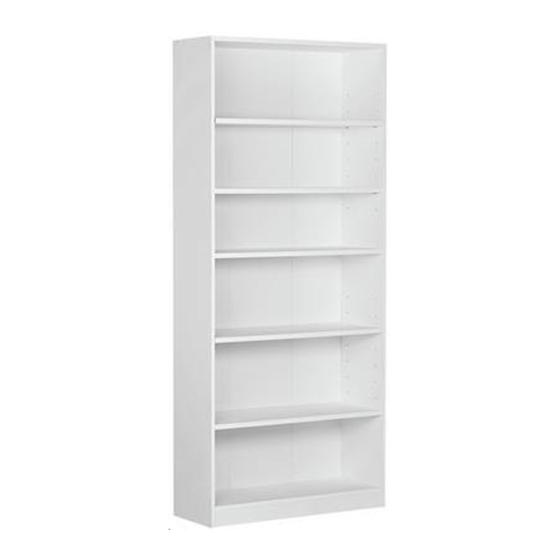
7 Tier CD DVD Media Unit
Assembly Instructions
Dimensions
Width - 60cm
Depth - 19.5cm
Height - 121.5cm
Important
- Please read these instructions fully before starting assembly
If you need help or have damaged or missing parts, call the Customer Helpline:
Argos = 0345 6400800
Please keep for future reference
-
618/9138
606/8345
609/9163
Version 2 Date: 04/10/16
Advertisement

Related Manuals for Argos HOME 618/9138


Summary of Contents for Argos HOME 618/9138
- Page 1 Width - 60cm Depth - 19.5cm Height - 121.5cm Important - Please read these instructions fully before starting assembly If you need help or have damaged or missing parts, call the Customer Helpline: Argos = 0345 6400800 Version 2 Date: 04/10/16...
-
Page 2: Handy Hints
Safety and Care Advice Important – Please read these instructions fully before starting assembly • Check you have all the • During assembly do not stand • To reduce components and tools listed on or put weight on the product, the likelihood of the following pages. - Page 3 Components - Panels If you have damaged or missing components, call the Customer Helpline: Argos = 0345 6400800 Please check you have all the panels listed below Left panel Right panel Front side panel x 2 (18.9 x 120cm) (18.9 x 120cm) (4.5 x 120cm)
-
Page 4: Tools Required
Components - Fittings Please check you have all the fi ttings listed below Note: The quantities below are the correct amount to complete the assembly. In some cases more fi ttings may be supplied than are required. 30mm Dowel x 24 39mm Locking pin x 6 15mm Locking nut x 6 Nail x 24... - Page 5 Assembly Instructions Step 1 Fitting dowels and locking pins Insert Dowels into the Right panel Left panel Screw Locking pins into the Right panel and Left panel Insert Locking pins Note: as far as shown. Do not over tighten. Insert Dowels into the Front side panel Carefully locate the...
- Page 6 Assembly Instructions Step 1 - continued Insert Dowels into the Support panel Bottom panel Insert Dowels into the Front panel Bottom front panel Carefully locate the Bottom front panel onto the Bottom panel...
- Page 7 Assembly Instructions Step 2 Attaching left and right panels Carefully locate the Front panel , Support panel and Bottom panel onto the Left panel Insert 2 Locking nuts into the Support panel and Bottom panel Use a screwdriver to turn Locking nuts clockwise to lock.
- Page 8 Assembly Instructions Step 3 Attaching top panel Screw Locking pins into the Top panel Insert Locking pins Note: as far as shown. Do not over tighten. Carefully locate the Top panel onto the unit. Insert 2 Locking nuts into the Left panel Right panel Use a screwdriver to turn Locking nuts...
- Page 9 Assembly Instructions Step 4 Fixing back panel Attach back panel using nails Important: The unit MUST be ‘square’ when back is attached. Unfinished back surface...
- Page 10 Assembly Instructions Step 5 Fixing to wall Note: Wall plugs supplied are for solid wall only. Warning: In order to prevent wall be used for your wall, seek overturning, this professional advice if in doubt. product must be used with the wall attachment device provided.
- Page 11 Shelves. Set the shelf panels Note: to the desired height. Slide Shelf panels onto the unit. Assembly is complete. If you need help or have damaged or missing parts, call the Customer Helpline: Argos = 0345 6400800...
-
Page 12: A Guide To - Wall Mounting & Fixings
A Guide to - Wall Mounting & Fixings Important: When drilling into walls always Important note: check that there are no hidden wires or pipes etc. If plastic wall plugs Make sure that the screws and wall plugs being used are supplied with your are suitable for supporting your unit.
Need help?
Do you have a question about the HOME 618/9138 and is the answer not in the manual?
Questions and answers