Subscribe to Our Youtube Channel
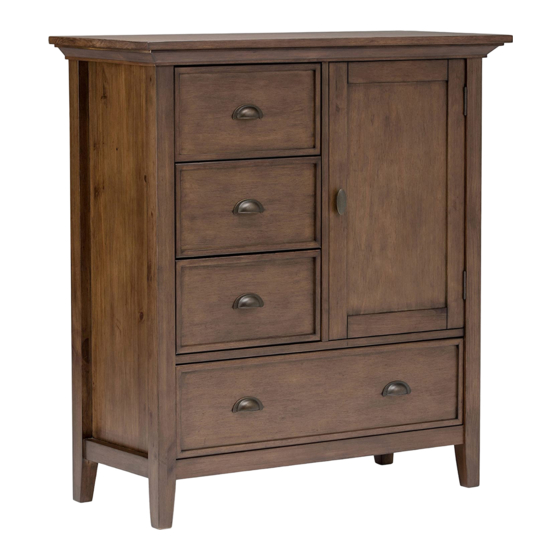
Summary of Contents for Simpli Home Wynden Hall brooklyn + max 3AXCADM-05
- Page 3 ENTER TO WIN www.facebook.com/simplihomefurnishings...
-
Page 5: Part Description
PART DESCRIPTION NEED HELP? For help with assembly or if you are missing a part, Please call customer service at 1-866-518-0120 ext. 262 (9 am to 4 pm EST) 5/23... - Page 6 PART DESCRIPTION DRAWER BOTTOM SUPPORT QTY 1 NEED HELP? For help with assembly or if you are missing a part, Please call customer service at 1-866-518-0120 ext. 262 (9 am to 4 pm EST) 6/23...
-
Page 7: Hardware Description
HARDWARE DESCRIPTION CAM LOCK PIN CAM LOCK QTY 23 SETS M4 X 25mm - QTY 1 M4 X 15mm - QTY 1 M4 X 25mm - QTY 1 Required - Flathead screwdiver FURNITURE ANTI-TIPPING Phillips screwdriver RESTRAINT Not Included QTY 1 SET 7/23... - Page 8 COMPONENTS-KEY DIAGRAM MODEL # 3AXCRED-05...
- Page 9 ASSEMBLY MODEL # 3AXCRED-05 1. Attach four Cam Lock Pins 9 to back of Small Drawer Front I . 2. Align Cam Lock Pins with pre-drilled holes and attach Drawer Sides K . 3. Insert two Cam Lock 9 into pre-drilled holes on each Drawer Side K . 4.
- Page 10 ASSEMBLY MODEL # 3AXCRED-05...
- Page 11 ASSEMBLY MODEL # 3AXCRED-05 1. Attach five Cam Lock Pins 9 to back of Large Drawer Front J . 2. Align Cam Lock Pins with pre-drilled holes and attach Drawer Sides K . 3. Insert two Cam Lock 9 into pre-drilled holes on each Drawer Side K . 4.
- Page 12 ASSEMBLY MODEL # 3AXCRED-05 1. Align Cam Lock Pins with pre-drilled holes and attach Drawer Bottom Support P . 2. Insert one Cam Lock 9 into pre-drilled holes on Drawer Bottom Support P . 3. Use flathead screwdriver to secure Cam Locks. 4.
- Page 13 ASSEMBLY MODEL # 3AXCRED-05...
- Page 14 ASSEMBLY MODEL # 3AXCRED-05 1. Attach Divider D to Top Shelf H using three Allen Key Screws 1 . 2. Use Allen Key 2 to tighten. Do not over-tighten.
- Page 15 ASSEMBLY MODEL # 3AXCRED-05 1. Repeat Step-10 for Side A...
- Page 16 ASSEMBLY MODEL # 3AXCRED-05 1. Attach Top B to Side A and Divider D using nine Allen Key Screws 1 (three screws on each Side and Divider). 2. Use Allen Key 2 to tighten screws. Do not over-tighten.
- Page 17 ASSEMBLY MODEL # 3AXCRED-05...
- Page 18 ASSEMBLY MODEL # 3AXCRED-05 NOTE: The screwdriver is not included in the hardware pack.
- Page 19 ASSEMBLY MODEL # 3AXCRED-05...
- Page 20 NOTE: The screwdriver is not included in the hardware pack.
- Page 22 Thank you for purchasing a product. These products have been made to demanding, high-quality standards and are guaranteed for domestic use against manufacturing faults for a period of 12 months from the date of purchase. This warranty does not affect your statutory rights. In case of any malfunction of your product (failure, missing parts, etc.) please contact us at our toll free service line at 1-866-518-0120 ext.


Need help?
Do you have a question about the Wynden Hall brooklyn + max 3AXCADM-05 and is the answer not in the manual?
Questions and answers